6. EXTRACTOR HOOD INSTALLATION INSTRUCTIONS
6.1
This model of the cooker hood is installed (mounted) on the bottom of the kitchen closet.
6.2
Remove a cooker hood from the packing box.
6.3
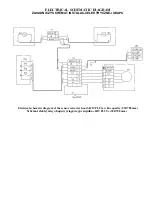
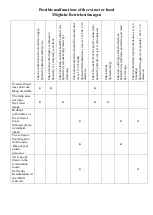
Check the work of the cooker hood, connect to the electric mains and check all its functions.
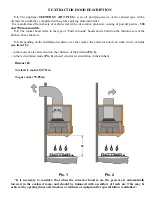
We remind that the height of installation of a cooker hood over the electric cookers should be at least
650mm, and above the gas one – not less than 750mm (Pic. 1).
6.4
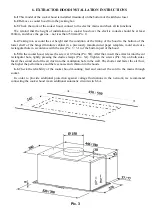
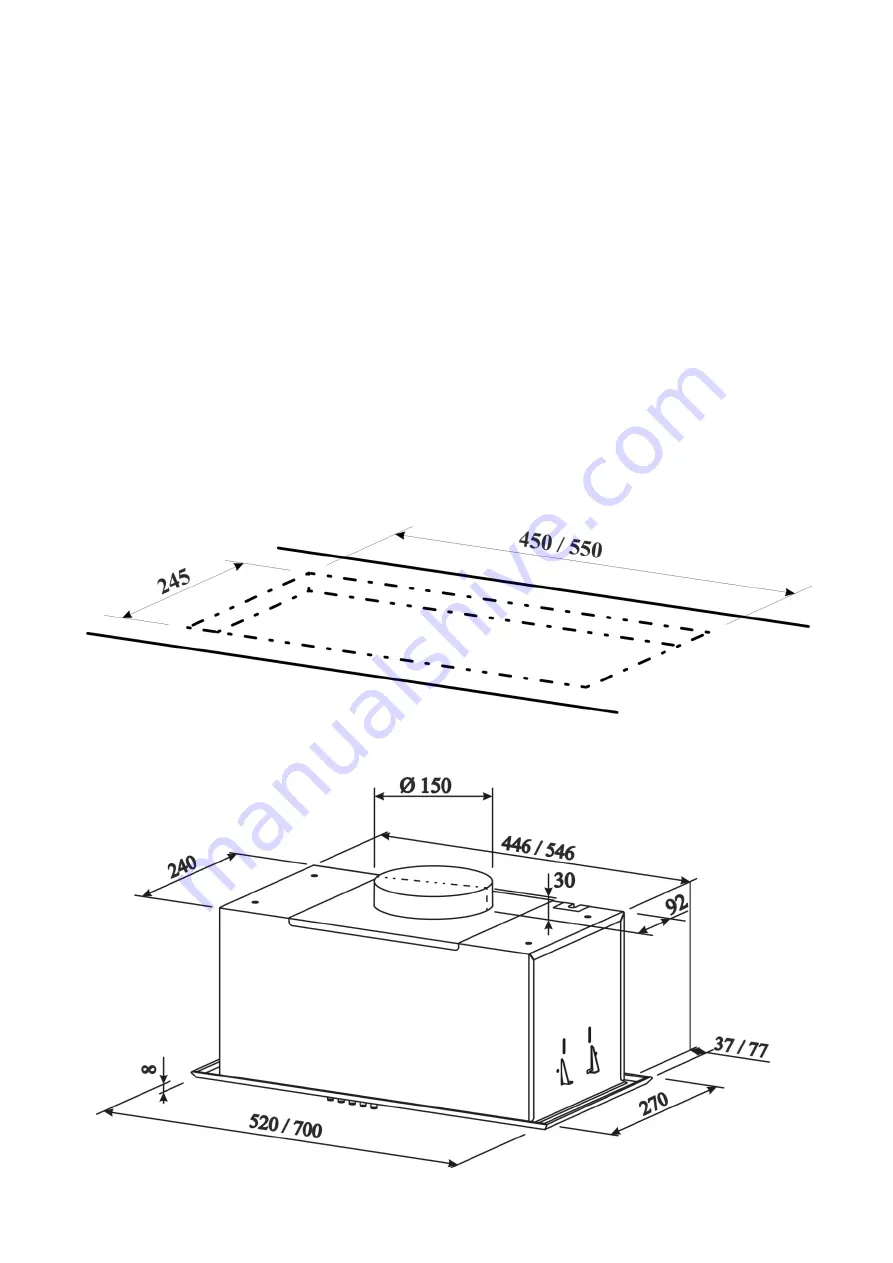
Taking into account the set height and the condition of the fitting of the hood to the bottom of the
lower shelf of the hinged furniture cabinet in a previously manufactured paper template, mold and cut a
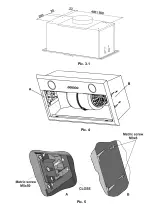
rectangular hole in accordance with the size (Pic. 3 / 3.1) of the built-in part of the hood.
6.5
On the cooker hood, release the screw at 0.5 turns (Pic. 5B). After that, insert the extractor into the cut
rectangular hole, lightly pressing the elastic clamps (Pic.. 5A). Tighten the screws (Pic. 5A) on both sides.
Insert the second end of the air duct into the ventilation hole in the wall. The shorter and faster the air flow,
the higher the performance and the less noise and vibration in the hoods.
6.6
Check the reliability of the cooker hood mounting, feed and connect the cord to the mains through
socket.
In order to provide additional protection against voltage fluctuations in the network, we recommend
connecting the cooker hood via an additional automatic circuit switch 6A.
Pic. 3


