Rostock MAX v2 Assembly Guide
Installing the End Stop Switches
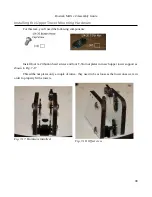
For this task, you'll need the following components:
The end stop switches can be found in the zip lock baggie included with the RAMBo board.
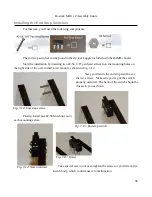
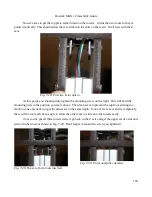
Start the installation by inserting two #2-56, 5/8” pan head screws into the mounting holes on
the right side of the over-turned tower mount as shown in Fig. 7-12.
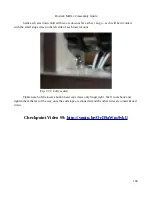
Next, you'll slide the end stop switch over
the two screws. Make sure you've got the switch
properly oriented. The back of the switch should be
closest to you as shown.
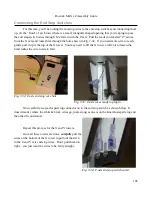
Finally, install one #2-56 finish nut on to
each mounting screw.
Take special care to not over-tighten the screws or you'll crack the
switch body, which could cause it to malfunction.
96
Fig. 7-12: End stop screws.
Fig. 7-13: End stop switch.
Fig. 7-14: Nuts installed.
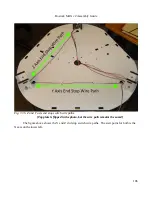
Fig. 7-15: Done!
Содержание Rostock MAX v2
Страница 25: ...Rostock MAX v2 Assembly Guide Melamine Parts Sheet 1 25 ...
Страница 26: ...Rostock MAX v2 Assembly Guide Melamine Parts Sheet 2 Melamine Parts Sheet 3 26 ...
Страница 27: ...Rostock MAX v2 Assembly Guide Melamine Parts Sheet 4 27 ...
Страница 171: ...Rostock MAX v2 Assembly Guide 171 Fig 14 8 Spool holder support installed ...


