


NVR User Manual
22
will automatically adjust it.
5.3.3 Time
①
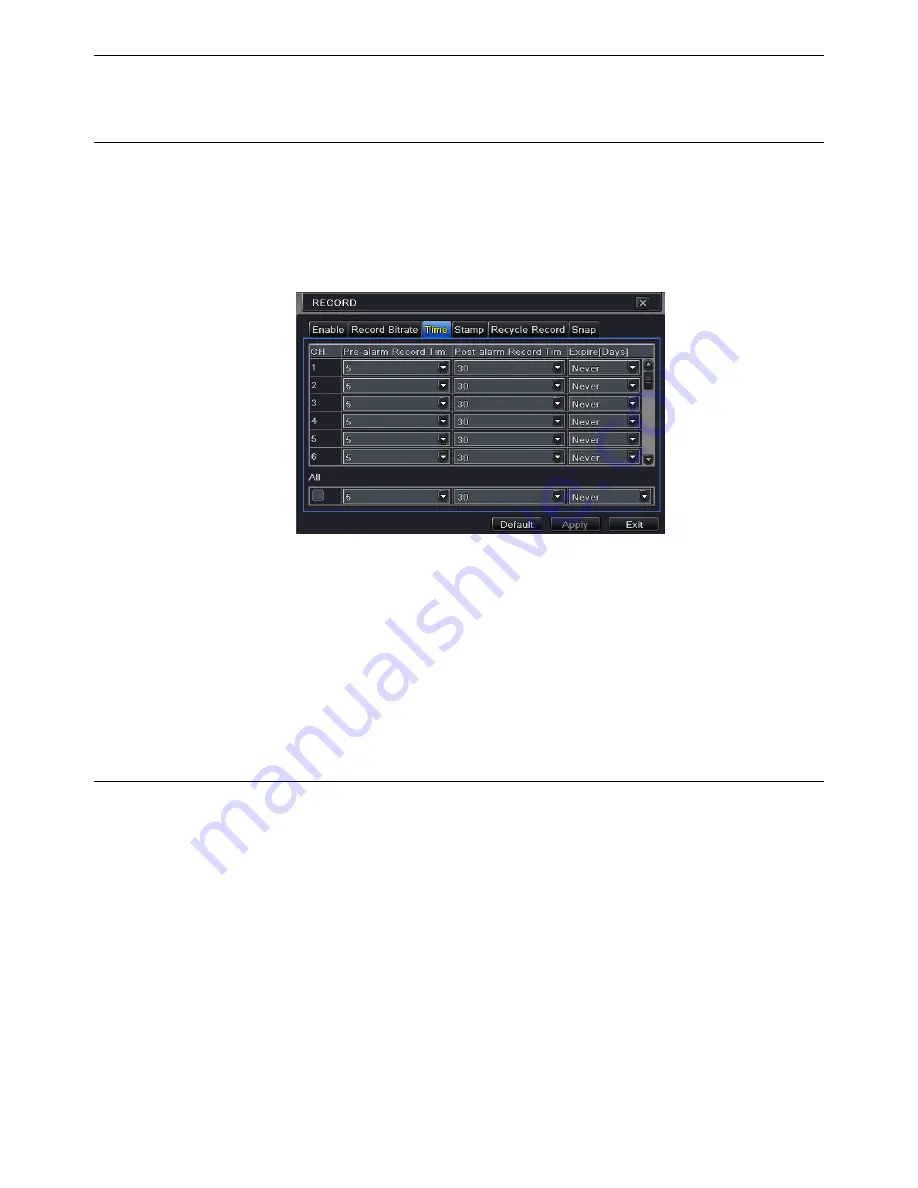
Go to Main Menu
Setup
Record
Time interface to set recording time. Refer to Fig
5-12.
②
Set Pre-alarm record time and post-alarm record time. Select “All” to set the same
settings for all channels.
③
Click “Apply” to save the setting.
Fig 5-12 Record Configuration-Time
Pre-alarm Record Time:
Set the time in seconds to pre-record before the actual recording
begins.
Post-alarm Record Time:
Set the time in seconds to post-record after the actual recording
has finished, five options: 10s, 15s, 20s, 30s, 60s, 120s, 180s and 300s.
Expire Time:
Set the expiration time for recorded video. If the set date is overdue, the
recorded files will be deleted automatically.
5.3.4 Stamp
This provides an option to enable or disable the Camera Name and the Time stamp on the
video. The user can also choose a position for the stamp on the screen
.
To set up stamp as follows:
①
Go to Main Menu
Setup
Record
Stamp interface. Refer to Fig 5-13.
②
Checkmark camera name and time stamp. Click Setting button to set up the position of
the stamp. You can drag the camera name and time stamp at random positions as shown
below.
③
Select “All” to set up all channels with the same parameters.
Содержание D32-16POE
Страница 1: ...NVR User Manual For H 264 32 channel network video recorder All rights reserved...
Страница 16: ...NVR User Manual 11 Fig 3 3 Live Playback...
Страница 68: ...450011000618 A0...


