


PrimeTest Series
PG 10
SEAWARD
QUICK START GUIDE
TESTED. TRUSTED… WORLDWIDE.
PG 11
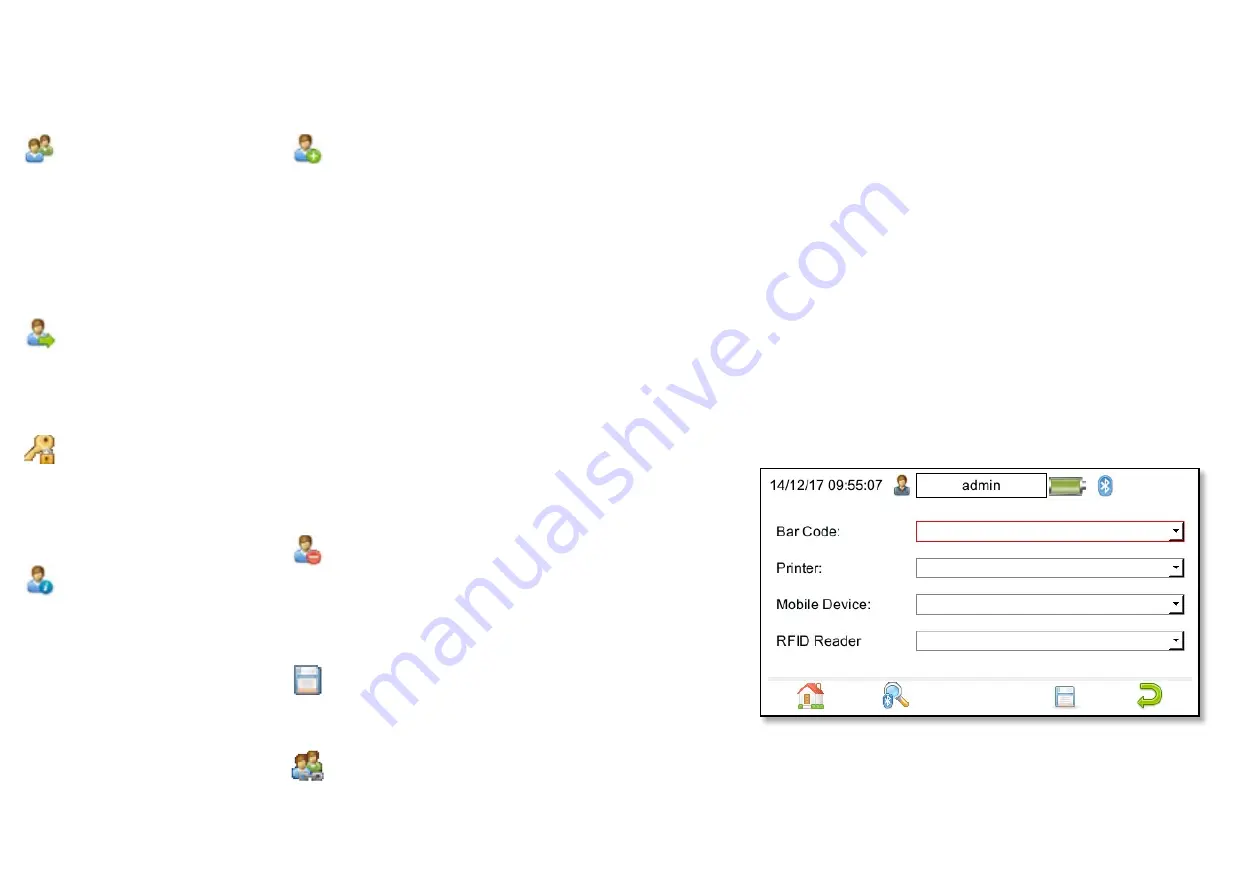
MAIN MENU WINDOW – CONNECTING
BLUETOOTH DEVICES
The
PrimeTest Series
can be connected to Bluetooth accessories including barcode
scanners, printers, smart phones and RFID scanners.
Note:
The
PrimeTest Pro
does not have the RFID reader option.
1.
From the Home screen press the
Menu key (F4) then press key
number 3 to open the Bluetooth
screen.
2.
With the Bluetooth Device switched
on, press F2 to search for Bluetooth
devices. Bluetooth devices are listed
as they are found.
3.
Select Bar Code field and choose
your scanner from the list using the
arrow keys.
4.
Select Printer field and choose your
printer from the list using the arrow
keys.
5.
Select Mobile Device field and
choose your device from the list
using the arrow keys.
6.
Select RFID Reader field (PrimeTest
Elite+) and choose your device from
the list using the arrow keys.
7.
Press F4 to save.
By selecting Users (2) on the
first screen, in the Main Menu,
you can setup new, edit and
delete user accounts. Users can
alter their own screen power
save time, auto power down,
background image; avatar and
power on screen.
Use this button (F2) to Select a
new user. Select the User name,
from the dropdown and enter
the correct Password to change
the current user of the tester.
Use this button (F2 in the Select
a new user window) to Change
Password for:- the current user.
Enter the Existing Password,
enter a New Password and then
Confirm New Password.
This User Privileges menu (F3)
allows users to view their current
privileges. If they have Edit users
rights they will also be able to
edit their own and other users
privileges by selecting the user
they wish to edit from the
dropdown.
This is the New User button
(F1 in User Privileges menu).
A New User can be setup
by adding a Username and
Password and selecting Save
(F3). The New User can then
be selected in the Username
field of the User Privileges
screen. Select the Type of user
(Expert or Novice), privileges
can be setup by using the Enter
Key to check or uncheck, if a
privilege is checked, the user
has access to that feature or
function. To block a feature or
function, for example adjusting
the Time/Date, uncheck that
function before saving (F3).
Note:
that items not selected
or left unchecked (for example
adjusting the Time/Date) will be
greyed out in certain menus of
the instrument.
This is the Delete User button.
It will delete whichever User
is currently selected in the
Username dropdown.
Note:
that
the admin user cannot be fully
deleted.
Press this button to Save
changes and return to the
previous screen.
This is the Copy User function.
This will copy the settings and
preferences of the current user to
a new user account.
MAIN MENU WINDOW – USER SETUP


