Operation
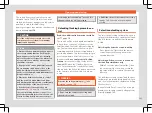
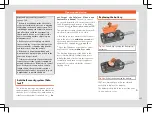
Changing the battery
●
Unfold the vehicle key blade
.
●
Remove the cover from the back of the ve-
hicle key
in the direction of the ar-
row
●
Extract the battery from the compartment
using a suitable thin object
●
Place the new battery in the compartment
as shown
, pressing in the opposite
direction to that shown by the arrow
.
●
Fit the cover as shown
, pressing
it onto the vehicle key casing in the opposite
direction to that shown by the arrow until it
clicks into place.
CAUTION
●
If the battery is not changed correctly,
the vehicle key may be damaged.
●
Use of unsuitable batteries may damage
the vehicle key. For this reason, always re-
place the dead battery with another of the
same voltage, size and specifications.
●
When fitting the battery, check that the
polarity is correct.
For the sake of the environment
Please dispose of your used batteries cor-
rectly and with respect for the environ-
ment.
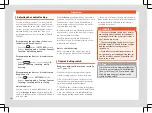
Synchronising the vehicle key
If the
button is pressed frequently outside
of the vehicle range, it is possible that the ve-
hicle can no longer be locked or unlocked us-
ing the key. In this case, the key must be re-
synchronised as described below:
●
Unfold the vehicle key blade
.
●
If necessary, remove the cover from the
driver door lever
›››
●
Press the
button on the vehicle key. For
this, it must remain with the vehicle.
●
Open the vehicle within one minute using
the key blade. The key has been synchron-
ised.
●
If necessary, fit the cap.
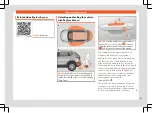
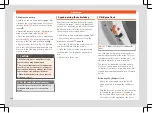
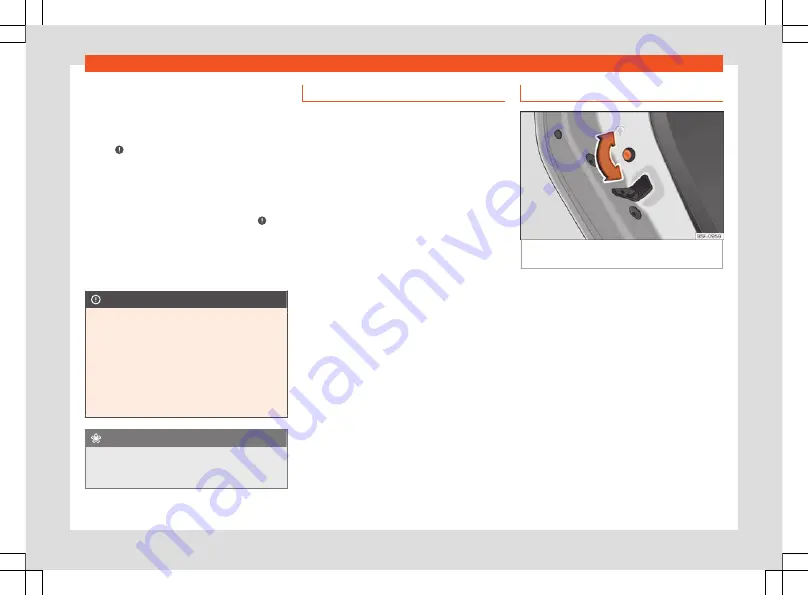
Childproof lock
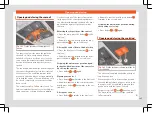
Fig. 143
Childproof lock on the left hand side
door.
The childproof lock prevents the rear doors
from being opened from the inside. This sys-
tem prevents minors from opening a door ac-
cidentally while the vehicle is running.
This function is independent of the vehicle
electronic opening and locking systems. It
only affects rear doors. It can only be activa-
ted and deactivated manually, as described
below:
Activating the childproof lock
–
Unlock the vehicle and open the door in
which you wish to activate the childproof
lock.
–
With the door open, rotate the groove in the
door using the ignition key, clockwise for
the left hand side doors
and an-
ti-clockwise for the right hand side doors.
138
Содержание Ateca 2018
Страница 1: ...Owner s manual SEAT Ateca 575012720BG Inglés 575012720BG 07 18 SEAT Ateca Inglés 07 18 ...
Страница 10: ...The essentials Exterior view page 17 page 48 page 16 page 48 1 2 3 4 page 59 page 19 page 54 5 6 7 8 ...
Страница 14: ...The essentials Passenger side general instrument panel left hand drive page 22 page 168 1 2 12 ...
Страница 105: ......
Страница 106: ...Operation Fig 121 Instruments and controls 104 ...
Страница 390: ...Technical data Dimensions Fig 314 Dimensions Fig 315 Angles and ground clearance 388 ...
Страница 392: ......
Страница 409: ......
Страница 410: ......
Страница 412: ...Owner s manual SEAT Ateca 575012720BG Inglés 575012720BG 07 18 SEAT Ateca Inglés 07 18 ...

