THE PROBLEM
THE CAUSE
THE SOLUTION
Noisy operation
Bit burns or smokes
Excessive drill bit
run out, or wobble
Drill binds in
workpiece
Dry drill bit shaft
1. Chips not coming out of hole
2. Dull bit
3. Feed rate too slow
1. Bent bit
2. Chuck not correctly installed.
3. Bit not correctly installed.
4. Worn or loose chuck.
5. Worn spindle bearings
1. Workpiece twisting or moving.
2. Excessive feed pressure.
Lubricate drill bit shaft.
1. Retract bit frequently to clear chips.
2. Sharpen or replace bit.
3. Feed faster.
1. Replace bit.
2. Remove chuck and install correctly.
3. Remove bit and install correctly.
4. Replace check.
5. Replace bearings.
1. Support or clamp workpiece.
2. Reduce pressure and clamp workpiece.
8. TROUBLESHOOTING
The chisel may also become blue in colour, this is also a normal attribute associated with friction
and resin build up on the cutting face of the tool bit. A dull (blunt) chisel may be detected when the
amount of pressure required to complete a cut becomes excessive.
6.6.
When performing a through mortise, a thin piece of wood must be placed between
the workpiece and the table to prevent the underside of the cut from splintering,
and to protect the work table. In such a case re-set depth stop accordingly.
6.7.
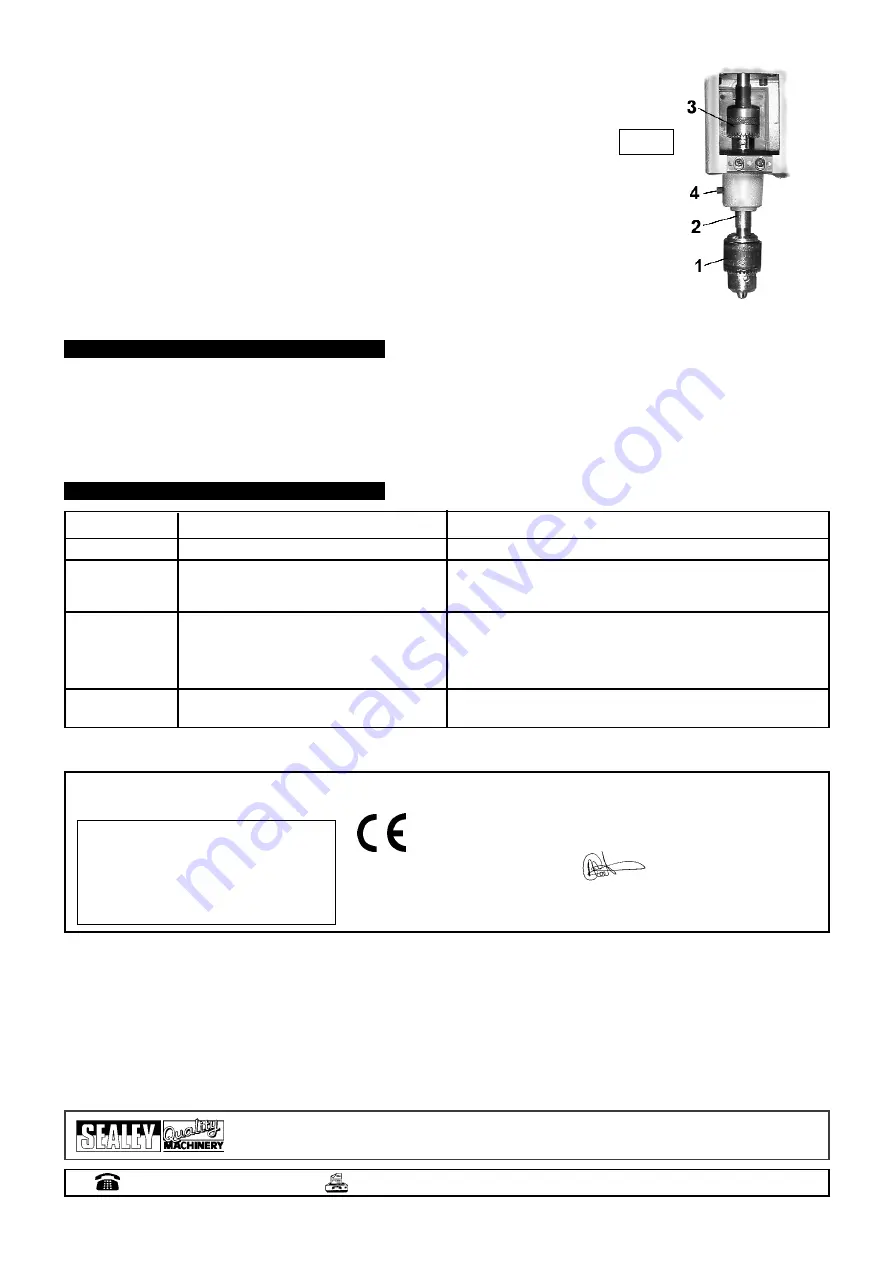
Using the mortiser as a standard pillar drill.
Loosen bushing screw and remove the chisel and drill bit from the chuck.
Wedge the chuck clamp spindle (fig 14.2) into the neck of spare drill chuck (1).
Pass the spindle up through the bushing and lock into chuck (3). Ensure locking screw (4) remains
to hold the bushing in place, BUT, DO NOT tighten the screw on the drill spindle which must remain
free to turn in the bush. A standard drill bit may be used with chuck (1) for drilling. All locks and
guides are used in the same way as mortise drilling.
7. MAINTENANCE
p
p
WARNING!
Ensure the mortiser is switched off and is unplugged from the mains power supply before carrying out any maintenance.
7.1.
Clean and dust the mortiser removing all waste materials.
7.2.
Periodically apply a light coat of past wax to base work surface which will help keep it clean and rust free.
7.3.
Open shaft cover and apply a thin coat of light machine oil to drill bit shaft where it passes through the chisel, but not on the cutting
edge. Also lightly oil rack and pinion gear teeth upon which the main column moves up and down.
fig 14
Declaration of Conformity
We, the sole importer into the UK, declare that the product listed below is in conformity with the following EEC
standards and directives.
For Jack Sealey Ltd. Sole importer into the UK of Sealey Quality Machinery.
1st April 2000
Signed by Mark Sweetman
The construction file for this product is held by the Manufacturer and may
be inspected, by a national authority, upon request to Jack Sealey Ltd.
01284 757500
E-mail:
01284 703534
NOTE:
It is our policy to continually improve products and as such we reserve the right to alter data, specifications and component parts without prior notice.
IMPORTANT:
No liability is accepted for incorrect use of this product.
WARRANTY:
Guarantee is 12 months from purchase date, proof
of which will be required for any claim.
INFORMATION:
Call 01284 757525 for our catalogue & promotions. Leave your full name, address & postcode.
Sole UK Distributor,
Sealey Group
, Bury St. Edmunds, Suffolk.
Hollow Chisel Mortiser Model SM94/C
EN55014 Limits & Measurements
73/23//EEC Low Voltage Directive.
89/336/EEC EMC Directive (S.I. 1992/2372 & Amendments).
98/37/EC Machinery Directive (S.I. 1992/3073 & Amendments)
93/68/EEC CE Marking Directive
SM94/C - 1056 - (1) 010400


