Page 20
Original Language Version
VS8197.V2 Issue: 1 - 23/11/11
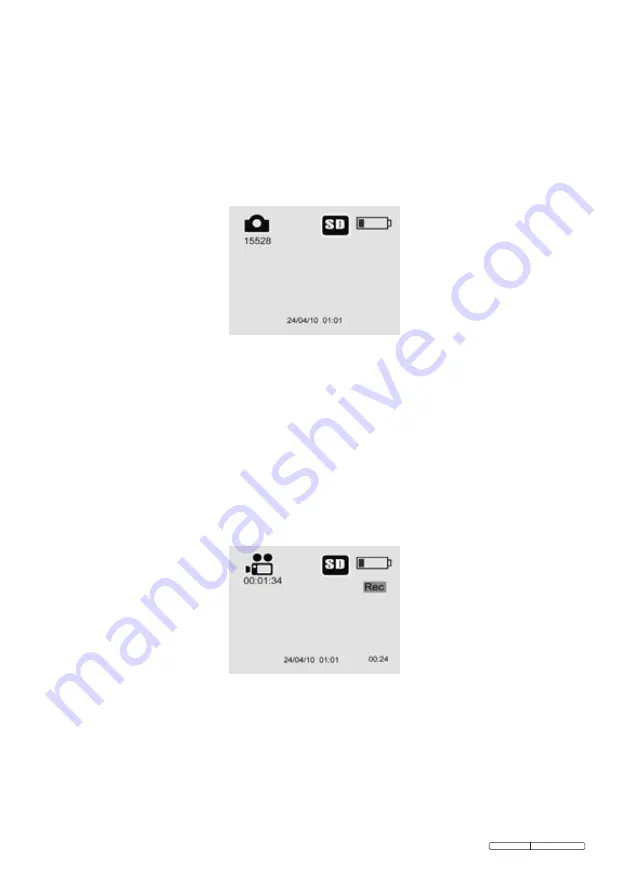
7) Capturing a Photo
When in the live screen, make sure the camera icon is present at the top
left portion of the screen.
(Fig. 10)
Press
OK
button to capture a photo and
the photo will be saved to the internal memory or SD card. You will also
notice that the number of total photos displays below the camera icon. The
number will increase or decrease as different capacity SD cards are used or
the photo quality is adjusted.
Fig. 10
8) Capturing a Video
While in the live screen, make sure the video icon is present at the top left
portion of the screen.
(Fig. 11)
Press
OK
button to start capturing video.
You will notice that a Rec. icon appears at the top right portion of the screen,
just below battery capacity icon. This shows that video is capturing. The
time at the top left portion, just below video icon will begin counting down.
This indicates how much video you can store in the internal memory or SD
card. Press
OK
button again to stop capturing a video.
Fig. 11
It may take a few seconds to save the captured video to the internal memory
•
or SD card.
9)
Playing Back and Deleting Captured Photos and Videos
Pressing
Play
button on the key pad will display two modes for you to select.
Photos and videos that were captured will be displayed on the screen. Use


