www.seagullmodels.com
3
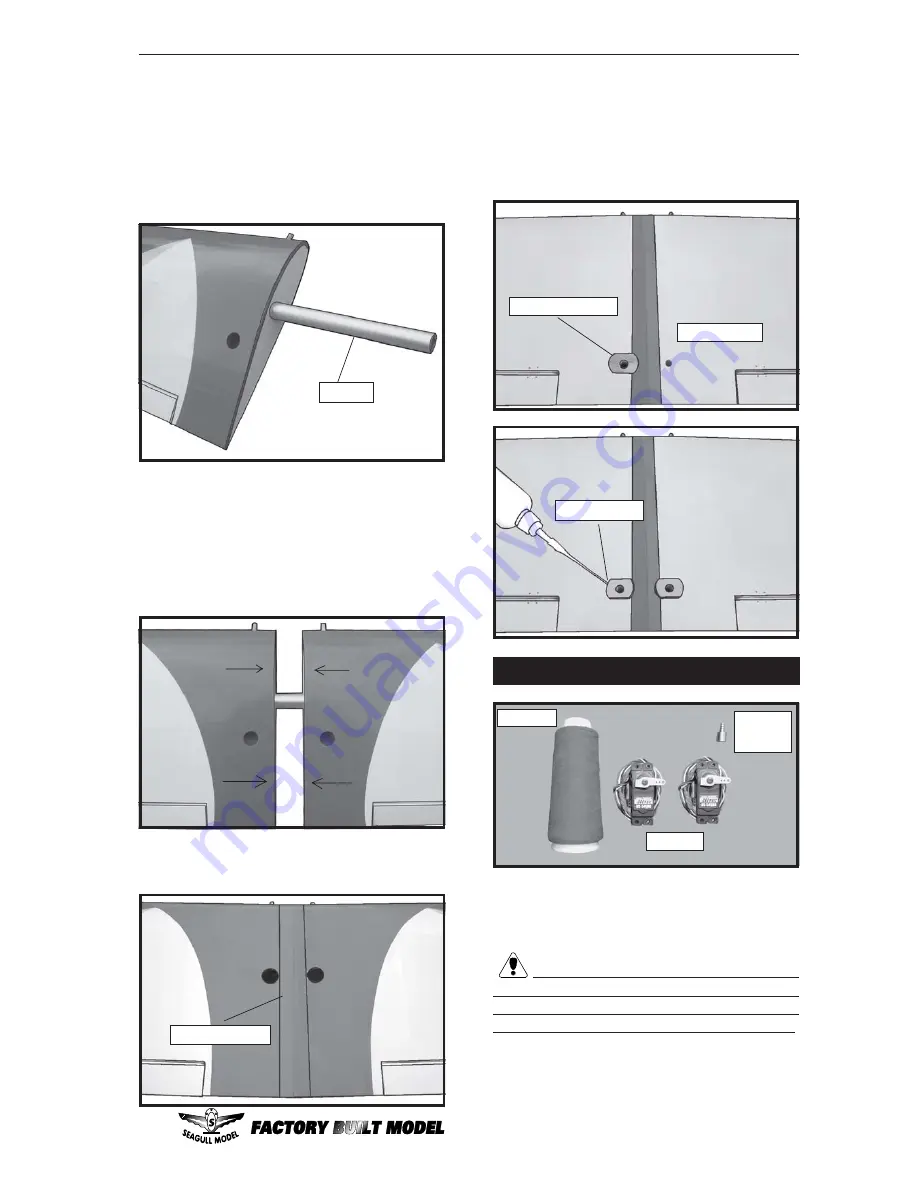
3) Peel off the backing from the self adhe-
sive covering strip. Apply the strip to the centre
section of the wing starting from the bottom
trailing edge. Wrap the strip all the way around
the wing until it meets the trailing edge again.
Trim off any excess strip.
Carefully slide the two wing halves together
and firmly press them together, allowing the
excess epoxy to run out. There should not be
any gap in the wing halves. Use rubbing
alcohol and a paper tower to clean up any
excess epoxy.
Apply masking tape at the wing join to hold
the wing halves together securely.
2) Remove the brace when satisfied with
its fit ineach wing half. Coat both sides of one
half of the dihedral brace with 30 minute epoxy.
Next, pour some epoxy into the dihedral box in
one wing panel. Make sure you cover the top
and bottom as well as the sides of the dihedral
brace. Use enough epoxy to fill any gaps.
Glue attach.
Masking tape.
Remove covering.
Wing botton.
Epoxy.
INSTALLING THE AILERON SERVOS.
Because the size of servos differ, you
may need to adjust the size of the precut open-
ing in the mount. The notch in the sides of the
mount allow the servo lead to pass through.
1) Install the rubber grommets and brass
collets onto the aileron servo. Test fit the
servo into the aileron servo mount.
2) Using a small weight (
Weighted fuel pick-
up works well
) and thread, feed the string
through the wing as indicated.
Small
weight.
Servos.
Thread.


