Maintenance and care
02.00|KSPplus-BWM KSP-LHplus-BWM |en
35
Always transport the clamping block without changing jaws. The
KSP plus 250-BWM and KSP-LG plus 250-BWM have an M10
threaded transport hole on the front of each base jaw for mount-
ing the T-handles with the set-screws included in the accessory
pack. Remove the T-handles before operating.
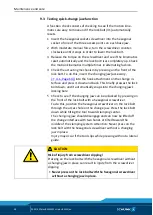
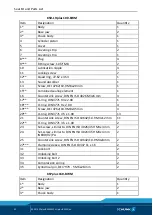
Observe the following sequence when replacing wear parts (e.g.
1 Pressurize the clamping block at 6 bar until the jaws are in the
OPEN position.
2 Actuate the disengaging mechanics on the quick-change jaw
system and remove both changing jaws (WTR or WTG).
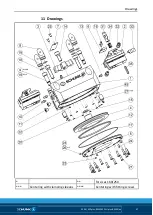
3 Remove the covering strip (7).
4 Remove the cylindrical screw (14) from the chuck piston.
5 Remove the pressure line.
6 Pull the plug (8) out of the housing (1).
7 Loosen the screws (9, 19) and remove the clamping system
from the base plate or machine table. Air may escape at this
point.
8 To remove the chuck piston (3)
for size 100-BMW: screw one M10x >25 screw in the center
bore,
for size 160-BMW: screw one M12x >25 screw in the center
bore,
for size 250-BMW: screw two M6x >25 screws in the lateral
threaded holes.
9 Pull the base jaws (2) out of the housing (1).
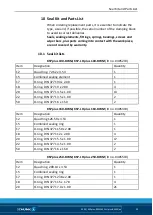
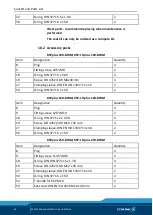
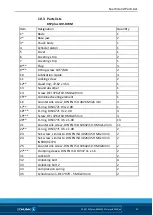
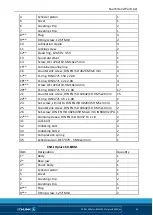
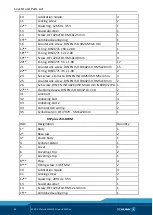
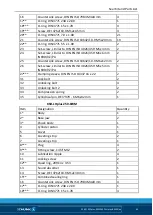
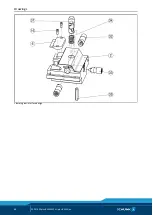
The base jaws are multi-part assemblies that can be further
disassembled as needed (see assembly drawing
).
Attention:
Components may fall out.
– To disassemble a base jaw unit, remove the screws (16) and
covering strip (6).
– Pull the cylindrical pin (35) out of the base jaw (2).
Screw a suitable pulling tool into the internal thread of the
cylindrical pin and carefully pull it out.
– Remove the unlocking bolts (32 and 33) from the base jaw.
Gently press on the lock bolt (31) and hold the base jaw to
each side so the three front unlocking bolts fall out.
– Remove the lock bolt (31) and pressure spring (34).

