Instructions for use.
hts.
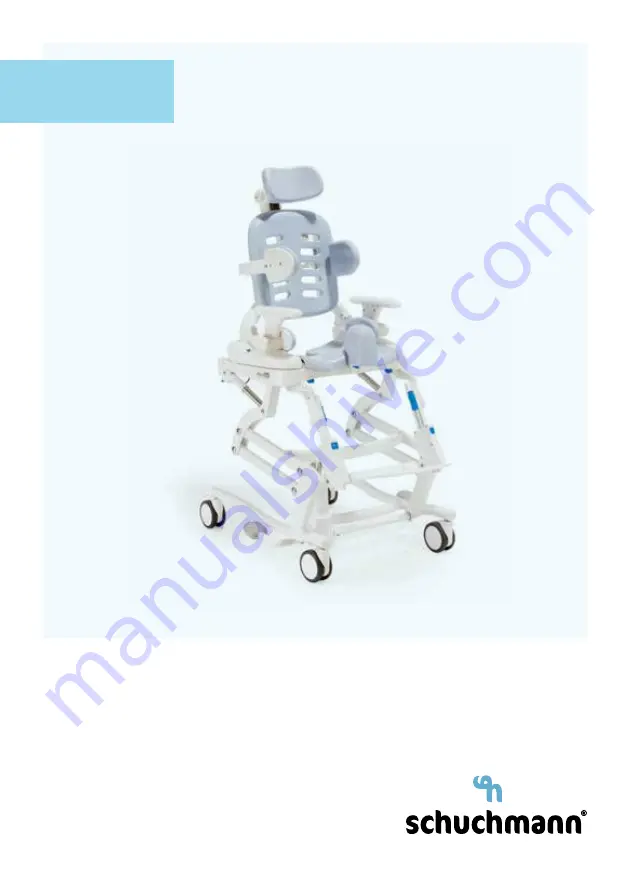
The universal hygiene system.
Страница 1: ...Instructions for use hts The universal hygiene system hts...
Страница 2: ...for use carefully prior to initial commissioning of the product and to observe them Please note that gui delines and representations in these Instructions for use may deviate from your product due to...
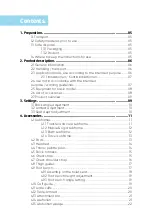
Страница 3: ...accessories 08 2 7 Product overview 09 3 Settings 09 3 1 Back angle adjustment 10 3 2 Armrest adjustment 10 3 3 Seat depth adjustment 10 4 Accessories 11 4 1 Subframes 11 4 1 1 Transfer and care subf...
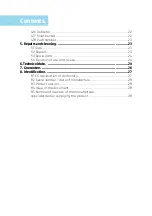
Страница 4: ...are parts 24 5 4 Duration of use and re use 24 6 Technical data 24 7 Guarantee 26 8 Identification 27 8 1 EC declaration of conformity 27 8 2 Serial number date of manufacture 28 8 3 Product version 2...
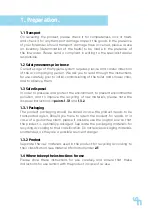
Страница 5: ...protect the environment to prevent environmental pollution and to improve the recycling of raw materials please note the disposal instructions in points 1 3 1 and 1 3 2 1 3 1 Packaging The product pac...
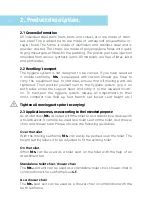
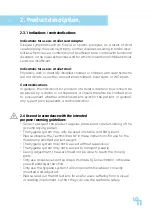
Страница 6: ...support head and carry it to the required locati on To transport the hygiene system reduce all adjustments to their most compact size fold up foot bench set lowest seat height etc Tighten all moving...
Страница 7: ...refore be clarified prior to procurement whether contraindications exist for the patient In general any type of pain represents a contraindication 2 4 Use not in accordance with the intended purpose w...
Страница 8: ...and back anglel 2 6 List of accessories Mobile subframes Rigid subframes Transfer and care subframe Bath subframe Pads Headrest Thorax pelotte pads Chest strap chest shoulder strap Thigh calf guide Ta...
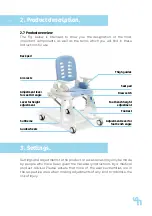
Страница 9: ...verview The Fig below is intended to show you the designation of the most important components as well as the terms which you will find in these Instructions for use Settings and adjustments to the pr...
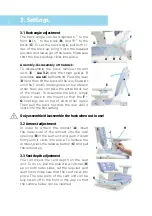
Страница 10: ...ply place it back in the mount so that the F G markings are on top of each other again Then pull the back towards the rear until it clicks into the first setting Only assemble disassemble the back whe...
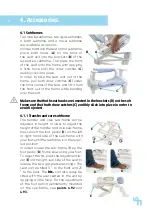
Страница 11: ...aw catches C audibly click into place in order to avoid injuries 4 1 1 Transfer and care subframe The transfer and care sub frame can be adjusted in height In order to adjust the height of the transfe...
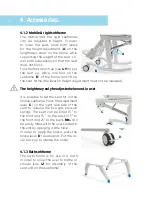
Страница 12: ...ot be released The height may only be adjusted when not in use It is possible to set the seat tilt on the mobile subframe Press the adjustment lever C on the right rear side of the seat to release the...
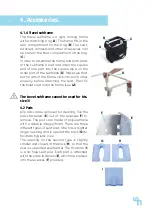
Страница 13: ...before attaching the seat Then fix the toilet seat onto the frame see 4 1 The travel subframe cannot be used for hts size 3 4 2 Pads All pads can be removed for cleaning Pull the press fasteners E out...
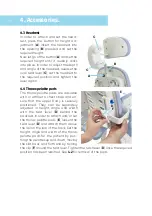
Страница 14: ...thorax pelotte pads are available with or without a chest strap and en sure that the upper body is securely positioned They can be separately adjusted in height angle and width with the twist lever D...
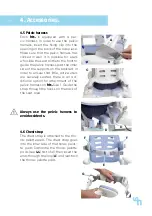
Страница 15: ...s on the backrest In order to ensure that little active users are securely seated there is an ad ditional option for attachment of the pelvic harness on hts Size 1 Guide the strap through the hooks on...
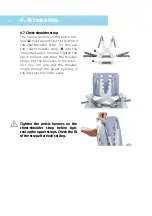
Страница 16: ...strap B with the integrated pelvic harness Tighten the pelvic harness and insert the shoulder straps into the brackets on the back rest You can also pull the shoulder straps through the upper opening...
Страница 17: ...nd by 10 cm in the second position Slide the thigh guides into the armrest so that the inlet A in the thigh guides point up and to the back Insert the armrest B through the thigh guides into the reces...
Страница 18: ...Insert the little metal brackets A on the ends of the frame B into the recess C on the back of the seat unit 2 Firmly press the foot bench down so that the frame audibly clicks into the blue brackets...
Страница 19: ...en transporting at ground level 4 10 Calf guide The calf guide C is fixed above the foot bench D It should be removed if the foot bench is set to one of the upper positions The calf guide is atta ched...
Страница 20: ...30 C Seal the Velcro before washing Do not iron This option requires the use of a foot bench 4 12 Table armrest The table has a padded large sized stomach contact area on which the user can support hi...
Страница 21: ...on the attachment bar see 4 1 and lower the seat onto the toilet bowl In order to prevent falls and injuries make sure that the toilet is fixed securely to the ground and that the retainer screws are...
Страница 22: ...Deflector The standard deflector B is inserted into the seat pad opening with the hollow side facing the user The deflector with splash guard C ensures even better coverage It is kept on the user wit...
Страница 23: ...he underside They can be cleaned with soapy water or a mild disinfectant The seat and the base are to be properly cleaned at 80 in a washing and disinfection system Dissamble the chair as follows sepa...
Страница 24: ...be possible to use the product over and above this time period if it is in a safe condition The expected duration of use does not refer to wear parts such as for example covers wheels batteries The m...
Страница 25: ...length toilet seat 20 33 cm 25 38 cm 33 46 cm H Back height 42 cm 50 cm 62 cm I Max position above toilet height 52 cm 52 cm 52 cm J Length of mobile subframes 74 cm 74 cm 80 cm Length of transfer an...
Страница 26: ...antee period shall begin with the delivery or handover of the goods Should a verifiable material or manufacturing fault occur within this time pe riod we shall after carriage paid return to us view th...
Страница 27: ...and guidelines listed below accord with EC Directive 93 42 EEC on medical products from 14th June 1993 DIN EN 12182 Technical aids for the disabled EN ISO 14971 Medical products Application of risk m...
Страница 28: ...rse range of accessories see Point 4 8 4 Issue of the document Instructions for use hts Change status J Issue 09 2018 8 5 Name and address of the manufacturer specialist dealer supplying the product T...