43
5.3.2 Image Load
Press M/0 in the mode of real time or freeze to display image process menu. Then press
ZOOM/1
,
the following will appear
:
Input the number of stored image according to the message, for example 01. Press NOTE
after input, then No. 01 image is picked out.
(
If it is the wrong input, press CLS to clean the
characters one by one and re-input
)
.01/128 is displayed in the lower left-hand corner on
the screen. 01 is the number of current image and 128 stands for the storage capacity. At this
time, press
▲
3 or
▼
6 to pick out images in other storage areas.
Press FREEZE to return to real-time state. To pick out other images, repeat the above
procedure.
5.3.3 Image processing
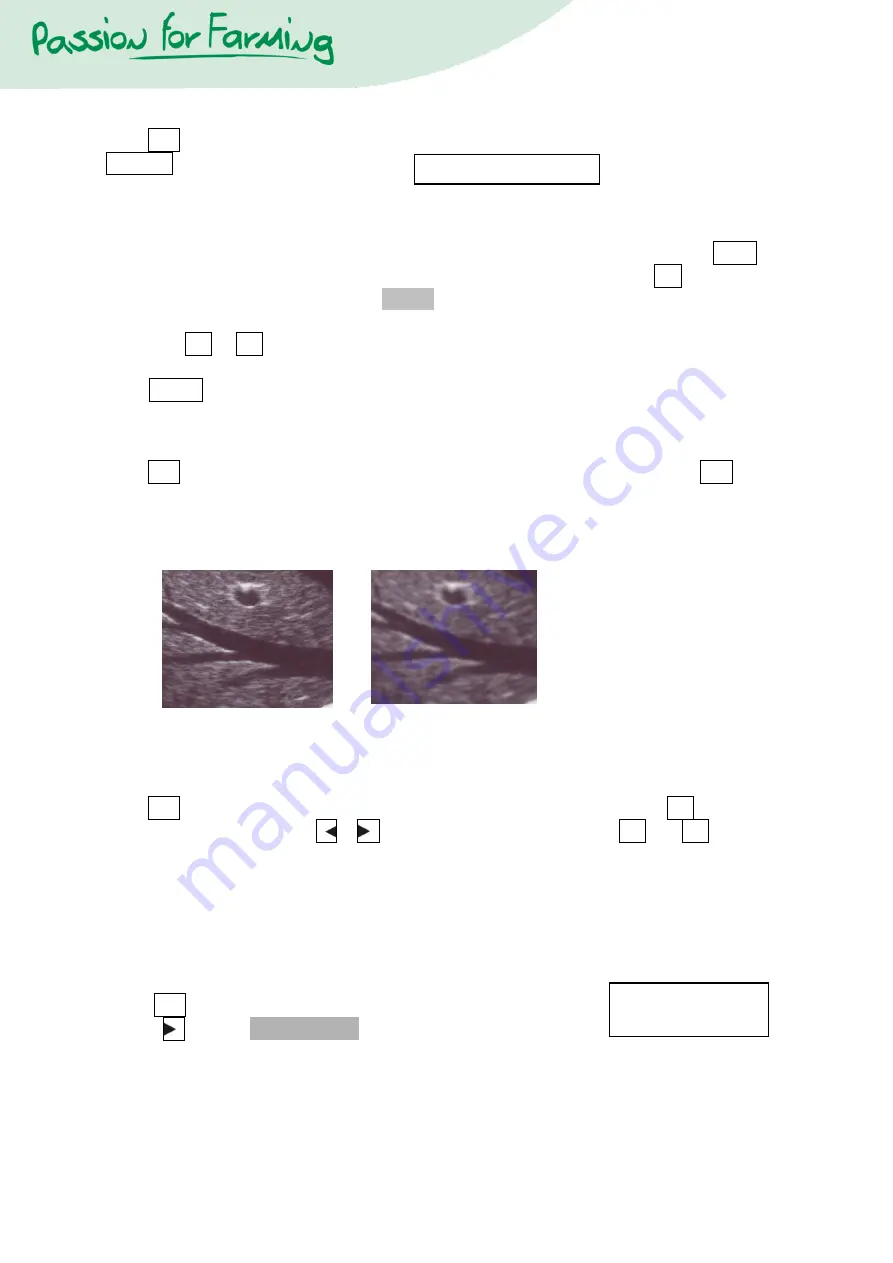
Press M/0 in real-time state to display the menu of image process, and then press +/2 to
select image processing. Repeat this to modify the smoothness and the image is displayed in
the upper right-hand corner of the screen in real-time state. They are respectively
:
IM0. IM1.
IM2. IM3.
Normal
Smoothed
5.4 Colour settings
Press M/0 in real-time state to display the menu of image process, and press
▲
3 to lighten
colour on the right side. Use 5 or 4 to select modify items and press
▲
3 and
▼
6 to adjust
the parameters.
IC0. IC1. IC2. IC3 are image coded colour, representing respectively grey, red, yellow and blue.
CC0. CC1 are colour of characters, representing grey and yellow.
BC0. BC1 are background colour, representing grey and blue.
5.5 Measurement of circumference, area and volume
Two methods are available.
●
PressM/0 in the state of freeze, the menu is displayed on the screen.
●
Press 4 to select 4.AREA-VOLM, and it is displayed as follow
:
The first one is freehand method and the second is Ellipse method.
PLEASE ENTER STORAGE NO.:
PLEASE ENTER:
1.FREEHAND 2.ELLIPSE
Содержание 1609875
Страница 2: ...2 ...
Страница 6: ...6 Zijaanzicht Onderkant Achterkant ...
Страница 12: ...12 ...
Страница 26: ...26 ...
Страница 30: ...30 8 1 Examination 52 8 2 Malfunction Solution 52 ...
Страница 32: ...32 2 System introduction 2 1 Outline Figure 2 1 front view Figure 2 2 Side View ...
Страница 54: ...54 8 1 Kontrolle 77 8 2 Problemlösung 77 ...
Страница 80: ...80 7 3 Almacenamiento 105 8 Solución de problemas 106 8 1 Examen 106 8 2 Solución a un mal funcionamiento 106 ...
Страница 82: ...82 2 Introducción 2 1 Esquema Figura 2 1 Vista frontal Figura 2 2 Vista lateral Figura 2 3 Superficie inferior ...
Страница 86: ...86 Figura 3 2 Instalación desinstalación de la pila ...
Страница 101: ...101 Foto 5 6 Ilustración de la medición de volumen Método Eje 3 ...
Страница 108: ...108 8 2 Résolution des problèmes 130 ...
Страница 111: ...111 Vue face avant Vue de côté Vue face inférieure Vue face arrière ...
Страница 132: ...132 ...


