SchaubLorenz PFR8-29322 Скачать руководство пользователя страница 13

12 


8.6 Photo mode: 

Auto fit, Optimal, Full 

8.7 Music Play Mode

Single Repeat, Circular, No Repeat, Single 

8.8 Video Mode:

 Original, Screen 

8.9 Display  
     Contrast: 

 Use     to select between 0 (lowest) and 40 (highest). 

     Brightness: 

 Use      to select between 0 (lowest) and 40 (highest). 

     Saturation:  

Use     to select a point between 0 (lowest) and 40 (highest). 

     Tint: 

Use     to select between 40 (most color) to 0 (least color). 

8.10Set  time/date: 

  Press 

OK

,  choose  setup  items  with 

 as  follows:  Year,  Month,  Day, 

Hour, Minute, Second, press 

OK,

 use    to set, Press 

Save Time

 to confirm. 

8.11Set  time  format:

  12/24

,

  Press 

OK

,  select  with 

 ,  press 

OK

,  then  use 

 to  set, 

press 

OK

 to confirm 

8.12Alarm:

    Press 

OK

,  choose  setup  items  with 

 as  follows:  Status,  Number,  Hour, 

Minute, Mode, press 

OK,

 use   to set, Press 

OK

 to confirm. 

8.13  Auto  Power  On/Off

: Press 

OK

, choose setup items with 

 as follows: Hour, Minute, 

Status, press 

OK,

 use   to set, Press 

OK

 to confirm. 

8.14  Format  built-in  memory

:  Press 

OK

,  choose  No/  Yes  with 

,  Press 

OK

  to  confirm. 

The photos stored in the photo frame will then be erased. 

8.15 Reset setting

: Press 

OK

, choose No/ Yes with 

, Press 

OK

 to confirm 

8.16 Exit: 

Press to exit setup interface.


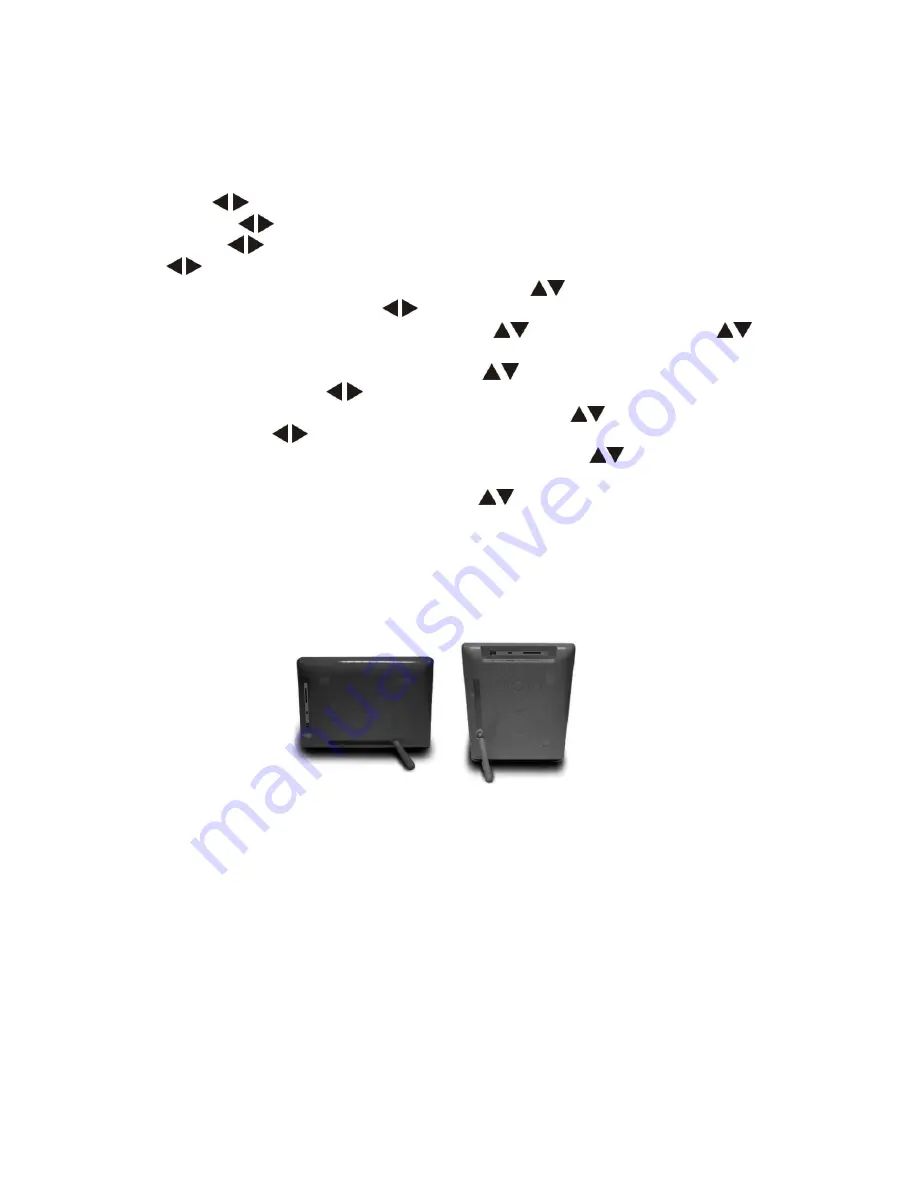
9. Stand Instruction 

Please check and make sure the stand is locked in place before standing the photo frame up. 
Please refer to the illustration shown below. 


10. Rechargeable Battery Use 

The photo frame built-in a rechargeable Lithium battery. The integrated battery allows you to 
use  this  photo  frame  and  view  your  pictures  easily  anywhere  at  home  (battery  autonomy 
between 40 and 105 minutes, depending on usage). 
 

10.1 Charge the battery 

-  Connect  the  adaptor  to  the  DC  5V  IN  jack,  the  set  the  unit  in  POWER  ON  mode,  (the 
playing mode) for fully recharges. 
- Set in POWER OFF mode for fully charge.  
 

10.2 Time to recharge the battery 

Recharge  and  playback  time  depends  on  battery  pack  capacity  and  the  temperature 
condition.  Generally  speaking,  the  battery  needs  to  be  recharged  about  2  hours  in  playing 
mode or power off mode. 

Содержание PFR8-29322

Страница 1: ...PFR8 29322 8 DIGITAL PHOTO FRAME WITH INTEGRATED BATTERY USER MANUAL Please read and keep these instructions ...

Страница 2: ...is available at your reseller Where to install the product Place the product on a straight rigid and stable place Do not place the product on a carpet Do not place the product on top of another that may cause overheating for example a receiver or amplifier Do not place anything underneath the product for example CDs or magazines Proper ventilation Place the product in a sufficiently aerated place ...

Страница 3: ...Only use this product with the AC adaptor provided This product is compliant with directives 2006 95 CE abrogating the directive 73 23 CEE modified by the directive 93 68 CEE and 2004 108 CE abrogating the directive 89 336CEE This logo set on the product means that the recycling of this apparatus comes within the framework of the directive 2002 96 EC of January 27 2003 concerning the waste on elec...

Страница 4: ...ital Photo Frame Features Built in Li battery 1000mm Ampere Supported picture format JPEG up to 12Mb Support audio formats Mp3 WMA Support video formats MPEG4 Supported Memory card SD SDHC MS MMC USB interface High speed 2 0 Auto Slideshow when insert Memory Card Picture Music Slideshow with background music Built in Clock and calendar Image display mode slideshow preview zoom rotate function Adju...

Страница 5: ...rating Instruction 7 4 1 Card and USB 7 4 2 Picture Mode 8 4 3 Music Mode 8 4 4 Video Mode 8 5 File 9 6 Copy Delete function 9 6 1 Copy Photos 9 6 2 Delete photos 9 6 3 Delete file 10 6 4 Delete Music 10 6 5 Delete Video 10 7 Calendar 11 8 Setup 11 9 Stand Instruction 12 10 Rechargeable Battery Use 12 11 Technical Specifications 13 12 Troubleshooting Guide 13 ...

Страница 6: ...on from left to right cursor 9 Functional selection button from the top to the bottom cursor 10 SETUP Go directly to Setup mode 11 Play pause In the playing mode press this button it will pause repress this button it will play again 12 OK Press to confirm Play pause In the playing mode press this button it will pause repress this button it will play again 13 ZOOM In the pause state of single pictu...

Страница 7: ... Getting Started 3 1 Extend the digital photo frame bracket on the back of the frame to the widest position for greatest stability and then plug one end of the included AC adapter into a standard 110 240V AC electrical outlet and the other end into the right side the frame Note There are different positions for the digital photo frame stand Please refer to Stand Instruction 1 SD MMC MS CARD 2 EARP...

Страница 8: ...te 1 Make sure there are supported picture music and video files in the Card or USB device 2 If there are supported picture and music files in the Card or USB Device slideshow will play automatically with background music This feature is only for audio files in MP3 format After turning on the unit it will show the startup picture press MENU repeatedly to access to built in memory It supports SD SD...

Страница 9: ...OK to access to the nine picture mode use to choose the picture press OK to play the picture in single window Press OK again to start slideshow pictures in the selected slide mode Change slide mode as follows press SETUP to choose SLIDE MODE single window four windows Triple windows select with press OK to confirm Press MENU back to the main menu Highlight Photo press OK to access to the nine pict...

Страница 10: ...K to confirm Press VOL to turn up down the volume Press MENU back to the main menu Choose File then press OK to access to file interface You can browse all the files in the memory card in this mode and delete files in built in memory or external device In slideshow mode use to select the picture you want to copy to the built in memory then press MENU for a few seconds to enter Save Picture interfa...

Страница 11: ...a few seconds to enter delete interface press OK to confirm In File mode use to select the picture you want to delete then press MENU for a few seconds to enter delete interface press OK to confirm In music mode use to select the music you want to delete then press MENU to enter Music as alarm delete file Exit interface press OK to confirm ...

Страница 12: ...ical in out Radiation Surround Fade Right refresh Next refresh On Pan Roll From Down To Up Roll From Up To Down Brick Select Calendar from the main menu press OK to enter use or to adjust year month or day Select Setup from the main menu and then press OK to access to Setup interface Use to select the item you want to set up Press OK to show the sub menu select with then press OK to confirm In vid...

Страница 13: ... confirm 8 14 Format built in memory Press OK choose No Yes with Press OK to confirm The photos stored in the photo frame will then be erased 8 15 Reset setting Press OK choose No Yes with Press OK to confirm 8 16 Exit Press to exit setup interface 9 Stand Instruction Please check and make sure the stand is locked in place before standing the photo frame up Please refer to the illustration shown b...

Страница 14: ...rent battery version Batteries battery pack or batteries installed shall not be exposed to excessive heat such as sunshine or fire or any other heat sources If after being charged the battery autonomy is reduced by half the user must supervise the next charge Caution a damaged battery may cause a dangerous thermal overheating 11 Technical Specifications Adapter Input AC 100 240V 50 60HZ Output DC ...

Страница 15: ...rstly that your memory card is compatible with the unit Supported memory cards are SD SDHC MS MMC formats We have tested this unit with most of the market s memory cards we cannot however guarantee a full compatibility with all the cards in the market because of the multiple technology standards in use Should you have a compatibility problem please use a memory card with a lower capacity 2GB or lo...

Страница 16: ...from the standard resolution one For the time being videos encoded in High Definition are only readable on computers 3 Maximum resolutions supported by MPEG 4 codecs and this unit are 720x480 30fps 720x576 25fps 4 Videos must be encoded with a soundtrack in MP3 format since other formats such as AC3 are not supported If there is no sound it means that the audio codec is not compatible 5 If your MP...

Отзывы: