5
PART#-31600075 LIT-SDD4000-HVAC-S INSTALL REV.A
INSTALLATION PREPARATION
1. Unpack the components for the installation. Leave the sealing tape on the output tubing
in the box to keep debris out of the tube.
2. Chose a mounting point for the SDD4004 unit near (or on) the HVAC duct to be used
for fragrance. There are two important rules to follow:
–
The system must be mounted below the insertion point for the fragrance tube
into the duct so that the output tubing runs in a constant positive incline, never
downward sloping or horizontal.
–
The supplied 6 feet of output tubing can be shortened but not extended, so the
machine should be mounted within 1.5 m.
3. Mount the SDD4004 system using the supplied wall bracket and hardware. Make sure
12V DC power can be brought to the machine.
4. Locate the point for the duct insertion on the bottom or side of the duct and drill a ¼”
hole into the duct.
5. Make a clean cut on one end of the tubing a few inches from the end to unseal it.
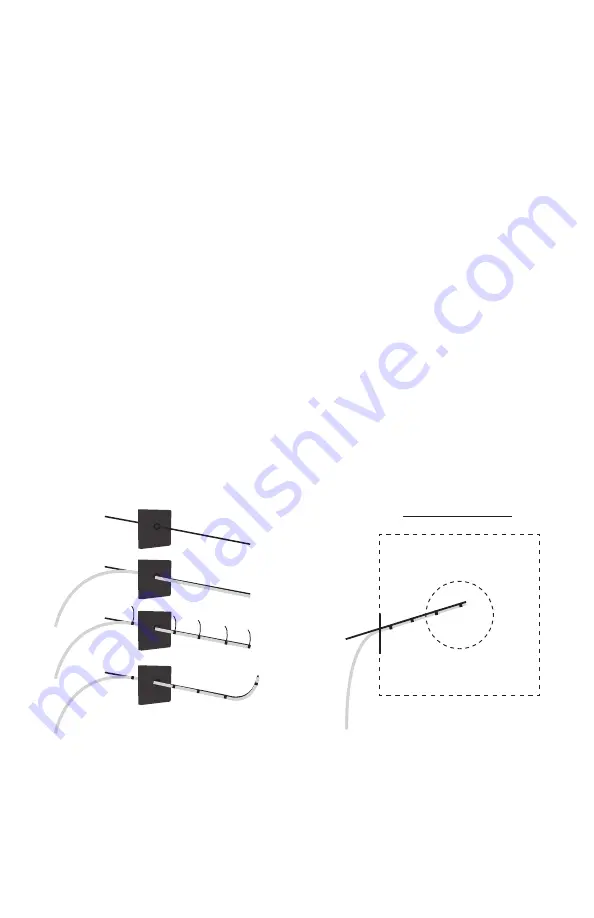
Insert one end of tubing through DUCT MOUNT as shown. (FIG. 4)
6. Secure the tubing to the Duct Mount as shown using zip ties. The opening must be just
past the end of the metal rod and the tubing must be secure to allow the rod and tube
to be bent if needed to get to a good location inside the duct.
7. Test fit the duct mount through the hole in the duct. Bend the rod if needed to ensure
the end of the tube is near the middle of the air flow and the ascending pitch of the
tube is maintained.
8. Using 5/16” Drive socket and drill attach Duct Mount to the HVAC duct using the
provided 12x1 tapping screws. Make sure output tubing does not have any dips or any
sections that have no incline as this will cause clogging, poor scent performance, and
possible dripping from the machine.
9. Cut the free end of the tubing to a 45° angle. This is the side of the tubing that will be
inserted into the cartridge.
10. Insert this tubing into the HVAC Cap provided in this kit by twisting and pushing the cap
onto the tube. The tubing should extend approximately 1” from the end of the cap.
11. Tighten the HVAC Cap to the cartridge, making sure the cap is on tightly to insure the
connection will not leak. (FIG. 5)
View From Inside Duct


