


SCALA Digital Technology (Ningbo) Co., LTD
Version:V1.0
2.Product system connection and power on&off
2.1 Product system connection
1.
Connect the 12V/2A power adapter to the power socket (110 to 240VAC). Connect the adapter
connector to the DC12V socket of the device, and tighten the nut
.
2 .Connect the external display to the HDMI OUT port of the product through the HDMI data cable.
The number of connections can be selected according to the user's on-site requirements. USB1 to 6
can be connected to peripheral devices, such as a mouse and keyboard, for user interface
operations.
2.2 Power on&off and indicator state display
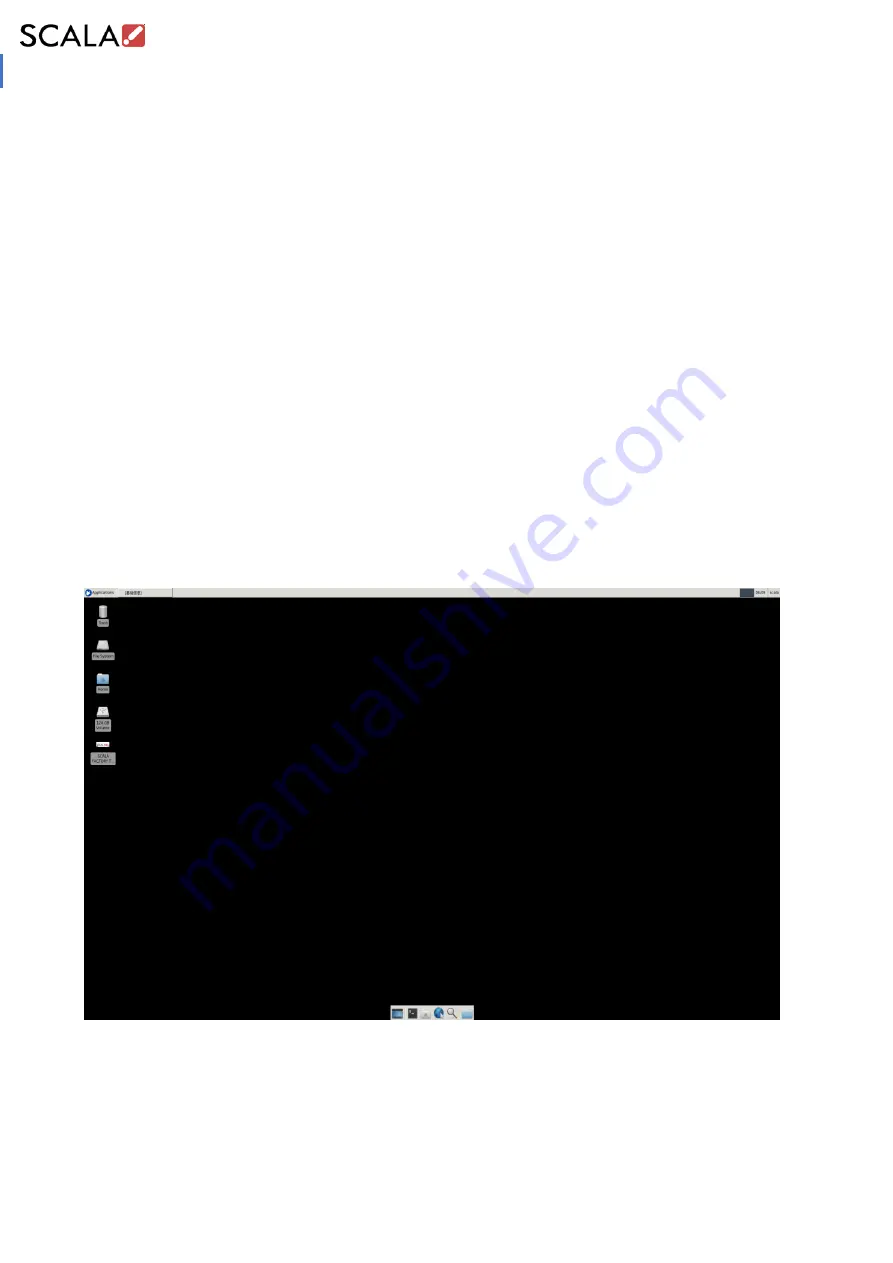
After the above system connection operation is completed, the product can be started through the
Power switch button or through the Power EXT extension cable. After startup, the system displays
the following initial screen.
When the equipment is on or off, the color changes of the power and status indicators are
described as follows to determine whether the sample is working normally.
Power button indicator Status:
Power on, the power indicator is green, and the Status indicator is green.
Power off, the power indicator is red and the Status indicator is off
When the Recovery button is pressed, the power indicator is green and the Status indicator is red


