Sawyer Manufacturing Company
7799 S. Regency Dr., Tulsa, OK 74131 USA
F
918.834.0318
P
918.834.2550
V1.2
1.
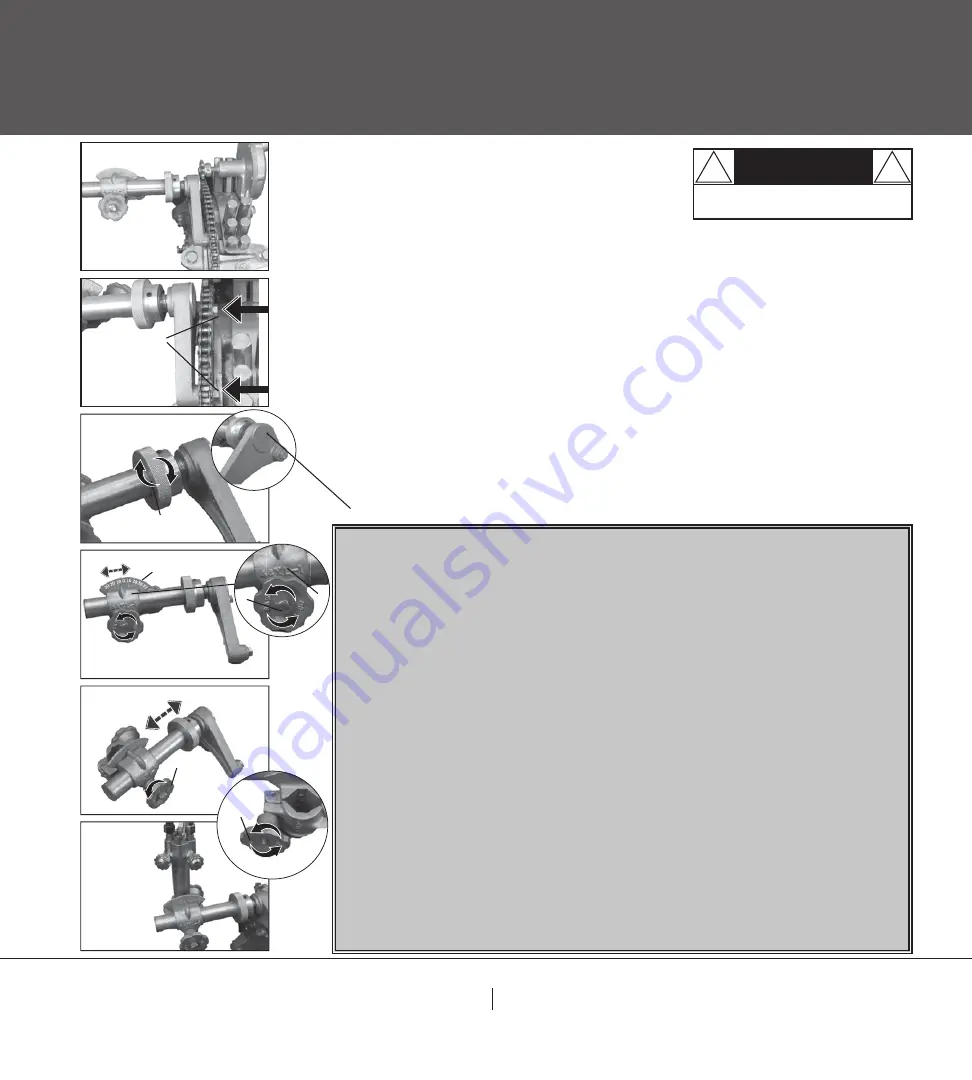
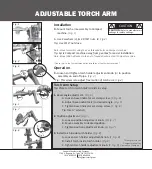
Mount torch arm assembly to Compact
machine.
(Fig. 1)
A. Use 2 washers
(A)
, & 2 9/16” nuts.
(B, Fig.2)
Tip: Use 9/16” nut drive.
Note: Mount assembly using the 2 unthreaded holes on Compact machine.
Tip: Cycle Compact machine away from gearbox for easier installation.
Note: Model 284-A attaches to the out of round attachment not Compact machine.
*Please refer to the Compact manual for installaton of the Compact machine.*
1.
Loosen and tighten torch holder adjustment knob
(G)
to position
assembly on and off pipe.
(Fig. 3)
Tip: This screw is to adjust free motion of torch arm.
(Fig.4)
Torch Arm Setup
Tip: Place torch in torch holder to aide in setup.
1.
Bevel angle adjustment.
(Fig. 5)
A. Loosen bevel indicator set clamp screw.
(F, Fig. 6)
B. Adjust bevel indicator
(E)
to desired angle.
(Fig. 5)
C. Tighten bevel indicator set clamp screw.
(F, Fig. 6)
Tip: Use ½” wrench.
2.
Position adjustment.
(Fig. 7)
A. Loosen position adjustment knob.
(D, Fig. 7)
B. Move assembly to desired position.
C. Tighten position adjustment knob.
(D, Fig. 7)
3.
Install torch inside torch holder.
(Fig. 8)
A. Loosen torch holder adjustment knob.
(C, Fig. 9)
B. Install torch inside torch holder.
(Fig. 8)
C. Tighten torch holder adjustment knob.
(C, Fig. 9)
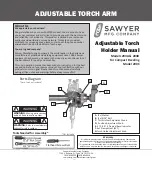
Installation
ADJUSTABLE TORCH ARM
Installation
Operation
CAUTION:
Refer to manufacturers
settings for safety settings.
!
!
CAUTION
Fig. 1
Fig. 9
J
F
G
E
D
C
*Please refer to the
Compact manual for
Operation of Compact.*
Fig. 4
Fig. 6
A,B
Fig. 2
Fig. 3
Fig. 5
Fig. 7
Fig. 8


