Installation on the wall 8
0020282112_01 MiLink Plus Installation instructions
17
8 Installation on the wall
8.1 Securing
1. Switch off the power supply of the heat
generator.
2. Secure the unit mounting bracket to the
wall as shown in the figure.
3. Click the communication unit into place
on the unit mounting bracket.
4. Screw in the clamping screw.
5. Do not cut off the excess cable.
6. If required, retain the excess cable.
8.2 Excess cable
1. Wind up the excess cable in the heat
generator.
2. Use the enclosed clip to secure the ex-
cess cable and ensure that it cannot
come into contact with hot compon-
ents.
3. Re-establish the power supply to the
heat generator.
9 Start-up
9.1 Starting up the communication
unit
,
1. If required, re-establish the power sup-
ply of the heat generator.
◁
The start sequence is triggered
automatically.
◁
The communication unit is initial-
ising.
◁
All LEDs light up green (main and
network LED).
▽
Not all of the LEDs are green.
2. Check the status of the LEDs.
3. If faults occur, proceed in accordance
with the tables in the appendix.
4. Allow the LEDs to switch off.
◁
The LEDs automatically switch off
after 30 minutes.
10 Troubleshooting
10.1 Restarting the product and
resetting parameters
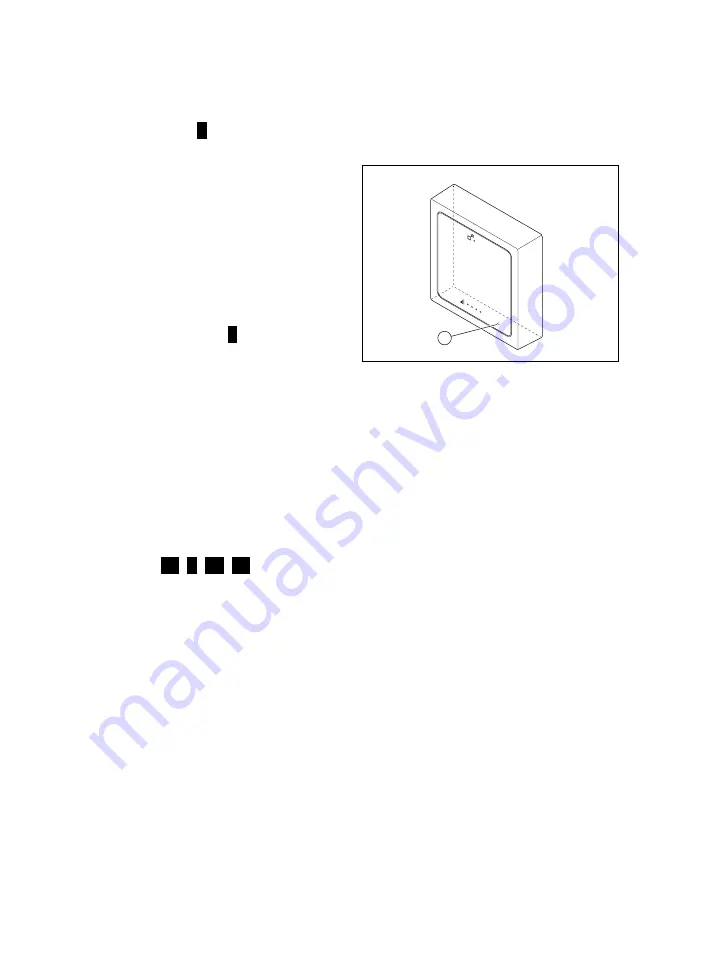
1
▶
Press and hold the reset button
(1)
for
ten seconds.
10.2 Brightness of the LEDs
▶
Briefly press the reset button in order to
light up the LEDs.
◁
The LEDs light up.
◁
The illuminated LEDs display the
status of the communication unit
(main and network LED).
◁
The LEDs automatically switch off
after 30 minutes.
10.3 Implementing a change to the
configuration of the heating
system
1. Switch off the power supply of the heat
generator.
2. Re-establish the power supply of the
heat generator.
◁
The new heating system configura-
tion is detected by the communica-
tion unit.
3. Check the status of the communication
unit.
Содержание 0010025651
Страница 1: ...MiLink Plus 0010025651 fr Notice d installation en Installation instructions nl Installatiehandleiding...
Страница 4: ...fr Notice d installation 1 en Installation instructions 12 nl Installatiehandleiding 22...
Страница 37: ......
Страница 38: ......
Страница 39: ......


