Sartorius QC - Scales
Service Manual
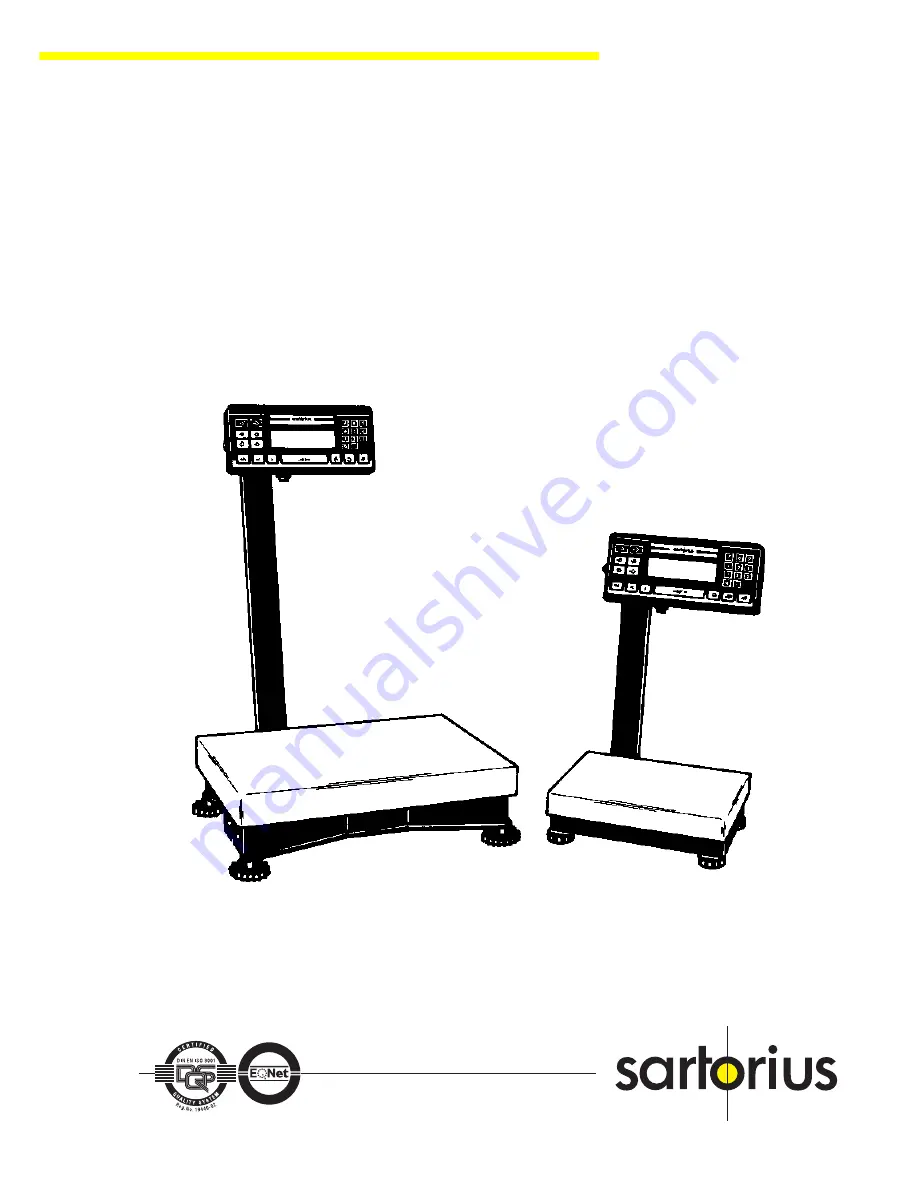
QC7CCE-S, -S0UR
QC34EDE-S, -S0UR
QC64EDE-S, -S0UR
Q
U
A
L
I T Y S Y S
T
E
M
C
E
R T
I F I
E
D
Q
U
A L I
T Y S Y S
T E
M
Reg
. No. 19440-
02
C
E R
T I F I E
D
DIN EN ISO 9001
Sartorius AG, Weighing Technology
Sartorius AG, Weighing Technology
WQC5001-e95121


