background image

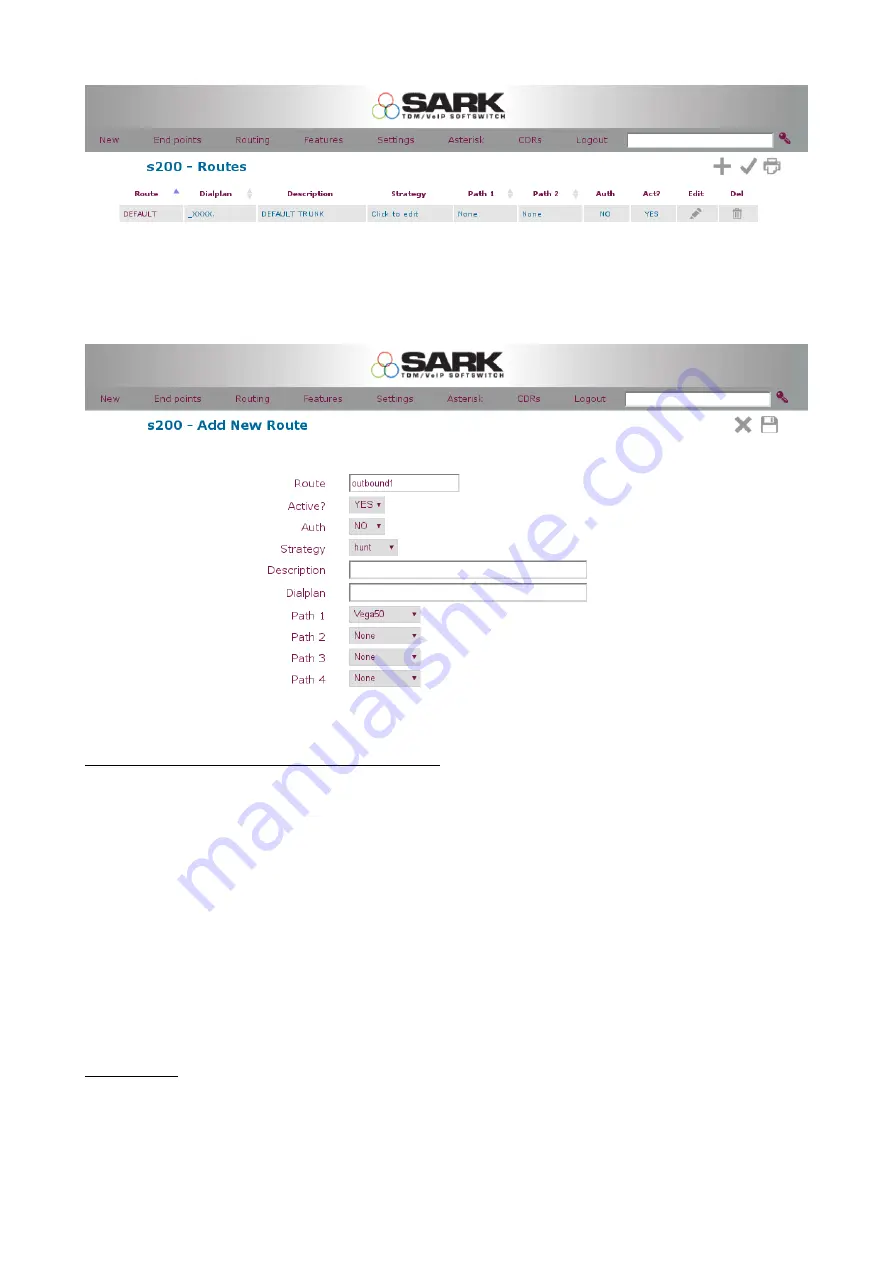
You can change the route name to anything you like. For Path1 you will need to select the 
name of your Trunk discussed in step 1, in this case it is “Vega50”, then leave the rest of 
the settings as default.

Vega 50 4-8 Port FXO Configuration

Open a browser and enter IP address of Vega 50.  On prompt enter the details as below to
log in.

User Name  : admin
Password    : admin

Step 4

:

On main login page click on Quick Config  and press Continue on prompt.

Step 5

:

Basic config

Under General menu Select the country where Vega is to be commissioned. Then select a
valid static IP address for the Vega box. Also remember to change the login password.

Содержание 200

Страница 1: ...ed If not then please consult links below for SARK and Vega 50 SARK PBX Quick Start Guide Vega 50 Quick Start Guide You are able to connect to the Web interface of both SARK PBX and Vega 50 SARK PBX Configuration Open a browser and enter IP address of Sark PBX On prompt enter the following details SARK 200 SARK 500 User Name admin lower case Password sarkadmin lower case SARK 850 1000 1200 User Na...

Страница 2: ... the Vega gateway Leave everything else as default and press save and then the commit button Step 2 Next step is to create an inbound route for calls coming from Vega gateway to Sark This is where you define the numbers assigned to you by Fixed line provider generally BT Virgin Media for UK The default route in Sark _XXXX match any DID number coming in to Sark and forward it to the system operator...

Страница 3: ...ress save and then the commit button Finally add any extra DID s for additional lines and press commit button to save and apply settings See example of DID s below Step 3 The next step is to create outbound route for this go to Routing Route outbound this will take you to the following page You can either change the default route below or create a new outbound route by clicking New ...

Страница 4: ... Port FXO Configuration Open a browser and enter IP address of Vega 50 On prompt enter the details as below to log in User Name admin Password admin Step 4 On main login page click on Quick Config and press Continue on prompt Step 5 Basic config Under General menu Select the country where Vega is to be commissioned Then select a valid static IP address for the Vega box Also remember to change the ...

Страница 5: ...ke sure registration mode is turn off and change codec 1 priory to G711Alaw64k or as shown below Step 7 FXO Next go to FXO section Enable the check box for Tone Based Discount Handle Emergency calls and Call ID Detection Enabling emergency calls feature will automatically create a dial plan on Vega 50 to pass ...

Страница 6: ...as shown below Add the DID numbers provided by fixed line provider under DID to Forward to SIP and make sure the numbers under DID to Forward section matches the inbound numbers created on Sark in step 2 Finally select the New Install Check box and press the Submit button Wait couple of seconds and press the Reboot system button when it appears Now you should be able to make receive calls from and...

Отзывы:

Похожие инструкции для 200