About Configuration via Menus
13
English
■
To configure the recording mechanism not
to overwrite existing data when the
recording areas are full:
Press the MENU button to open the MAIN MENU
screen, and choose “2. RECORD SET”.
On the RECORD SET screen, choose
“3. RECORDING CONDITIONS SET”.
Set OVERWRITE to OFF for each of the normal
and alarm recording areas.
When you are done, press the EXIT/OSD button.
4
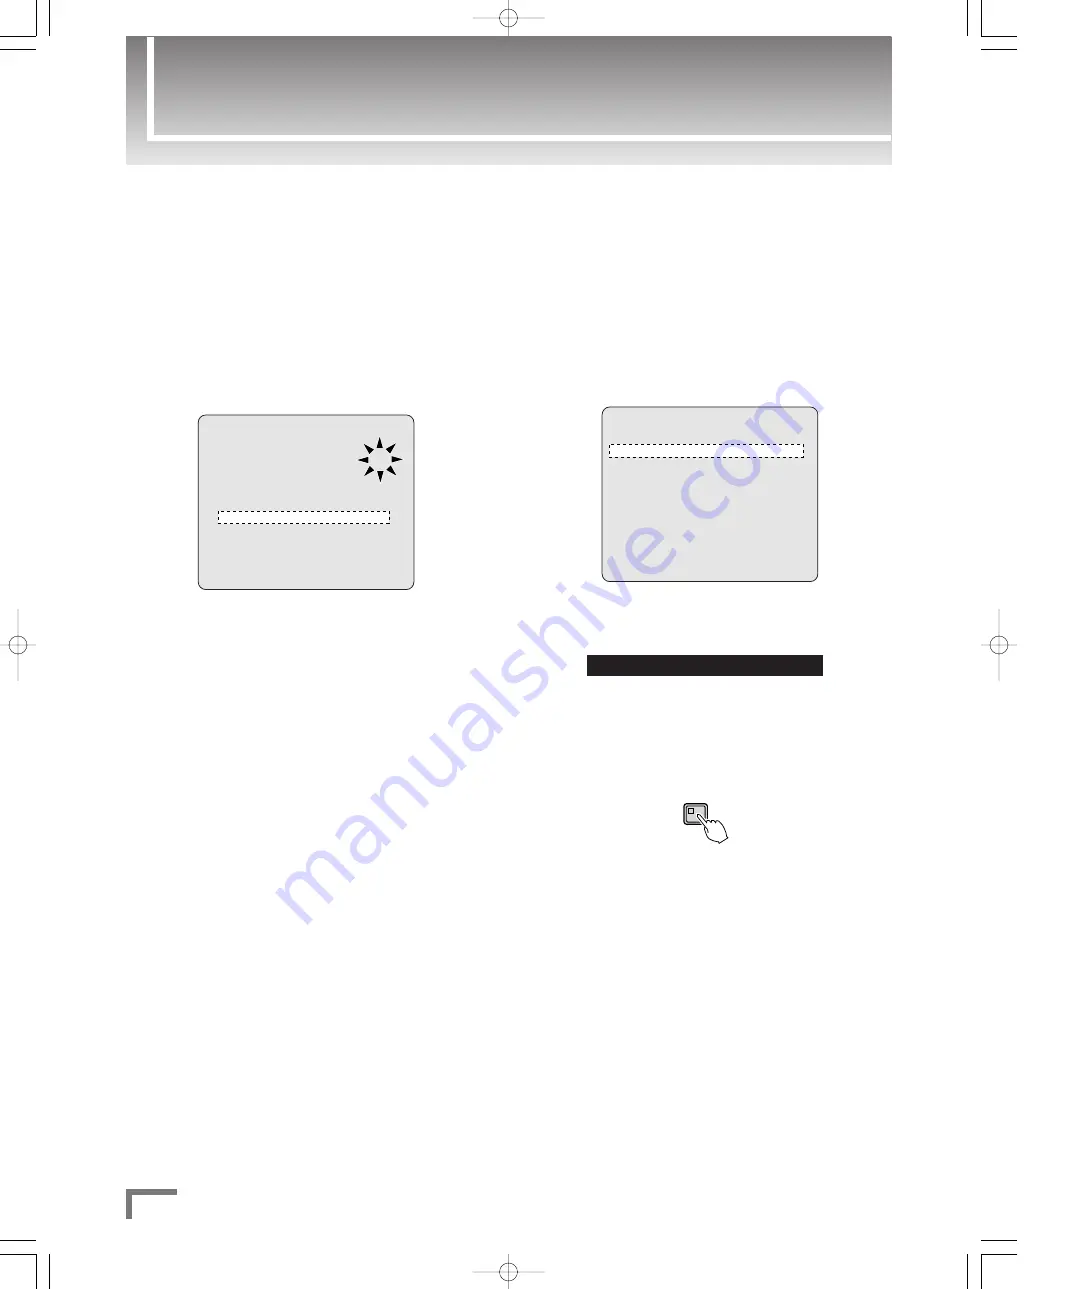
<RECORDING CONDITIONS SET>
NORMAL RECORDING AREA
OVERWRITE : ON
ALARM RECORDING AREA
OVERWRITE : ON
REMAINING DISK WARNING : **
SERIES RECORDING : OFF
AUTO DELETE : OFF
3
2
1
■
To schedule the recorder to perform timer-
controlled recording during the same hours
and at the same rate every day:
Press the MENU button to open the MAIN MENU
screen, and choose “2. RECORD SET”.
On the RECORD SET screen, choose “6. TIMER
SET”.
Configure the timer-controlled recording settings.
Example: To schedule the recorder to perform timer recording during
the hours from 8:30 to 18:30 at the recording rate of 15FPS
every day, configure the settings as follows:
Press the EXIT/OSD button.
Press the TIMER button.
a
The indicator turns on, and the timer-controlled recording
is put into standby. At the specified time, the timer-
controlled recording will start.
TIMER
5
4
DLY 08:30 18:30 OFF 15 FPS ON
<TIMER SET>
WEEK START STOP PROGRAM FPS SET
SUN --:-- --:-- OFF 15 FPS OFF
MON --:-- --:-- OFF 15 FPS OFF
TUE --:-- --:-- OFF 15 FPS OFF
WED --:-- --:-- OFF 15 FPS OFF
THU --:-- --:-- OFF 15 FPS OFF
FRI --:-- --:-- OFF 15 FPS OFF
SAT --:-- --:-- OFF 15 FPS OFF
DLY --:-- --:-- OFF 15 FPS OFF
EXT ***** ***** OFF 15 FPS OFF
3
2
1
0̲3716QG̲US̲GB 05.11.11 11:48 AM ページ 13


