background image

6

The preset menu can be used to tune new channels, to reorder
channels and their programme positions, and to make fine adjust-
ments to the tuning.

The preset menu is used for the following.

Program sort : To rearrange channel positions after Auto sort.

Auto sort: To automatically search, sort and store all channels.

Frequency : To manually search and add channels. To fine tune

existing channels.

✐ 

Preset function can be disabled, see Hotel mode on page 8.

■ 

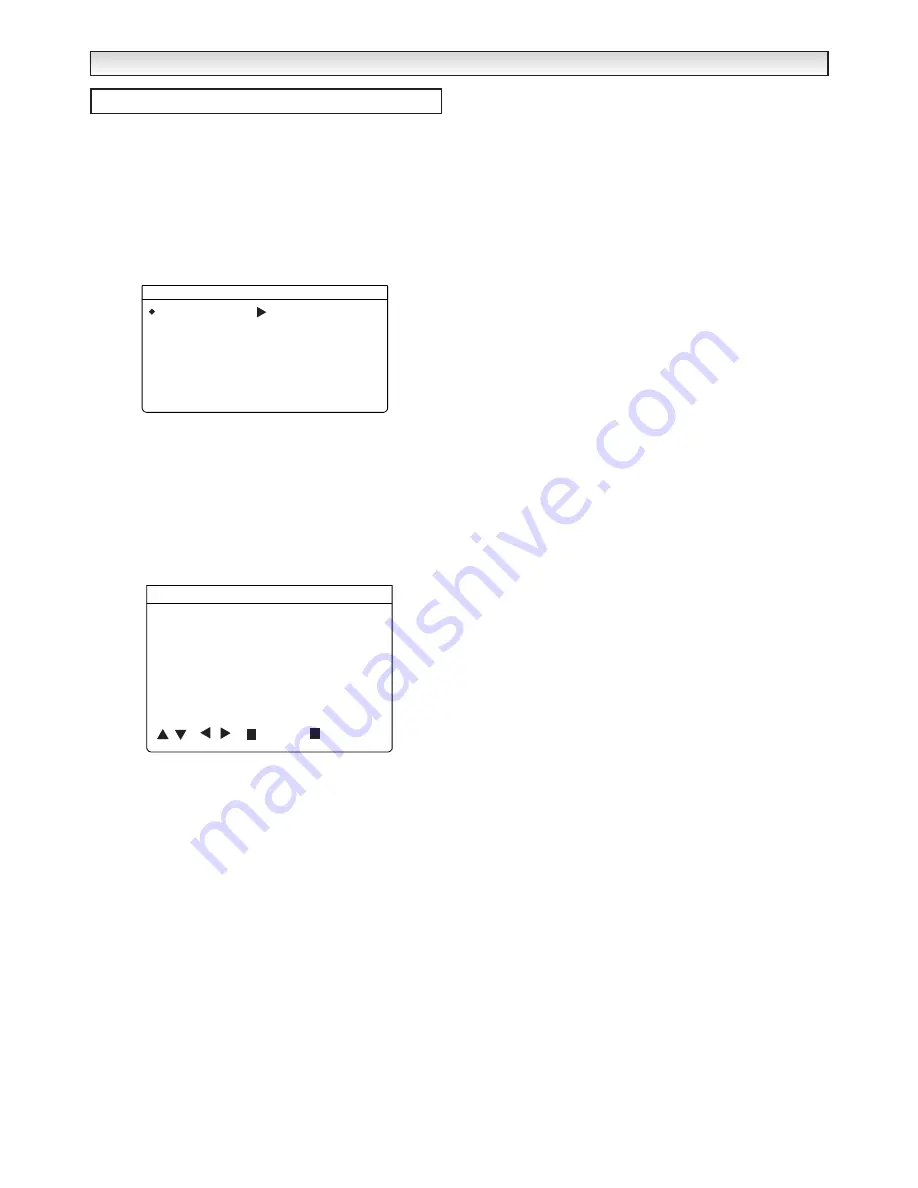
Program sort

1. Press Menu button and select Preset.

2. Select Program sort. Using 

1

2

buttons and 

5


or 

6

buttons. Select which channel you want to move eg. Programme
position 4.  (highlighted yellow). Press (Green) Move button, the
programme position number turns green. Screen shows  Move to
..... at the bottom.

3. Select programme position to move to eg. 2 . Press Green Move

button again to move. 

4. To delete a channel. Select the Programme position. ie.17. Press

Red button. (highlights number red). Press Red button again to
delete. Programme position 17 is now deleted.

Exit menu by pressing MENU button repeatedly.

■ 

Auto sort

1. Press the MENU button and select Preset.

2. Select Auto sort by pressing 

5


or 

6


buttons. Press the F/OK

button to start automatically tuning, sorting and storing all available
channels.

After completion Auto sort changes from Busy to OK?

3. Press the MENU button repeatedly to exit.

Note : Auto sort can be cancelled at any time by pressing any button

except for the F/OK button.

You can change the order of the station selection, by using

the Program sort function.

■ 

Tuning - Frequency (Manual)

1. Press the MENU button and select Preset.

2. Select Programme position using the 

5


or 

6


buttons and

select the programme position where you wish to preset a channel
using the 0-9, -/--, buttons or

1

2

buttons.

3. Select Programme name using the 

5

or 

6


buttons. Press the

1


button, the first character space turns yellow. Press the 

5

or 

6


buttons until the number or first letter you require appears

(0-9, A-Z, a-z, ?, !, -, +). Press the 

1


button to select the

second character. 

You can assign 7 characters of information. When finished press
the 

1


button repeatedly until no character is highlighted.

4. Select Frequency by using the 

5

or 

6


button. 

You can either...

a) Enter the frequency using the 0-9 buttons referring to the

channel table.

b) Press and hold the 

1


or 

2


buttons until the frequency

starts scanning (about 5 seconds), scanning will stop when a
channel is found.

c) Keep pressing to de-tune the frequency.

Repeat above until the correct channel is found.

5. Press the F/OK button to store the new frequency (it turns green).

6. Repeat for other programme positions if required.

Skip

Skip ON   : In normal operation when the 

5


or 

6


button is pressed

this position will be skipped.

Skip OFF : Position is not skipped when 

5


or 

6


button is pressed.

1. Press the MENU button select Preset - Program. pos.

2. Select a program position that you wish to Skip.

3. Select Skip by pressing the 

6


button. Using 

1


or 

2


buttons

select On / Off.

Press Menu button repeatedly to exit.

✐ 

You can still view a programme position that has been skipped by
using the numeric buttons to select the programme position directly.   

MENU OPERA

MENU OPERA

TION

TION

Preset menu

Program sort       

Auto sort

  Busy / OK?

Program pos.

  6

Program name

  Sky

Frequency

Skip

  On / Off

631.25 MHz

Preset

Program sort

1

7

13

2

8

14

3

9

15

4

10

16

5

11

17

6

12

18

Move

Delete

 - - - - - - - - - - - - - - - - - - - - - - - - - - 

Содержание CE28FWN5BK-B

Страница 1: ...rial input impedance 75 ohm AV terminal AV1 CENELEC Standard Input Composite video RGB and audio L R Output TV output with composite video and audio L R AV2 CENELEC Standard Input Composite video RGB S VHS and audio L R Output Monitor output with composite video and audio L R Front AV terminal AV3 RCA jacks Input Composite video and audio L R Headphone socket Mini Jack CE28FWN5BK B CE32FWN5BK B So...

Страница 2: ...ersonal safety But improper use can result in potential electric shock or fire hazards In order not to defeat the safeguards incorporated in this receiver observe the following basic rules for its installation use and servicing Your television is fully transistorised and does not contain any user serviceable components You must not remove the rear cover of the TV by yourself The apparatus is worki...

Страница 3: ... appears To remove the completed message press the MENU button Now the installation is complete After Plug Play the TV set will automatically sequence the follow ing major stations in the UK starting from programme position 1 BBC1 BBC2 ITV CH4 CH5 SKY BBC World or BBC Prime Any other channels found will be stored sequentially as they are found after the major stations If you move to another city o...

Страница 4: ...ain to cancel VCR DVD controls With selected Sanyo DVD VCR players you can use this remote The following table shows all available function buttons for the VCR and DVD When you use a compatible Sanyo DVD player first press and hold the DVD button and then press your desired function button Teletext This is a free service to give you lots of varied information such as news sports results weather an...

Страница 5: ...he AV2 menu to S Video Press the MENU button and select Setting and then AV2 Change to S Video or Video Off timer setting The Off timer will switch the TV set into the standby mode when the selected time has elapsed Press the MENU button select Setting and then Off timer The time changes in 5 minute steps The maximum time is 2 00hrs Once set the time will show on the screen with the remaining time...

Страница 6: ...tton and select Preset 2 Select Programme position using the 5 or 6 buttons and select the programme position where you wish to preset a channel using the 0 9 buttons or1 2 buttons 3 Select Programme name using the 5 or 6 buttons Press the 1 button the first character space turns yellow Press the 5 or 6 buttons until the number or first letter you require appears 0 9 A Z a z Press the 1 button to ...

Страница 7: ...ill the screen The picture is more stretched at the edges The height is expanded to fill the whole screen The picture fills the screen and is proportionally correct The black bars top and bottom remain and the height is compressed to fit the picture area Natural 4 3 14 9 16 9 Letterbox Video The correct picture width is maintained but the top and bottom are cropped Zooms in slightly cropping the t...

Страница 8: ...the original purchaser repair or replace at its sole option free of charge any such defective component part of the equipment always provided that 1 The equipment has at all times been used in accordance with the operating instructions issued by the Company and has not been connected to an electrical mains supply for which it has not been adjusted 2 Accidental damage or damage caused by negligence...

Отзывы: