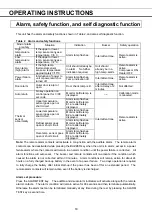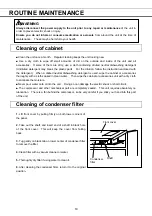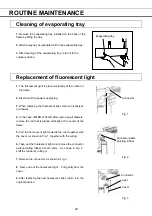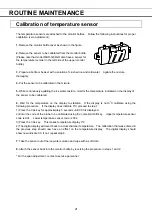
16
START-UP OF UNIT
Follow the procedures for the initial and consequent operations of the unit.
1.
Connect unit to dedicated power supply. Do not put any product in the unit at this time.
2.
When the power is initially applied, the audible alarm may sound. This is normal. Press the
BUZZER key to silence the alarm. The audible alarm will operate until the temperature monitor bottle
sensor goes into the range of 4
o
C±2
o
C.
3.
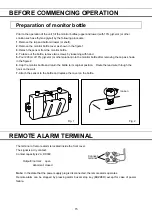
Ensure that both monitor bottles have been filled with 10% glycerol as outlined earlier in this manual.
4.
The unit has been factory preset to operate at 4
o
C±1.5
o
C. There is no need to set the temperature.
5.
Proper chamber temperature may take several hours to stabilize at the set point temperature. Once
the unit has stabilized, ensure that the monitor bottle temperature agrees with the set point temperature.
6.
Turn on the light switch to ensure that the chamber light is properly functional.
7.
When you are satisfied that the unit is working correctly, begin slowly placing product into the chamber
to minimize the temperature rise.
Handling of containers
Arrange containers so as not to disturb air circulation
in the unit. Disturbance of air circulation may cause
freezing of contents or increase of temperature.
1. Air intake vent
Avoid the disturbance of air circulation in the unit by
containers. Disturbance of air circulation may
cause freezing of contents or rise in temperature.
2. Air exhaust vent
Do not block the exhaust air port by putting
containers near the exhaust air port. Containers
near the exhaust air port may freeze.
3. Load line
This unit determines the range of the containers to
ensure proper air circulation. Put containers in
range of the label of "Load line" which is attached on
both sides inside the unit.
Fan
Air intake
vent
Air exhaust
vent
Load line
Air circulation
Containers
Load line
Range of the
containers

