


User manual
SCVR-2411K, SCVR-2411TK, SCVR-2812TK
_________________________________________________________________________________
- 59 -
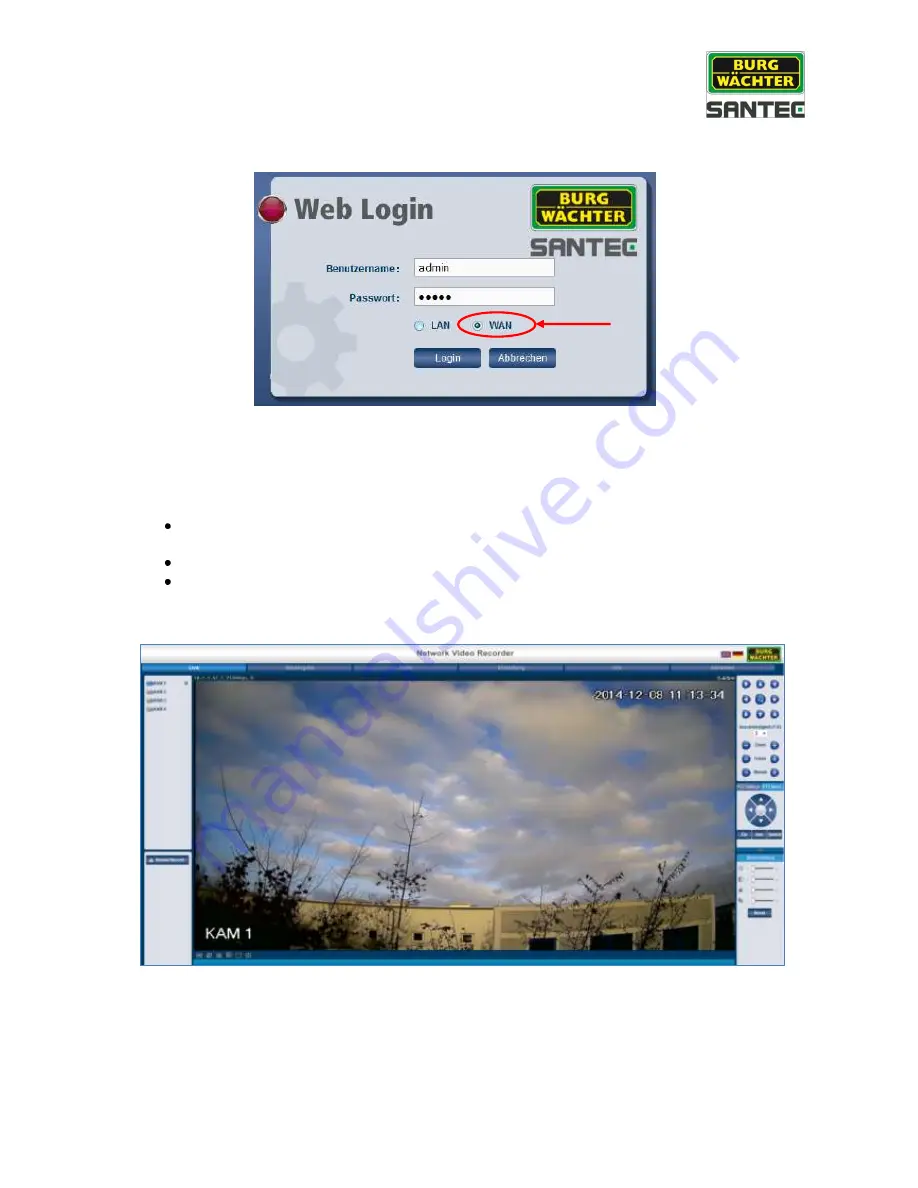
9.4 WAN connection
On the login page, select „WAN“ connection.
The WAN setting options are basically the same as the LAN setting (see chapter 9.3), except
for the following difference:
By default, the first channel is displayed as main stream in full screen.
Double-click to display the split view.
The buttons “Open all” and “Close all” are not active.
The recorder cannot display the live image and the playback image at the same time.
If, for example, you use the search function in playback mode, the live image is
automatically closed to save bandwidth and to speed-up the search.


