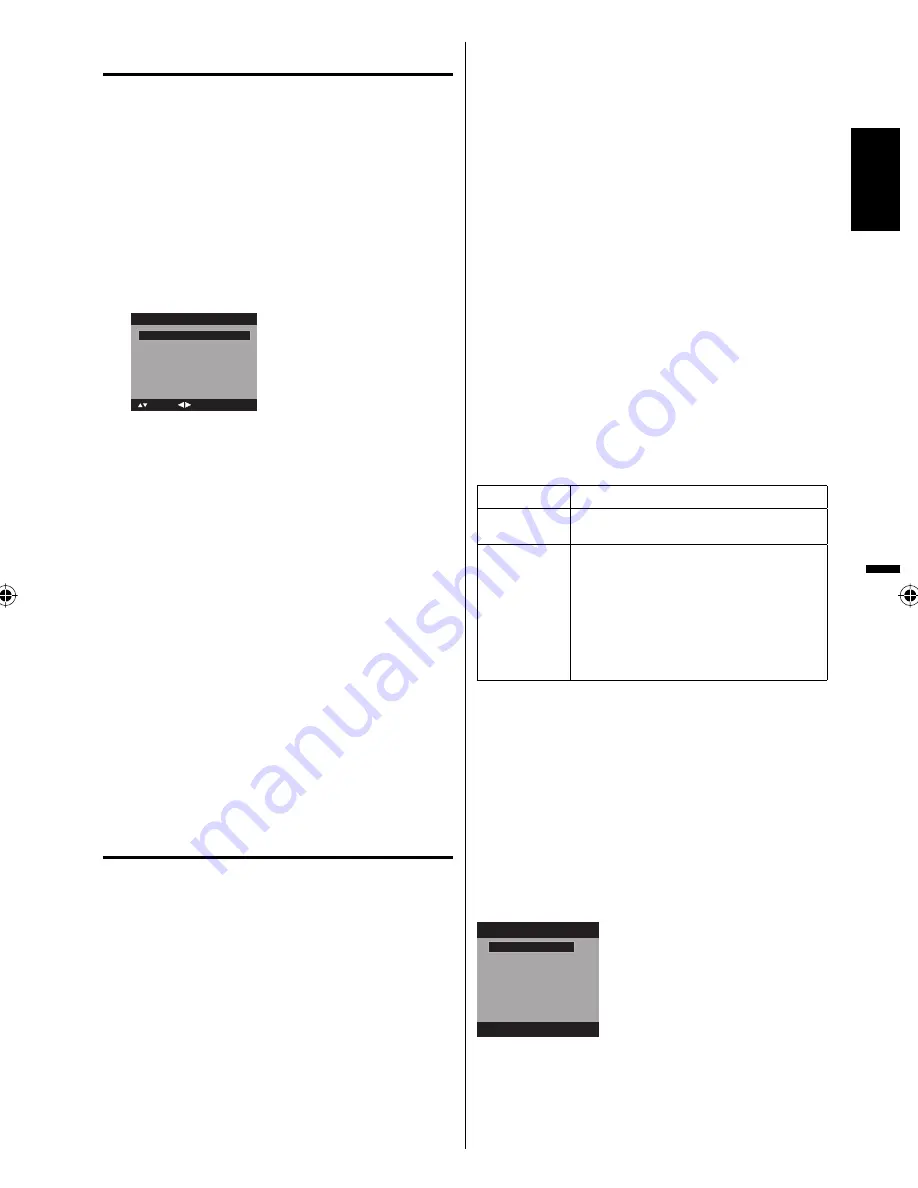
Sansui HDLCD3212 Скачать руководство пользователя страница 15

15

Starting setup

The Starting Setup menu appears the first time 

you turn on the TV, and assists you to select the 

menu language, specify the Air/Cable setting, 

and program your channels automatically.
IMPORTANT: Make sure that the antenna or cable 

TV system connection is made!

1

To turn on the TV, press 

POWER

 (POWER 

indicator on the front of the unit changes green. 

It may take approx. 10 seconds for a picture to 

appear on screen.). The starting setup function 

begins. Press 

 or 

 to select your desired 

language.

Automatic Search

Start

Auto Setup

Language

English

Signal Type

Cable

: Adjust

: Select

2

Press 

 or 

 to select “Signal Type”, then press 

 or 

 to select “Cable” or “Air”.

3

Press 

 or 

 to select “Automatic Search”, then 

press 

 or 

ENTER

4

Now the “Auto Setup” starts. After the starting 

setup is completed, the TV channel appears on 

the screen.
• Depending on the reception condition, it may 

take from 15 minutes to 30 minutes to complete 

memorizing digital cable channels. Please be 

patient.

NOTE:

If you press 

EXIT 

in the process of “Auto Setup”, 

the Starting Setup stops and changes to the normal 

screen.
When you make a menu selection, your changes 

occur immediately. You do not have to press 

EXIT 

to 

see your changes.

When you are finished programming the menus, 

press 

EXIT

.

TV operation

1

To turn on the TV, press 

POWER

.

(POWER indicator on the front of the unit 

changes green. It may take approx. 10 seconds 

for a picture to appear on screen.)

2

Adjust the volume level by pressing 

VOL +

 or 

 . 

The volume level will be indicated on the screen 

by blue bars. As the volume level increases, so do 

the number of bars. If the volume decreases, the 

number of blue bars also decreases.

3

Set the Signal Type option to the appropriate 

position (see “Air/Cable selection” on page 18).

4

Press the 

Direct Channel Selection (0

-

9, 

)


buttons to select the channel.

(If you press only channel number, channel 

selection will be delayed for a few seconds.)

TO SELECT ANALOG CHANNELS

1-9: 

Press 1-9 as needed. Example, to 

select channel 2, press 

2

, then press 

ENTER

.

10-99: 

Press the 2 digits in order. Example, 

to select channel 12, press 

1

2

, then 

press 

ENTER

.

100-135:  Press the 3 digits in order. Example, to 

select channel 120, press 

1

2

0

, then 

press 

ENTER

.

TO SELECT DIGITAL CHANNELS

Press the first 3 digits, then press the 


button, 

followed by the remaining number.

Example, to select channel 015-001, press 

0

,

 1

,


5

,


0

,

 0

,

 1

, then press 

ENTER

.

If a channel is selected with only audio content, 

“Audio only” will be displayed on the screen.

If a channel is selected with a weak digital 

signal, “Digital channel signal strength is low”  

will be displayed on the screen.

  The same program may be available on either 

an analog channel or a digital channel. You may 

choose to watch either format.

If a channel is selected to which you have not 

subscribed, “Digital channel is encrypted” will 

be displayed on the screen.

VHF/UHF/CABLE CHANNELS

Air

Cable

VHF

2-13

VHF

2-13

UHF

14-69

STD/HRC/IRC

14-36 (A) 

(W)

37-59 (AA) 

(WW)

60-85 (AAA) 

(ZZZ)

86-94 (86) 

(94)

95-99 (A-5) 

(A-1)

100-135 (100) 

(135)

01 (4A)

NOTE:

If a channel with no broadcast is selected, the 

sound will automatically be muted.

It may take a few seconds for a digital channel 

picture to appear on screen after being selected.

To select the video input source

To view a signal from another device connected to 

your LCD TV, such as a VCR player, press

 INPUT 

SELECT

, then press 

/

 or corresponding 

Number 

buttons (0

-

6)

, then press 

ENTER

. You can select TV, 

Video1, Video2, Component, HDMI1, HDMI2 or PC 

depending on which input jacks you used to connect 

your devices.

Source Selection

1.Video1

2.Video2

3.Component

4.HDMI1

5.HDMI2

6.PC

[0-6]:Select

0.TV

CH +/

-

Press and release 

CH +/

-

. The channel automatically 

stops at the next channel set into memory.

For proper operation, before selecting channels, they 

should be set into the memory. See “Memorizing 

channels” on pages 18 and 19.

ENGLISH

37M0121B_En.indd   15

37M0121B_En.indd   15

4/30/09   4:19:41 PM

4/30/09   4:19:41 PM

Содержание HDLCD3212

Страница 1: ...on mode If not using Cable TV set this menu option to the Air position Lorsque l appareil sort de l usine l option Signal Type est en mode Cable câblodistribution Si vous n utilisez pas la câblodistribution sélectionnez l option Air Before operating the unit please read this manual thoroughly Avant de faire fonctionner l appareil veuillez lire le présent guide attentivement HDLCD3212 HDLCD3212A IF...

Страница 2: ...mmunications However there is no guarantee that interference will not occur in a particular installation If this equipment does cause harmful interference to radio or television reception which can be determined by turning the equipment off and on the user is encouraged to try to correct the interference by one or more of the following measures Reorient or relocate the receiving antenna Increase t...

Страница 3: ...lt in fire or electric shock Never spill or spray any type of liquid into the unit 19 If an outside antenna or cable system is connected to the unit be sure the antenna or cable system is grounded to provide some protection against voltage surges and built up static charges Section 810 of the National Electrical Code ANSI NFPA 70 provides information with respect to proper grounding of the mast an...

Страница 4: ... the display and wall mount manufacturers If you have any doubts about your ability to safely install your flat panel display contact your retailer about professional installation Make sure that the wall where you are mounting the display is appropriate to support the weight of the unit product and wall mount If you are unsure contact a professional installer A minimum of two people are required f...

Страница 5: ...y cause skin inflammation If the liquid gets in your mouth immediately gargle and consult with your doctor Also if the liquid gets in your eyes or touches your skin consult with your doctor after rinsing for at least 15 minutes or longer in clean water Possible Adverse Effects on LCD Panel If a fixed non moving pattern remains on the LCD Panel for long periods of time the image can become permanen...

Страница 6: ...ture On Screen 3 Language Display You can select one of 3 languages English French or Spanish for on screen programming NOTE Please make sure to insert the cord securely at both the LCD TV and the wall outlet The AC cord has a grounding type AC line plug If the supplied AC cord does not match your AC outlet contact a qualified electrician do not defeat the purpose of a grounding plug WARNING DO NO...

Страница 7: ...ns to other equipment 12 TV operation Starting setup 15 TV operation 15 Quick guide for menu operation 16 Convenience functions 17 Memorizing channels 18 Checking the digital signal strength 19 Labeling channels 19 Labeling video inputs 19 Setting the V Chip 20 Closed Caption 21 CC advanced 21 Setting the picture size 22 Additional information Reception disturbances 23 Troubleshooting 24 Specifica...

Страница 8: ...ck AUDIO L R jacks for COMPONENT IN and LINE2 VIDEO IN LINE1 IN jacks VIDEO S VIDEO AUDIO L R LINE2 VIDEO IN jack COMPONENT IN jack PC MONITOR IN jack VAR VARIABLE AUDIO OUT jack COAXIAL DIGITAL AUDIO OUT jack RF ANT IN jack Rear To display the menu screen Press MENU button to display the menu screen CHANNEL buttons VOLUME buttons and INPUT ENTER button can be used to select the desired setting du...

Страница 9: ...ect access to any channel of the LCD TV 4 Button This button is the button used when selecting digital channels Also can display the current channel number when viewing the program 5 RESET Button Press to reset the On Screen picture adjustments to their factory preset positions To use this function select Picture or Audio in the menu screen then press this button 6 CH CHANNEL CURSOR Buttons Used t...

Страница 10: ...he antenna jack If your combination VHF UHF antenna has a 300 ohm twin lead wire the use of the 300 75 ohm matching transformer may be necessary Connect the UHF 300 ohm twin lead wire to the Combiner not supplied Connect the VHF 300 ohm twin lead wire to the 300 75 ohm Matching Transformer Attach the Transformer to the Combiner then attach the Combiner to the Antenna Jack Connect the VHF 75 ohm ca...

Страница 11: ...s require the use of a Converter Descrambler box you may wish to use a signal Splitter and an A B Switch box available from the Cable TV company or an electronics supply store Follow the connections shown below With the switch in the B position you can directly tune any nonscrambled channels on your TV With the switch in the A position tune your TV to the output of the Converter Descrambler box us...

Страница 12: ...of your DVD player with the COMPONENT video cables not supplied Rear of the unit To Video Audio OUT Video Audio cord not supplied To LINE1 VIDEO AUDIO IN To Component OUT Audio cord not supplied Component video cord not supplied To LINE2 AUDIO IN To COMPONENT IN To Audio OUT NOTE Component Video input of the unit are for use with a device which output 480i 1080i interlaced signals and 480p 720p pr...

Страница 13: ... end of a male to male VGA cable to the video card of the computer and the other end to the VGA connector PC MONITOR on the rear of the TV Attach the connectors firmly with the screws on the plug In case of a Multimedia computer connect the audio cord to the audio output of your Multimedia computer and to the AUDIO connector of the PC DVI AUDIO IN jack of the TV You can also connect the PC with HD...

Страница 14: ...mponent cable box satellite receiver etc to this LCD TV using an HDMI cable or a DVI to HDMI cable the image will not display if the output resolution of the component is set to 480i To receive the picture you must change the output resolution on the external component Should you require further instruction please contact the manufacturer of the external component To Audio L Input To Audio R Input...

Страница 15: ...annel If you press only channel number channel selection will be delayed for a few seconds TO SELECT ANALOG CHANNELS 1 9 Press 1 9 as needed Example to select channel 2 press 2 then press ENTER 10 99 Press the 2 digits in order Example to select channel 12 press 1 2 then press ENTER 100 135 Press the 3 digits in order Example to select channel 120 press 1 2 0 then press ENTER TO SELECT DIGITAL CHA...

Страница 16: ... TV s sound will be silenced and Mute will appear on the screen The sound can be switched back on by pressing this button again or the VOL or SLEEP To set the TV to turn off after a preset amount of time press SLEEP on the remote control The clock will count up 10 minutes for each press of the SLEEP but ton Off 0h 10m 0h 20m 2h 0m After the sleep time is programmed the display will appear briefly ...

Страница 17: ...reo Mono SAP The multi channel TV sound MTS feature provides high fidelity stereo sound MTS also can transmit a second audio program SAP containing a second language or other audio information When the TV receives a stereo or SAP broadcast the word Stereo or SAP displays on screen every time you press DISPLAY Surround On Off The dynamic presence and sound created offers a thoroughly enjoyable list...

Страница 18: ...ance for several minutes please be patient NOTE Memorizing channels is best accomplished during evening PRIMETIME hours as more stations are broadcasting digital signals Memorizing channels can only be accomplished while a station is broadcasting a digital signal to set that channel into memory If you are unsure of the digital channels available in your area you may visit www antennaweb org to rec...

Страница 19: ... a channel you want to label then press Ch Label Label Clear Adjust Ch Label Channel Number 15 1 Select 4 Press or repeatedly until the character you want appears in the first space Label Clear Adjust Ch Label Channel Number 15 1 Select Ch Label A ENTER Set The characters rotation as follows SPACE If the character which you desire appears press ENTER Repeat this step to enter the rest of the chara...

Страница 20: ...ears old and above TV MA 17 years old and above Genre ALL All D Dialogue L Language S Sex V Violence FV Fantasy Violence Movie Rating G PG PG 13 R NC 17 X ENTER Set Movie Rating Select G All ages PG Parental guidance PG 13 Parental guidance less than 13 years old R Under 17 years old parental guidance suggested NC 17 17 years old and above X Adult only 6 Press to select the desired rating then pre...

Страница 21: ...ess or to select Closed Caption then press or ENTER The Closed Caption menu will appear 3 Press or to set CC Setting to On On Captions will be displayed on the screen Off Captions will not be displayed on the screen 4 Press or to select Analog Caption or Digital Caption When you select Analog Caption you can choose C1 C2 C3 C4 T1 T2 T3 and T4 When you select Digital Caption you can choose from CS1...

Страница 22: ...ct 0 Natural 4 Full 3 Cinema Wide3 NOTE Selectable picture sizes may vary depending on the input source or broadcast signal Picture Size menu also can be displayed by pressing SCREEN SIZE on the remote control Natural In some cases this image will display the size of standard 4 3 with a black side bar Cinema Wide1 for 4 3 format programs To fill the screen the right and left edges are extended how...

Страница 23: ...VARIATION A slight picture size variation is normal when you adjust the CONTRAST or BRIGHTNESS settings Most types of television interference can be remedied by adjusting the height and position of the VHF UHF antenna Outdoor antennas are recommended for best results The most common types of television interference are shown below If one of these symptoms appear when the TV is connected to a Cable...

Страница 24: ...e Make sure the power cord is plugged in Try another AC outlet Power is off check fuse or circuit breaker Unplug unit for an hour then plug it back in Poor sound or no sound Station or Cable TV experiencing problems tune to another station Check sound adjustments VOL and Mute Check for sources of possible interference Poor picture or no picture Station or Cable TV experiencing problems tune to ano...

Страница 25: ...A 5 A 1 100 135 100 135 01 4A Tuner type Frequency synthesized Inputs S Video Y Input 1 0 V p p 75 ohms C Input 0 3 V p p 75 ohms Video RCA 1 V p p 75 ohms Audio RCA 8 dBm 50K ohms Component video Y 1 V p p 75 ohms Pb Pr 0 7 V p p 75 ohms HDMI HDMI compliant type A connector HDCP compliant E EDID compliant Suggested scan rates 480p 480i 720p 1080i 1080p HDMI Audio 2 channel PCM 32 44 1 48 kHz samp...

Отзывы: