


16
Starting setup
The Starting Setup menu appears the first time
you turn on the TV, and assists you to select the
menu language, specify the Air/Cable setting,
and program your channels automatically.
IMPORTANT: Make sure that the antenna or cable
TV system connection is made!
1
To turn on the TV, press
POWER
(POWER
indicator on the front of the unit changes green.
It may take approx. 10 seconds for a picture to
appear on screen.). The starting setup function
begins. Press
◀
or
▶
to select your desired
language.
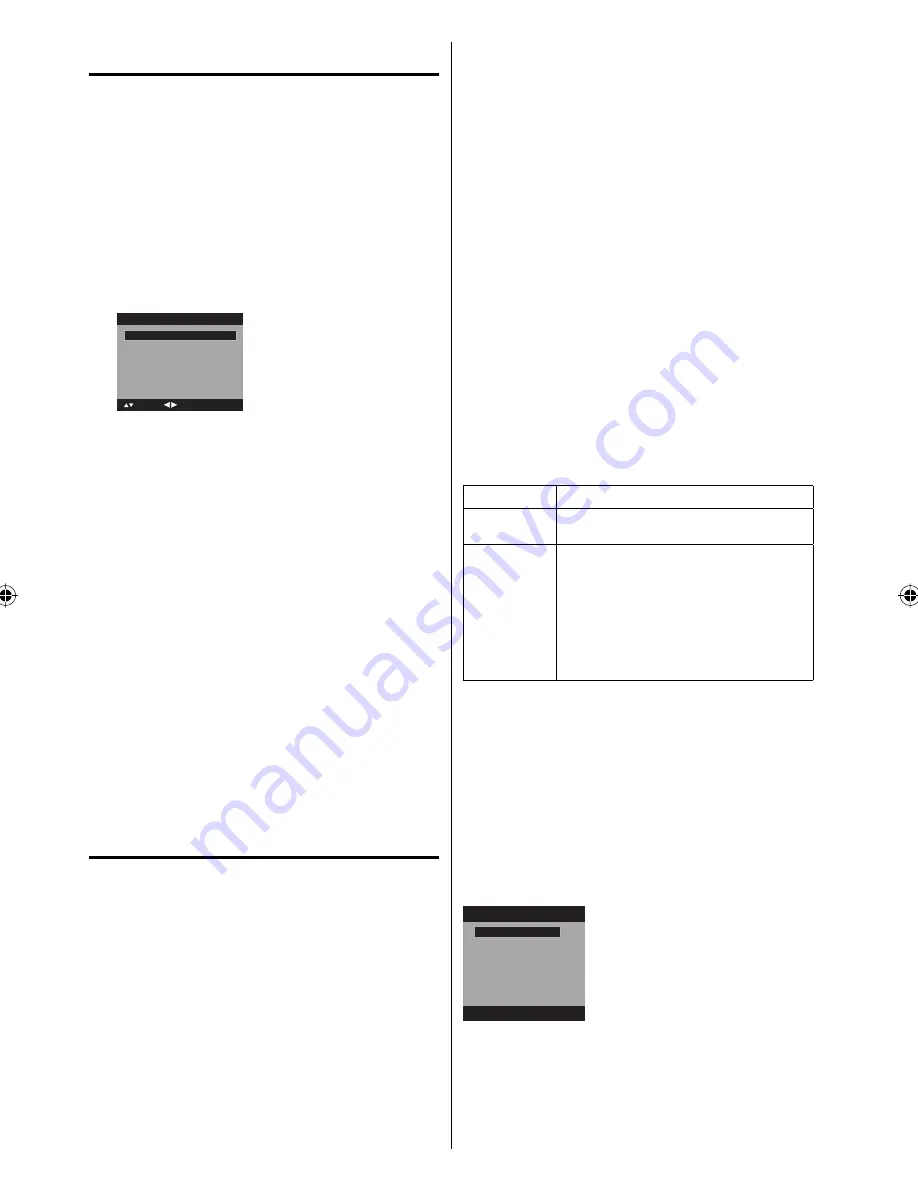
Automatic Search
Start
Auto Setup
Language
English
Signal Type
Cable
: Adjust
: Select
2
Press
▲
or
▼
to select “Signal Type”, then press
◀
or
▶
to select “Cable” or “Air”.
3
Press
▲
or
▼
to select “Automatic Search”, then
press
ENTER
or
▶
.
4
Now the “Auto Setup” starts. After the starting
setup is completed, the TV channel appears on
the screen.
• Depending on the reception condition, it may
take from 15 minutes to 30 minutes to complete
memorizing digital cable channels. Please be
patient.
NOTE:
If you press
EXIT
in the process of “Auto Setup”,
the Starting Setup stops and changes to the normal
screen.
When you make a menu selection, your changes
occur immediately. You do not have to press
EXIT
to
see your changes.
When you are finished programming the menus,
press
EXIT
.
TV operation
1
To turn on the TV, press
POWER
.
(POWER indicator on the front of the unit
changes green. It may take approx. 10 seconds
for a picture to appear on screen.)
2
Adjust the volume level by pressing
VOL +
or
–
.
The volume level will be indicated on the screen
by blue bars. As the volume level increases, so do
the number of bars. If the volume decreases, the
number of blue bars also decreases.
3
Set the Signal Type option to the appropriate
position (see “Air/Cable selection” on page 19).
4
Press the
Direct Channel Selection (0
-
9,
–
)
buttons to select the channel.
(If you press only channel number, channel
selection will be delayed for a few seconds.)
•
•
•
TO SELECT ANALOG CHANNELS
1-9:
Press 1-9 as needed. Example, to
select channel 2, press
2
, then press
ENTER
.
10-99:
Press the 2 digits in order. Example,
to select channel 12, press
1
,
2
, then
press
ENTER
.
100-135: Press the 3 digits in order. Example, to
select channel 120, press
1
,
2
,
0
, then
press
ENTER
.
TO SELECT DIGITAL CHANNELS
Press the first 3 digits, then press the
–
button,
followed by the remaining number.
Example, to select channel 015-001, press
0
,
1
,
5
,
–
,
0
,
0
,
1
, then press
ENTER
.
If a channel is selected with only audio content,
“Audio only” will be displayed on the screen.
If a channel is selected with a weak digital
signal, “Digital channel signal strength is low”
will be displayed on the screen.
The same program may be available on either
an analog channel or a digital channel. You may
choose to watch either format.
If a channel is selected to which you have not
subscribed, “Digital channel is encrypted” will
be displayed on the screen.
•
•
•
VHF/UHF/CABLE CHANNELS
Air
Cable
VHF
2-13
VHF
2-13
UHF
14-69
STD/HRC/IRC
14-36 (A)
(W)
37-59 (AA)
(WW)
60-85 (AAA)
(ZZZ)
86-94 (86)
(94)
95-99 (A-5)
(A-1)
100-135 (100)
(135)
01 (4A)
NOTE:
If a channel with no broadcast is selected, the
sound will automatically be muted.
It may take a few seconds for a digital channel
picture to appear on screen after being selected.
To select the video input source
To view a signal from another device connected to
your LCD TV, such as a VCR player, press
INPUT
SELECT
, then press
▲
/
▼
or corresponding
Number
buttons (0
-
4)
, then press
ENTER
. You can select TV,
Video, Component, HDMI or PC depending on which
input jacks you used to connect your devices.
Source Selection
[0-4]:Select
0.TV
1.Video
2.Component
3.HDMI
4.PC
CH +/
-
Press and release
CH +/
-
. The channel automatically
stops at the next channel set into memory.
For proper operation, before selecting channels, they
should be set into the memory. See “Memorizing
channels” on pages 19 and 20.
•
•
37J0121C_En.indd 16
37J0121C_En.indd 16
7/9/09 2:23:08 PM
7/9/09 2:23:08 PM


