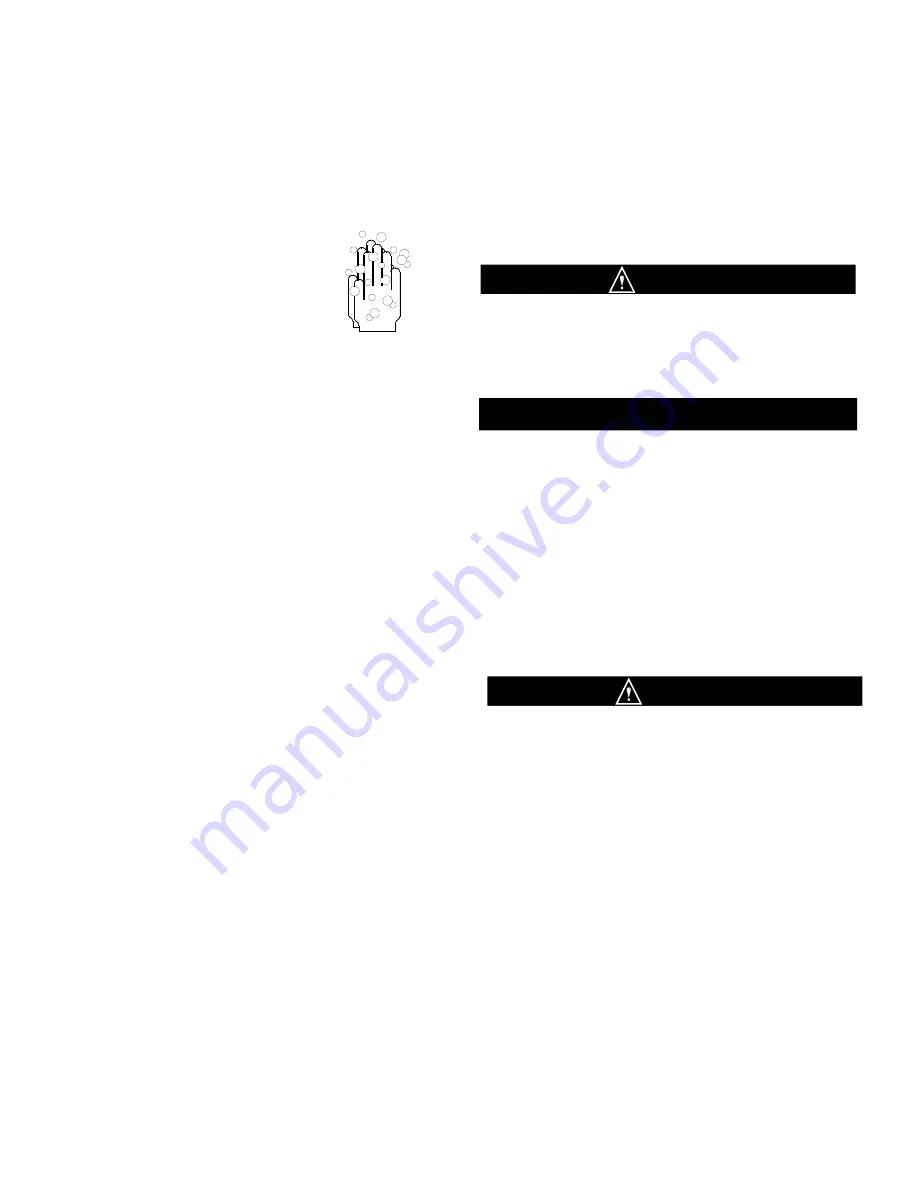
1. Wear eye protection. Wash hands with a
suitable antibacterial soap.
2. Prepare 2 to 3 gallons of sanitizing
solution equivalent to 200 ppm chlorine
residual - check local requirements.
3. Pour the solution into the mix pan.
4. Using a sanitary brush, wipe the solution onto the sides
of the mix pan, over and the underside of the lid.
5. Set the control switch to the
“CLEANOUT”
position
and let the unit agitate for approximately 3 to 5 minutes.
NOTE: DO NOT set the control switch to the “AUTO”
position. Doing so would freeze the sanitizing solution
and may result in damage to the machine.
6. Set the control switch to the
“OFF”
position and
drain the solution from the machine.
DO NOT INSERT ANY TOOLS OR OBJECTS INTO
THE MIX INLET HOLE, CARBURETOR TUBE HOLE,
OR THE DISPENSING HOLE IN THE FRONT PLATE.
DAMAGE TO THE MACHINE OR PERSONAL INJURY
MAY RESULT.
DO NOT RINSE OUT THE MACHINE
Proceed to the Operation” section of this manual
Sanitizing
Prior to operation, the machine must be sanitized. The unit must have already been cleaned and lubricated.
Note: Sanitize immediately before use, not several hours before or the previous evening.
WARNING
IMPORTANT
Operation
Always start with a cleaned and sanitized dispenser as per previous instructions. Use only fresh mix when charging the
units. Following these instructions is critical to the maximum operating efficiency of the machine.
1. Remove the carburetor tube from the bottom of the
mix pan and set aside in a sanitary location.
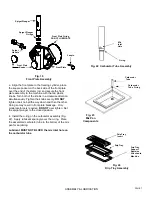
2. Install the drip tray and drip tray insert.
3. Place a 16 oz. Cup under the spigot and open the
spigot handle. Pour approximately one quart of fresh
product mix into the mix pan. (This will chase the
sanitizing solution from the mix pan and freezing
cylinder.) Close the spigot handle when the sanitizer
is purged from the system.
4. Once the sanitizer solution has been purged from
the machine, fill the mix pan full of product mix.
5. Install the carburetor tube into the hole in the mix
pan with a gentle twisting motion
6. Set the control switch to the
“CLEANOUT”
position
for approximately 1-1/2 seconds (a click can be heard)
and then move the switch rapidly to the
“AUTO”
position.
SANITIZING & OPERATION
PAGE 8
WHEN DISPENSING PRODUCT, MAKE CERTAIN
THE HOLE IN THE CARBURETOR TUBE IS OPEN
AT ALL TIMES. IF NOT OPEN, THE FLOW OF MIX
WILL BE RESTRICTED. IF THIS HAPPENS, THE
PRODUCT MIX COULD FREEZE TOO HARD
CAUSING DAMAGE TO THE MACHINE.
ALSO, LUBRICANT BLOCKING THE HOLE IN THE
CARBURETOR TUBE WILL CAUSE DAMAGE.
7. Allow the compressor to cycle 3-4 times dispensing
a sample of the product after each cycle to check for
consistency. If the machine is not dispensing the
product at the desired consistency after four full cycles,
refer to the Consistency Control Section of this manual.
Initial pull-down time is 12-15 minutes, but may vary
due to product mix and ambient conditions.
8. Replace the mix pan lid and always operate the
machine with the lid
ON
the mix pan reservoir.
CAUTION
Содержание DF200
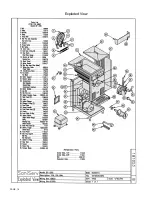
Страница 20: ...Exploded View PAGE 16 ...
Страница 21: ...Wiring Diagram PAGE 17 ...
Страница 22: ...Date Service Performed Serviceman s Signature Service Record SERVICE RECORD ...
Страница 23: ...This Page Intentionally Blank ...


