background image


SANDENVENDO AMERICA INC


1188858N ECN 56775 


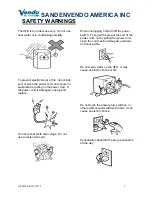
The lamps are an integral part of the food 
heating system.  If a lamp is not illuminated, 
the temperatures may not be maintained for 

food safety.  Therefore, replace nonworking 
lamps.  


INSTALLATION REQUIREMENTS

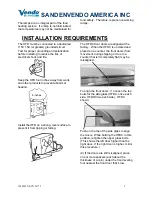
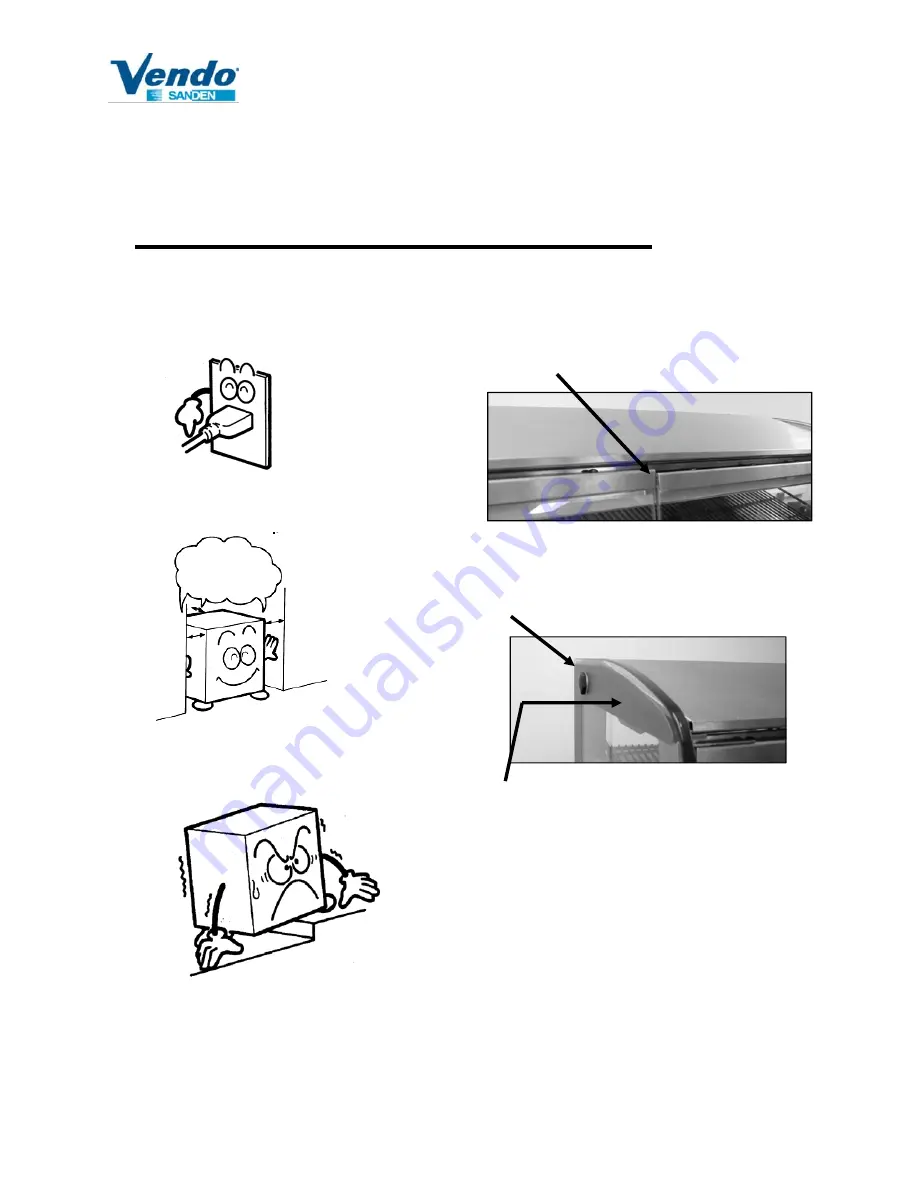
The HFD must be connected to a dedicated 
115V 15A (or greater) grounded circuit.  
Test for proper grounding and polarization 
before installing to reduce the risk of 
electrical shock and fire. 


Keep the HFD four inches away from walls 
and other products to prevent abnormal 
heating. 


Install the HFD on a strong, level surface to 
prevent it from tipping or falling.  


The HFDC front doors are aligned at the 
factory.  When the HFDC is uncrated and 
placed on a counter, the front doors (from 
movement during shipping or due to a 
counter that isn’t completely flat) may be 
misaligned. 


To align the front doors: (1) loosen the top 
bolts for the side glass (HFDC: once each 
side, HFDHC two each side).  HFDC 
shown: 


Push on the top of the side glass to align 
the doors.  While holding the HFDC in this 
position, retighten the upper glass bolts. 
(This shows the left door higher than the 
right door.  If the right door is higher, mirror 
this procedure.) 
 
(2) If the doors are still misaligned, place 
one or more spacers (each about the 
thickness of a coin) under the front leveling 
foot nearest the front door that’s low. 


4 inches 

Содержание HFDM00002

Страница 1: ...02 HFDC00003 Table of Contents Commitment to Safety 2 Safety Warnings 3 Installation Requirements 5 Product Summary and Accessories 6 Operation 7 Troubleshooting 8 Cleaning Pan Stops Rear Door Lock 9...

Страница 2: ...ate or advise of all of the conceivable ways in which service might be done nor can SandenVendo predict all of the possible hazardous results The safety precautions outlined in this manual provide the...

Страница 3: ...unplug and replace Do not connect with other plugs Do not use an extension cord When unplugging first turn off the power switch Then pull the plug at the end of the power cord not by pulling the power...

Страница 4: ...ood in the HFD Replace lamp and or glass Remove all glass fragments Carefully inspect all surfaces corners and gaskets to insure all glass fragments have been removed before returning HFD to service U...

Страница 5: ...e to prevent it from tipping or falling The HFDC front doors are aligned at the factory When the HFDC is uncrated and placed on a counter the front doors from movement during shipping or due to a coun...

Страница 6: ...p 2 x 300 Watt Bottom Lamps for heating and illumination Six 40W Xenon Six 40W Xenon Three 40W Xenon Six 40W Xenon Glass ANSI Standard Z97 1 Tempered Controller Six temperature controls 100 F 255 F Si...

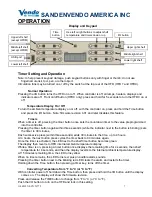
Страница 7: ...time up to 4 hours At 4 hours the next button press cycles the timer back to 30 minutes again Once the timer is activated the LED next to the shelf timer button becomes green The display then reverts...

Страница 8: ...h from the vendo cfg file 4 Pull the flash drive out of the controller controller may remain on Circulation Fans Models HFD000007 and HFDC00002 include a low volume dual air circulation fan system The...

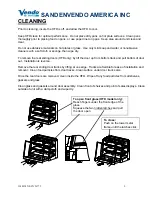
Страница 9: ...up from bottom track and pull bottom of door out Installation is reverse Remove the rear sliding door tracks by lifting at one edge Tracks are flexible for ease of installation and removal Clean food...

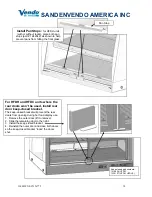
Страница 10: ...ear doors won t be used install rear door keep closed bracket The keep closed bracket will prevent the rear doors from opening during hot food display use 1 Remove the outer door lift to remove 2 Slid...

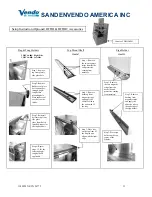
Страница 11: ...from stainless Step 2 Remove backing from magnetic strips and apply the adhesive side to the underside of the tray Step 3 Place sign holder on the top center of the Display Step 1 Remove the two magne...

Страница 12: ...SANDENVENDO AMERICA INC 1188858N ECN 56775 12 POP Kits HFDCXXXXX POP Kit Part Number 1260456 HFDHCXXXX POP Kit Part Number 1261266 HFDMXXXXX POP Kit Part Number 1261479...

Отзывы: