background image

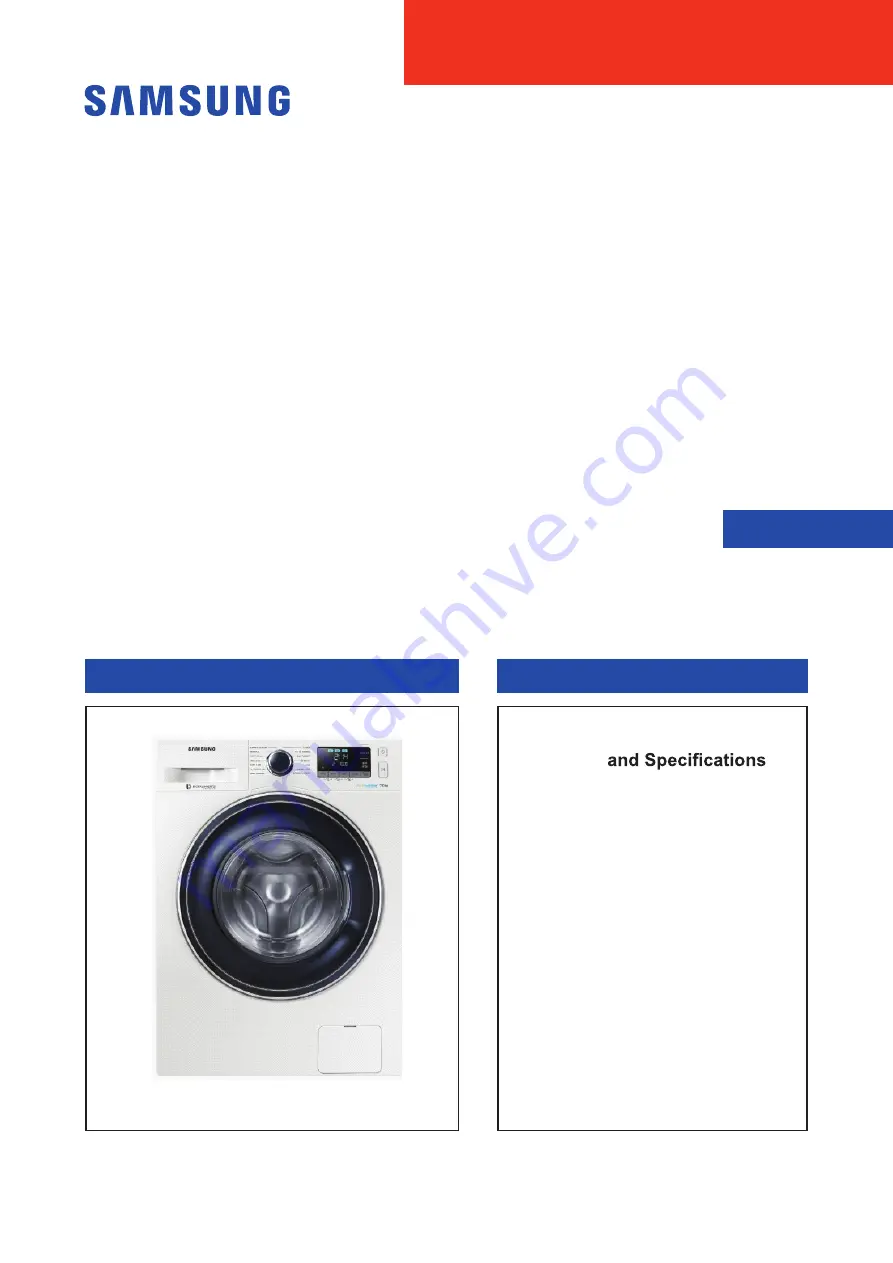
WASHING MACHINE (DRUM)

CONTENTS

SERVICE

Manual

WASHING MACHINE

DRUM TYPE

Basic Model  :   WF80F5E  

(F500E PROJECT)

Model Name  :   WW7

J5 / WW8

J5 / WW9

J5 

(WW5000J PROJECT) 

Model Code  :   WW7

J52



  WW7

J53



WW7

J54



  WW7

J55



WW8

J52



  WW8

J53



WW8

J54



  WW8

J55



WW9

J52



  WW9

J53



WW9

J54



  WW9

J55



(WW5000J PROJECT)

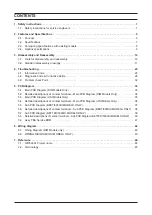
1. Safety Instructions

2. Features

3. Disassembly and Reassembly

4. Troubleshooting

5. PCB Diagram

6. Wiring Diagram

7. Reference

WW90J5456FW/EU

Содержание WW7 J5 6 Series

Страница 1: ...del Name WW7 J5 WW8 J5 WW9 J5 WW5000J PROJECT Model Code WW7 J52 WW7 J53 WW7 J54 WW7 J55 WW8 J52 WW8 J53 WW8 J54 WW8 J55 WW9 J52 WW9 J53 WW9 J54 WW9 J55 WW5000J PROJECT 1 Safety Instructions 2 Feature...

Страница 2: ...m DIM Models Only 33 5 2 Detailed descriptions of contact terminals Main PCB Diagram DIM Models Only 34 5 3 Main PCB Diagram UNI Models Only 35 5 4 Detailed descriptions of contact terminals Main PCB...

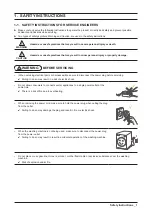
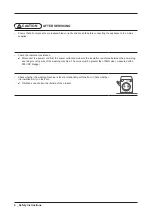
Страница 3: ...ake sure to disconnect the power plug before servicing 4 Failing to do so may result in a risk of electric shock Do not allow consumers to connect several appliances to a single power outlet at the sa...

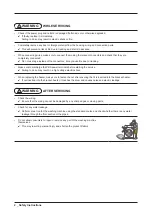
Страница 4: ...ge the PBA power terminals before starting the service 4 Failing to do so may result in a high voltage electric shock When replacing the heater make sure to fasten the nut after ensuring that it is in...

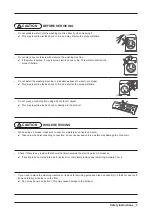
Страница 5: ...rol button using a sharp tool or object 4 This may result in electric shock or damage to the product WHILE SERVICING When wiring a harness make sure to seal it completely so no liquid can enter 4 Take...

Страница 6: ...ct the power cord from the power outlet and measure the insulation resistance between the power plug and the grounding wire of the washing machine The value must be greater than 10M when measured with...

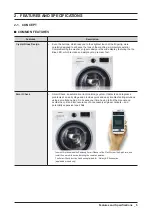
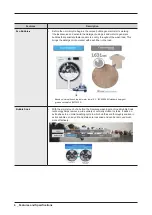
Страница 7: ...a premium feel Smart Check Smart Check an automatic error monitoring system It detects and diagnoses problems at an early stage and provides quick and easy troubleshooting solutions using a smartphone...

Страница 8: ...the detergent into contact with each fiber in the load Based on internal bench top test water temp 15 C IEC60456 EU standard detergent grease soil swatch EMPA120 Bubble Soak With the simple touch of a...

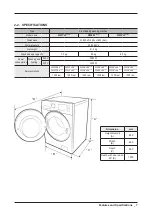
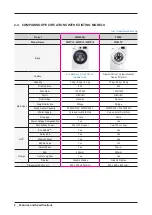
Страница 9: ...eight 61 0 kg Wash and spin capacity 7 0 kg 8 0 kg 9 0 kg Power consumption Washing and heating 220 V 2000 W 240 V 2400 W Spin revolutions WW7 J55 WW7 J54 WW7 J53 WW7 J52 WW8 J55 WW8 J54 WW8 J53 WW8 J...

Страница 10: ...IM UNI Control Sys General General Weight Detection 3Stage 3Stage Wash Heater Capacity 2000W 220V 2400W 240V 2000W 220V 2400W 240V Water Supply Cold and Hot Cold Only Cold and Hot Cold Only Drainage P...

Страница 11: ...3779A Z DC68 03793A z 1 To explain the product operation and installation Cap Fixer DC67 00307A 3 To cover the holes Hose Hanger DC67 00357A 1 To secure the drain hose Guide Liquid DC61 03510A 1 To us...

Страница 12: ...Shock Absorber 2 holes each in left right Damper 2 Damper friction 2 19mm Pulley 1 Double ended spanner 10mm 13mm 19mm Replaced by box driver Leg Vice pliers A Tool for protecting empty turning of bol...

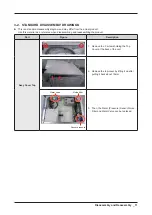
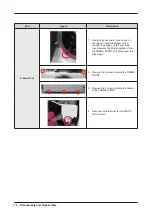
Страница 13: ...as a reference when disassembling and reassembling the product Part Figure Description Assy Cover Top 1 Remove the 2 screws holding the Top Cover at the back of the unit 2 Remove the top cover by lift...

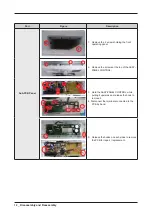
Страница 14: ...he front operating panel 2 Remove the screws at the top of the ASSY PANEL CONTROL 3 Hold the ASSY PANEL CONTROL while pulling it upwards and release the hook to remove it 4 Disconnect the terminals co...

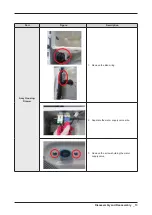
Страница 15: ...Disassembly and Reassembly _ 13 Part Figure Description Assy Housing Drawer 1 Remove the Band ring 2 Separate the water supply valve wire 3 Remove the screws holding the water supply valve...

Страница 16: ...he rings on Wire Diaphragm which connect the spring and the wire ends then Separate the Wire Diaphragm from the FRAME FRONT and Disconnect the Diaphragm 2 Remove the 2 screws holding the FRAME FRONT 3...

Страница 17: ...he belt and then assemble it 3 Check if the belt position is at the center of the Pulley Assembling the belt Place the beltaround the Motor Pulley and then over the Pulley Motor 1 Separate the wire ho...

Страница 18: ...move the screws holding the water supply valve Water Level Sensor Water valve Noise filter Sensor pressure 1 Separate the Assy Top Cover 2 Disconnect the wire between the PRESSURE HOSE and the water l...

Страница 19: ...Disassembly and Reassembly _ 17 Part Figure Description Assy Door 1 Remove the 2 screws holding the Door Hinge and separate the door 2 Separate the Assy Door and replace it...

Страница 20: ...the remaining water through the drainage hose Place a bowl under the drainage hose to catch any water that may flow out 3 Separate the Drain Filter by turning it counterclockwise Place a bowl undernea...

Страница 21: ...Check Points for Troubleshooting 1 Separate the Drain Filter and check if any alien substances are inside the pump e g coins buttons etc Remove these if found 2 Check if the wire driving the pump has...

Страница 22: ...driver Use a Longnose plier and remove it slowly in one direction to prevent any damage being caused 2 Remove the 2 screws 3 Remove the screw holding the Door Lock S W Remove the Door Lock S W Remove...

Страница 23: ...ion Heater 1 Separate the Back Cover 2 Separate the Connection Housing 3 3 Remove the screw 1 and the wire vinyl 1 4 Separate the Holder and Connection Housing 5 Remove the nut holding the heater and...

Страница 24: ...Sub PCB both Main and Sub will be supplied as one Assy Kit not seperately Replacement of the Main PCB 4 Check Points for Troubleshooting 1 Check whether there is any information code in applying the p...

Страница 25: ...DD motor cover is out of place 3C4 The PCB housing terminal is not connected PBA fault DD motor fault 3 Water Supply 4C Foreign material is entering the water supply valve The water supply valve term...

Страница 26: ...cuited or has a wire disconnected The washing heater in the tub has an error Contact error temperature sensor fault If the water level sensor operates without water because water is frozen or for any...

Страница 27: ...e freezing in winter TC2 The temperature sensor for the duct assy fan housing is faulty A sensor fault such as an internal short circuit or wire disconnection The connector is out of place or has a co...

Страница 28: ...shing Motor 3C 3C1 3C2 3C3 3C4 Washing motor fault Incorrect connections of the washing motor hall sensor connector Washing motor rotor and stator fault Main PCB fault Check the motor Power connector...

Страница 29: ...the water supply valve has a wire disconnected replace it Check whether the water supply valve is clogged with foreign material and whether water is supplied continually Check whether no water is sup...

Страница 30: ...of the DR communication error Check the wire connections and terminal contacts between the main and inverter PBAs Check for disconnected wires If the main or Inverter PBA s communication circuit is fa...

Страница 31: ...he water Temperature is more than 50 C in draining Check the temperature If the water temperature is normal this error is due to a temperature sensor fault Replace the washing heater When replacing th...

Страница 32: ...s error occurs if water is frozen in the winter season Check the method to remove freezing and follow as directed Check the hose connected to the water level sensor Check whether the hose is folded cu...

Страница 33: ...nnections Replace if necessary 1 Check the wire connections 2 Replace the Mems PBA 3 Main PBA wire connection error or PBA s silver nano part malfunction Replace if necessary Unbalance Ub Caused by th...

Страница 34: ...ne is installed on a level floor If the floor is not level use the leveling feet to adjust the level Make sure that the shipping bolts are removed Make sure the washing machine is not touching any oth...

Страница 35: ...rate PBA 2 RY401 HEATER RELAY Heater power output 3 CNP101 MOTOR PROTECTOR TERMINAL Motor Protector and door lock sensing terminal 4 CNS801 SUB PBA CONNECTION TERMINAL Connect with SUB PBA 5 CNS201 PR...

Страница 36: ...for Program Update 2 Reset for Program Update 3 GND for Program Update 4 TX signal for Program Update 5 RX signal for Program Update 6 Boot signal for Program Update CNS901 1 Motor U Phase Signal 2 M...

Страница 37: ...t 3 CN5 MOTOR PROTECTOR TERMINAL Motor Protector and door lock sensing terminal 4 CN1 SUB PBA CONNECTION TERMINAL Connect with SUB PBA 5 CN8 PROGRAM UPDATE TERMINAL Program Update terminal 6 TE2 MOTOR...

Страница 38: ...ignal for Program Update 3 Signal for Program Update 4 RESET for Program Update 5 Signal for Program Update 6 Rx for Program Update 7 Tx for Program Update 8 GND for Program Update CN4 1 Motor CCW Sig...

Страница 39: ...cation Part No Function Description 1 CN803 Communications Terminal Communication with Main PBA 2 CN201 Software Update Terminal Software Update input 3 CN501 Sensor Terminal Terminal for Water Level...

Страница 40: ...ash Reset For S W update 4 Flash Writing for S W update CN501 1 Water Temperature Signal 2 GND for Sensors 3 Water Level Signal 1 4 Water Level Signal 2 5 Leakage sensor Signal CN803 1 RX from Main PB...

Страница 41: ...tware Update Terminal Software Update input 3 CN501 Sensor Terminal Terminal for Water Level Leakage water temperature sensor connection 4 CN503 Touch Sensor Terminal Terminal for Touch Sensor Connect...

Страница 42: ...lash Reset For S W update 4 Flash Writing for S W update CN501 1 Water Temperature Signal 2 GND for Sensors 3 Water Level Signal 1 4 Water Level Signal 2 5 Leakage sensor Signal CN803 1 RX from Main P...

Страница 43: ...ecification QTY Un SA SNA 1 DC92 02015A ASSY KIT FWM_INV WW5000J 7 8 9KG BB BIME TAL BEST 1 PC SNA 1 1 DC92 02013A ASSY PCB MAIN FWM_INV WW5000J 292 88 292 194 Y 220V 17V 15V 12V 5V 15W WASHER F500 NO...

Страница 44: ...Wiring Diagram DIM Models only This Document can not be used without Samsung s authorization n Reference Information BLK BLACK BLU BLUE GRN GREEN GRY GRAY NTR NATURAL ORG ORANGE PNK PINK RED RED SKYBL...

Страница 45: ...AGRAM UNI MODELS ONLY This Document can not be used without Samsung s authorization n Reference Information BLK BLACK BLU BLUE GRN GREEN GRY GRAY NTR NATURAL ORG ORANGE PNK PINK RED RED SKYBLU SKYBLUE...

Страница 46: ...3000 15 10 X slim Door Design Code Door Color Type Add door Jog A Crystal Blue Blue B Crystal Gloss 15 Blue Blue C Crystal Gloss 15 White White D Crystal Gloss 16 White White E Crystal Gloss 16 Grey B...

Страница 47: ...shing machine is running 2 Heater The heater is located on the tub inside the washing machine It heats the water to increase wash efficiency 3 Door Lock Switch Detects whether the door of the washing...

Страница 48: ...licable International and or domestic law 2017 Samsung Electronics Co Ltd All rights reserved Printed in Korea GSPN GLOBAL SERVICE PARTNER NETWORK Area Web Site Europe CIS Mideast Africa gspn1 samsung...

Отзывы: