Shooting options
47
Adjusting brightness and color
Learn how to adjust the brightness and color for better image quality.
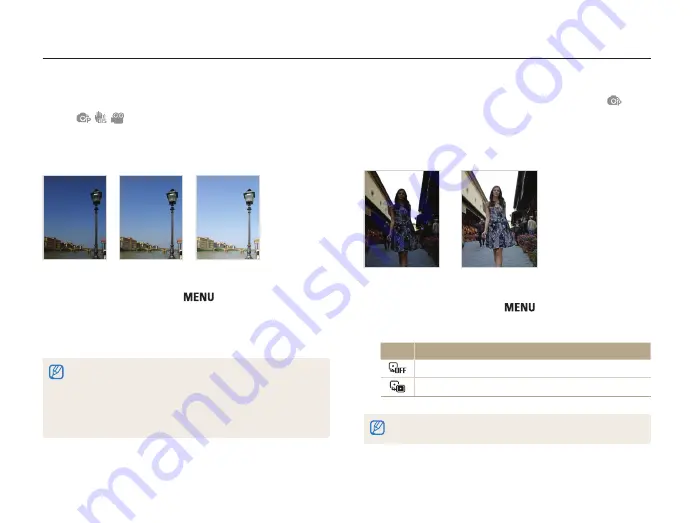
Compensating for backlighting (ACB)
When the light source is behind your subject or there is high
contrast between your subject and the background, your subject
is likely to appear dark in the photo. If this occurs, turn the Auto
Contrast Balance (ACB) option on.
Without ACB
With ACB
1
In Shooting mode, press [
].
2
Select
Shooting
→
ACB
→
an option.
Option Description
Off
: ACB is off.
On
: ACB is on.
•
You cannot set burst options when this feature is on.
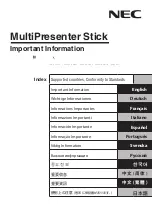
Adjusting the exposure manually
(EV)
Depending on the intensity of the ambient light, your photos
may be too bright or dark. In these cases, you can adjust the
exposure to get a better photo.
Darker (-)
Neutral (0)
Brighter (+)
1
In Shooting mode, press [
].
2
Select
Shooting
→
EV
.
3
Select a value to adjust the exposure.
•
Once you adjust the exposure, the setting will remain the same. You
may need to change the exposure value later to avoid overexposure
or underexposure.
•
If you cannot decide on an appropriate exposure, select
AEB
(Auto
Exposure Bracket). The camera takes three photos, each with a
different exposure: normal, underexposed, and overexposed. (p. 50)