


21
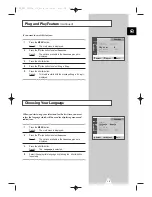
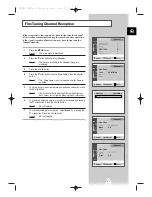
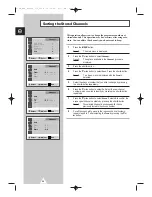
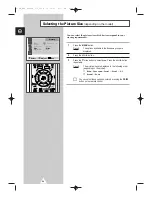
If the reception is clear, you do not have to fine tune the channel,
as this is done automatically during the search and store operation.
If the signal is weak or distorted, you may have to fine tune the
channel manually.
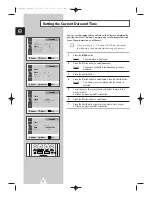
1
Press the
MENU
button.
Result:
The main menu is displayed.
2
Press the
†
or
…
button to select
Channel
.
Result:
The options available in the
Channel
group are
displayed.
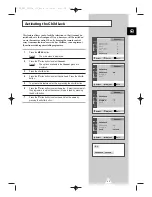
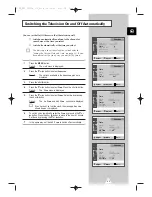
3
Press the
œ
or
√
button.
4
Press the
†
or
…
button to select
Fine Tune
. Press the
œ
or
√
button.
Result:
The
Fine Tune
menu is displayed with the
Tune
is
selected.
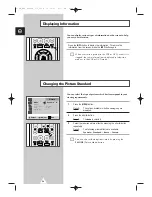
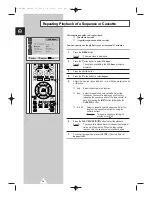
5
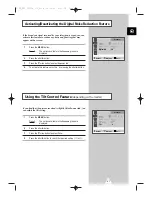
To obtain a sharp and clear picture and good sound quality, press
the
œ
or
√
button.
Result:
The horizontal bar is displayed. Move the horizontal
bar’s cursor left or right by pressing the
œ
or
√
button.
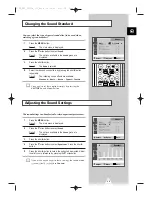
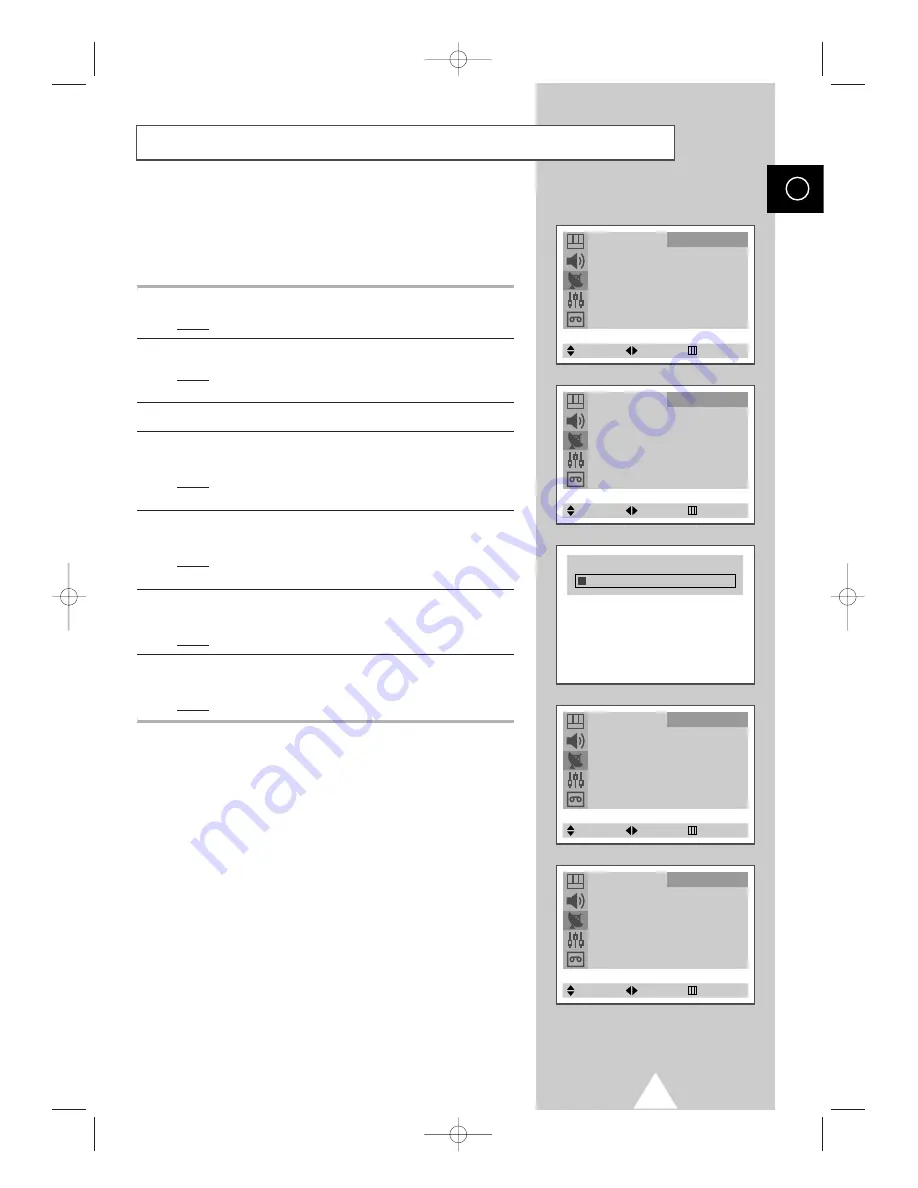
6
To memorise adjusted picture or sound, select
Store
by pressing
the
†
or
…
button. Press the
œ
or
√
button.
Result:
OK
is displayed.
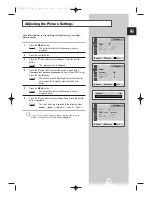
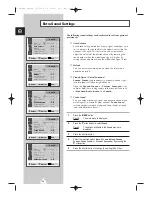
7
To erase adjusted picture or sound, select
Erase
by pressing the
†
or
…
button. Press the
œ
or
√
button.
Result:
OK
is displayed.
Fine Tuning Channel Reception
ENG
Auto Store
√
Manual Store
√
Name
√
Add/Erase
√
Fine Tune
√
Sort
√
Child Lock
√
Channel
Select
Enter
Exit
Fine Tune
Tune
: 99.315MHz
Store
: ?
Erase
: ?
Channel
Select
Adjust
Exit
Fine Tune
Tune
: 99.315MHz
Store
: OK
Erase
: ?
Channel
Select
Adjust
Exit
Fine Tune
Tune
: 99.315MHz
Store
: ?
Erase
: OK
Channel
Select
Adjust
Exit
Fine Tune
99.315MHz
C18A_ENG_europe_17"_film 10/10/03 4:11 PM Page 21


