


60
Setup and Reset
6
6 Setup and Reset
6.3
Off Timer
You can set the product to automatically turn off.
6.3.1
Configuring Off Timer
1
Press any button on the front of the product to display the Key guide. Next, press [
] to display
the corresponding menu screen.
2
Press [
] to move to
SETUP&RESET
and press [
] on the product.
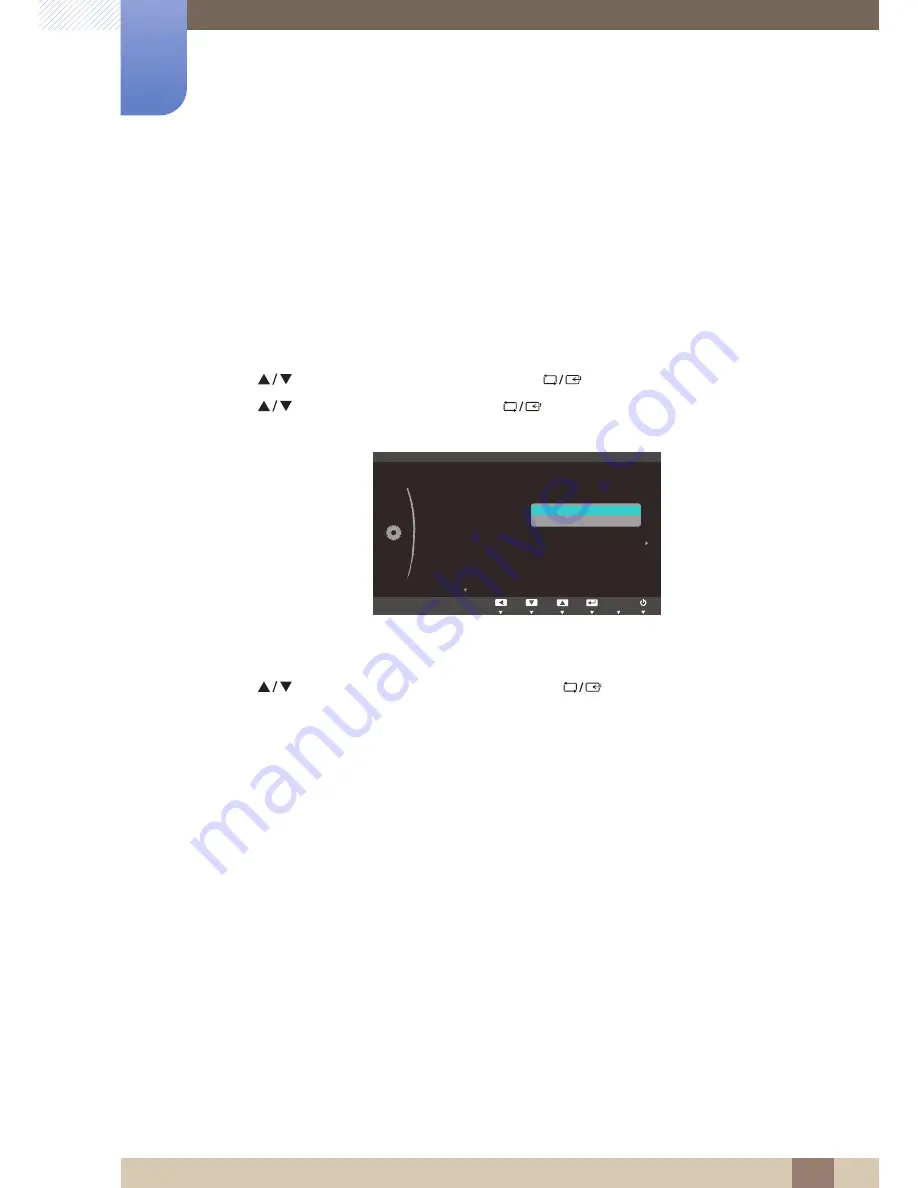
3
Press [
] to move to
Off Timer
and press [
] on the product. The following screen will
appear.
Off
: Deactivate the off timer so that the product does not power off automatically.
On
: Activate the off timer so that the product powers off automatically.
4
Press [
] to move to the option you want and press [
].
5
The selected option will be applied.
MENU
6(783 5(6(7
2II
$FFHOHUDWLRQ
0DQXDO
5HVHW
(FR6DYLQJ
2II7LPHU
7XUQ2II$IWHU
3&$90RGH
.H\5HSHDW7LPH
6RXUFH'HWHFWLRQ
AUTO
2II
2Q


