Samsung SyncMaster 2043SW Скачать руководство пользователя страница 19

A:

Windows XP:

Set the resolution in the Control Panel 

 Appearance and Themes 

 Display 

 Screen

Saver.

Set the function in the BIOS-SETUP of the computer. (Refer to the Windows / Computer

Manual).

A:

Windows ME/2000:

Set the resolution at the Control Panel 

 Display 

 Screen Saver.

Set the function in the BIOS-SETUP of the computer. (Refer to the Windows / Computer

Manual).

Q:

How can I clean the outer case/LCD Panel?

A:

Disconnect the power cord and then clean the monitor with a soft cloth, using either a

cleaning solution or plain water.

Do not leave any detergent or scratches on the case. Do not let any water enter the

monitor.

 Note

Before calling for assistance, check the information in this section to see if you can remedy

any problems yourself. If you do need assistance, please call the phone number on the In-

formation section or contact your dealer.

{2243SW/2243SWX} Self-Test Feature Check

 Note

Your monitor provides a self test feature that allows you to check whether your monitor is

functioning properly.

Self-Test Feature Check

1. Turn off both your computer and the monitor.

2. Unplug the video cable from the back of the computer.

3. Turn on the monitor.

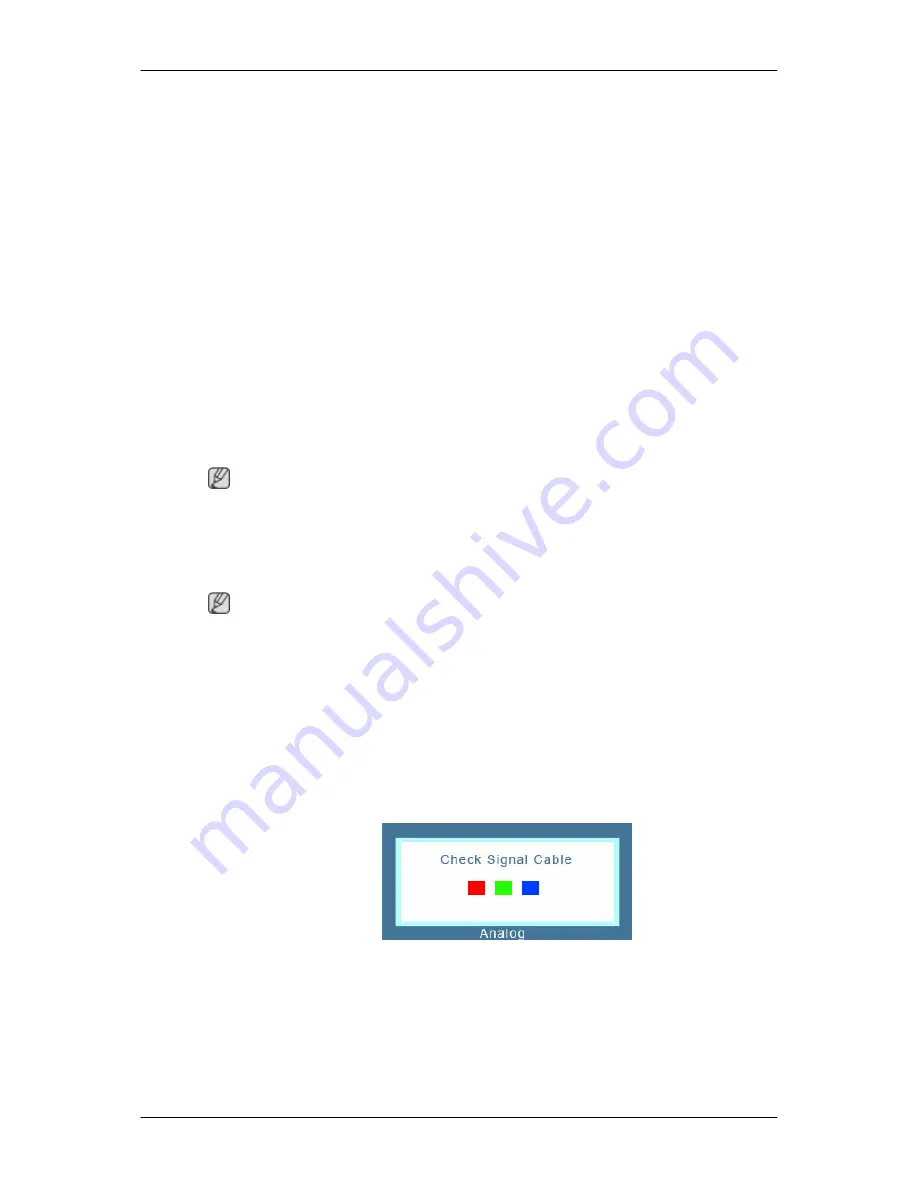
If the monitor is functioning properly, you will see a box in the illustration below.

This box appears during normal operation if the video cable becomes disconnected or

damaged.

4. Turn off your monitor and reconnect the video cable; then turn on both your computer

and the monitor.

If your monitor screen remains blank after using the previous procedure, check your video

controller and computer system; 

your monitor is functioning properly.

Troubleshooting

Содержание SyncMaster 2043SW

Страница 1: ...ii LCD MONITOR quick start guide 2043SW 2043SWX 2243SW 2243SWX...

Страница 2: ...support Pivot function Type2 Monitor HAS stand Type3 2043SW 2043SWX 2243SW 2243SWX Package Contents Note Please make sure the following items are included with your monitor If any items are missing co...

Страница 3: ...ar after 40 seconds Turn the Power button off and on It will be displayed again It can be displayed up to three 3 times Make sure to adjust the resolution of your PC before reaching the maximum count...

Страница 4: ...ustomized Key Brightness button When OSD is not on the screen push the button to adjust brightness Click here to see an animation clip Adjust buttons These buttons allow you to adjust items in the men...

Страница 5: ...s once when your ad justments are saved Note See PowerSaver described in the manual for further information regarding power saving functions For energy conservation turn your monitor OFF when it is no...

Страница 6: ...The location of the Kensington Lock may be different depending on its model Using the Anti Theft Kensington Lock 1 Insert the locking device into the Kensington slot on the Monitor and turn it in the...

Страница 7: ...nector on the video card Connect the signal cable to the 15 pin D sub port on the back of your monitor RGB IN Using the DVI Digital connector on the video card Connect the DVI Cable to the DVI IN Port...

Страница 8: ...2043SW 2043SWX Using the Stand Monitor Assembly Simple Stand HAS Stand Connections...

Страница 9: ...nting interface pad Simple Stand Dual Hinge Stand HAS Stand Monitor Mounting interface pad Sold separately 1 Turn off your monitor and unplug its power cord 2 Lay the LCD monitor face down on a flat s...

Страница 10: ...product damage or personal injury when a non VESA or non specified wall mount is used or the consumer fails to follow the product installation instructions To mount the monitor on a wall you should pu...

Страница 11: ...on the back of your Monitor DVI IN Connected to a Macintosh Connect the monitor to the Macintosh computer using the D sub connection cable Note If the monitor and the computer are connected you can t...

Страница 12: ...HAS Stand Dual Hinge Stand Monitor and Bottom HAS Stand A Stand Stopper Attaching a Base This monitor accepts a 100 mm x 100 mm VESA compliant mounting interface pad Connections...

Страница 13: ...ay differ depending on their specifications Do not use screws that do not comply with the VESA standard screw specifications Do not fasten the screws too tightly as this may damage the product or caus...

Страница 14: ...onitor If there are any sub woofer speakers near the monitor unplug and relocate the woofer to another room Remove all electronic devices such as radios fans clocks and telephones that are within 3 fe...

Страница 15: ...Windows ME XP 2000 and then change the frequency of the video card Refer to the Preset Timing Modes If the initial screen the login screen does not appear contact the Service Center or your dealer Q C...

Страница 16: ...isplaying only one color as if looking at the screen through a cellophane paper A Check the signal cable connection A Make sure the video card is fully inserted in its slot Q Have the screen colors be...

Страница 17: ...ou installed the monitor driver A Install the monitor driver according to the Monitor Driver Q See the video card manual to see if the Plug Play VESA DDC function can be supported A Install the monito...

Страница 18: ...led the adapter video driver and the monitor driver Check if the scanning ratio of the video screen is set to between 56 Hz 75 Hz Do not exceed 75 Hz when using the maximum resolution If you have prob...

Страница 19: ...can remedy any problems yourself If you do need assistance please call the phone number on the In formation section or contact your dealer 2243SW 2243SWX Self Test Feature Check Note Your monitor prov...

Страница 20: ...o mode not supported etc In this case first check the source of the problem and then contact the Service Center or your dealer Judging the monitor s working condition If there is no image on the scree...

Страница 21: ...roperly A If the display exceeds SXGA or 75 Hz a Not Optimum Mode Recommended Mode 1920 x 1080 60 Hz message is displayed If the display exceeds 85 Hz the display will work properly but the Not Optimu...

Страница 22: ...rd Refer to the Preset Timing Modes Q The screen can be unbalanced due to the cycle of the video card signals Readjust Position by referring to the OSD The screen is out of focus or OSD cannot be adju...

Страница 23: ...s an additional software for the monitor Some graphic cards may not support your monitor When you have a problem with the graphic card visit our website to check the compatible graphic card list provi...

Страница 24: ...er to the computer or the video card manual for details Q How can I adjusts the resolution A Windows XP Set the resolution in the Control Panel Appearance and Themes Display Set tings A Windows ME 200...

Страница 25: ...or assistance check the information in this section to see if you can remedy any problems yourself If you do need assistance please call the phone number on the In formation section or contact your de...

Отзывы: