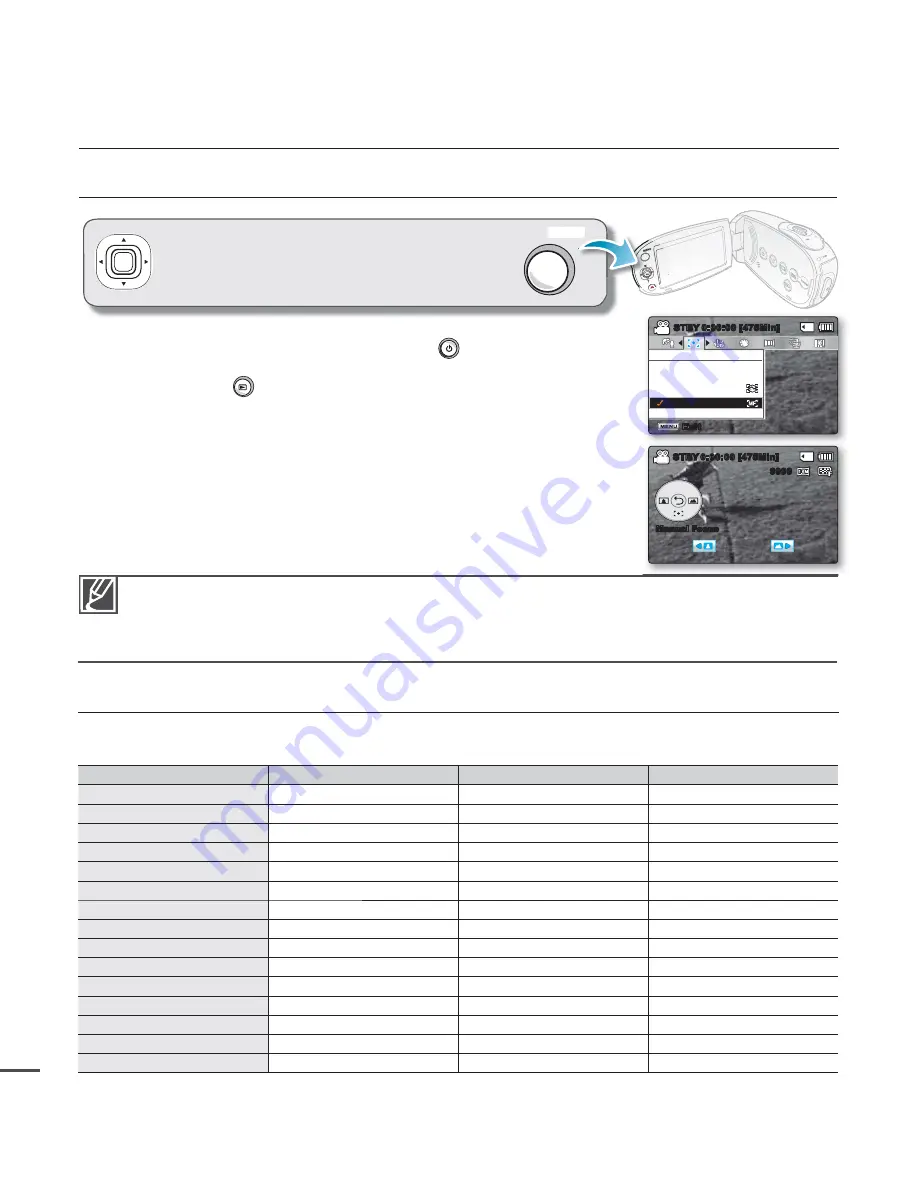
1.
Open the LCD Screen and press the
Power
button to turn on the
camcorder.
2.
Press the
Mode
button to select the play mode.
3.
Press the
MENU
button.
The menu screen appears on the LCD screen.
4.
Press the
Control
button (
/
) to select
"Focus."
5.
Select the desired item with the
Control
button (
/
, OK).
Adjust the set value according to the selected items.
Adjust the focus with the
Control
button (
/
) for
"Manual
Focus."
Press the
MENU
button to exit the menu.
•
•
•
•
RECORDING MENU ITEMS
Accessing items in the menu depends on the operation mode.
For operation details, see the corresponding page.
²
pages 45~58
Items
Record mode
Default value
Page
iSCENE
●
Auto
45
Video Resolution
●
TV Fine
46
Photo Resolution
●
1696x960 (16:9)
47
16:9 Wide
●
On
47
EV
●
0
48
Back Light
●
Off
49
Focus
●
Auto
50
Anti-Shake (HDIS)
●
Off
52
Digital Effect
●
Off
53
Fader
●
Off
54
Wind Cut
●
Off
55
Digital Zoom
●
Off
55
Time Lapse REC
●
Off
56
Guideline
●
Off
58
Settings
●
-
71
•
•
recording options
CHANGING THE MENU SETTINGS
You cannot select the dimmed menu items during setting menus.
For detailed information about the dimmed menu item, see 'Troubleshooting'.
²
page 108
From the next page, the setting guide is presented under the basic state for your easy
understanding. The setting steps varies depending on the setting status of your camcorder.
•
•
You can change the menu settings to customise
your camcorder. Access the desired menu screen by
following the steps below and change the various
settings.
OK
MENU
●
: Possible
Focus
Auto
Exit
STBY
0:00:00 [475Min]
Manual
Face Detection
0:00:00 [475Min]
STBY
Manual Focus
9999
44


