· Getting Started
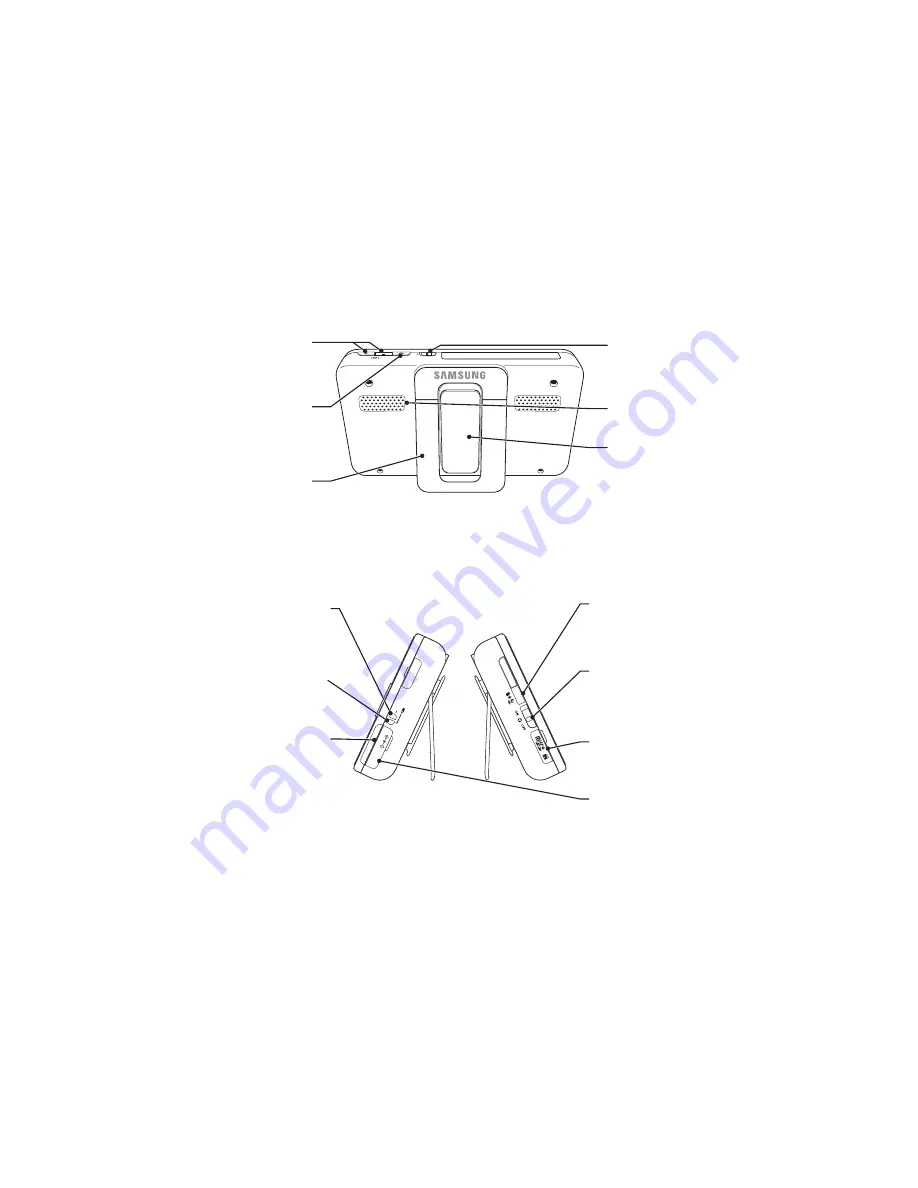
BackControls
You must have more than one camera configured on the system when using the functions that requires more than one camera.
SideControls
Using this feature will disable the LCD screen. The LCD screen will turn back on when the A/V cable is disconnected.
n
`
n
`
TalkButton
Press down and hold the button to talk back to the camera
currently being displayed on the LCD screen.
receiveronandlowbatteryindication
When the Unit is turned on the LED is solid green.
If the LED blinks then the battery charge is low. Please connect
to the AC power adapter to charge.
ChargingindicationLed
A red LED shows battery is charging.
A Green LED shows battery is fully charged.
dC5Vpowerinput
Connect the included AC power adapter to power and/or
charge the receiver battery (when the receiver is not placed in
the optional Charge cradle).
A/Voutport(optional)
Connect the included A/V cable to view video from a TV or
monitor, or record transmissions on a DVD recorder/VCR.
powerSlideSwitch
Slide the switch to ON or OFF position to switch on/off the
receiver.
MicroSdCardCompartment
Insert Micro SD card.
ON
AV
OUT
DC IN 5V
A/Mrecord
Press to
auto record or manual record during monitoring
.
A : Start recording when the alarm is detected.
B : Press to the button will be recorded.
nightLightButton
Press to remotely turn on/off the night light on the camera
(for the camera currently being displayed on the LCD screen).
When the night light is on, an indication icon will be
displayed on the LCD screen.
AntennaLockingSwitch
Slide the switch to unlocking position, the receiver antenna
will pop up.
Then you can adjust the antenna for better signal reception.
Speaker
Produces the sound transmitted from the camera(s).
Belthanger
When you carry the receiver, use the belt hanger to hold the
receiver onto your belt.
Standlever
Use to hold the receiver onto a table.


