


63
Setup and Reset
7
7 Setup and Reset
3
Press [
] to move to
Display Time
and press [
] on the product. The following screen will
appear.
4
Press [
] to move to the option you want and press the [
].
5
The selected option will be applied.
7.7
Key Repeat Time
Control the response rate of a button when the button is pressed.
7.7.1
Configuring Key Repeat Time
1
Press any button on the front of the product to display the OSD guide. Next, press
[
]
to display
the corresponding menu screen.
2
Press [
] to move to
SETUP&RESET
and press [
] on the product.
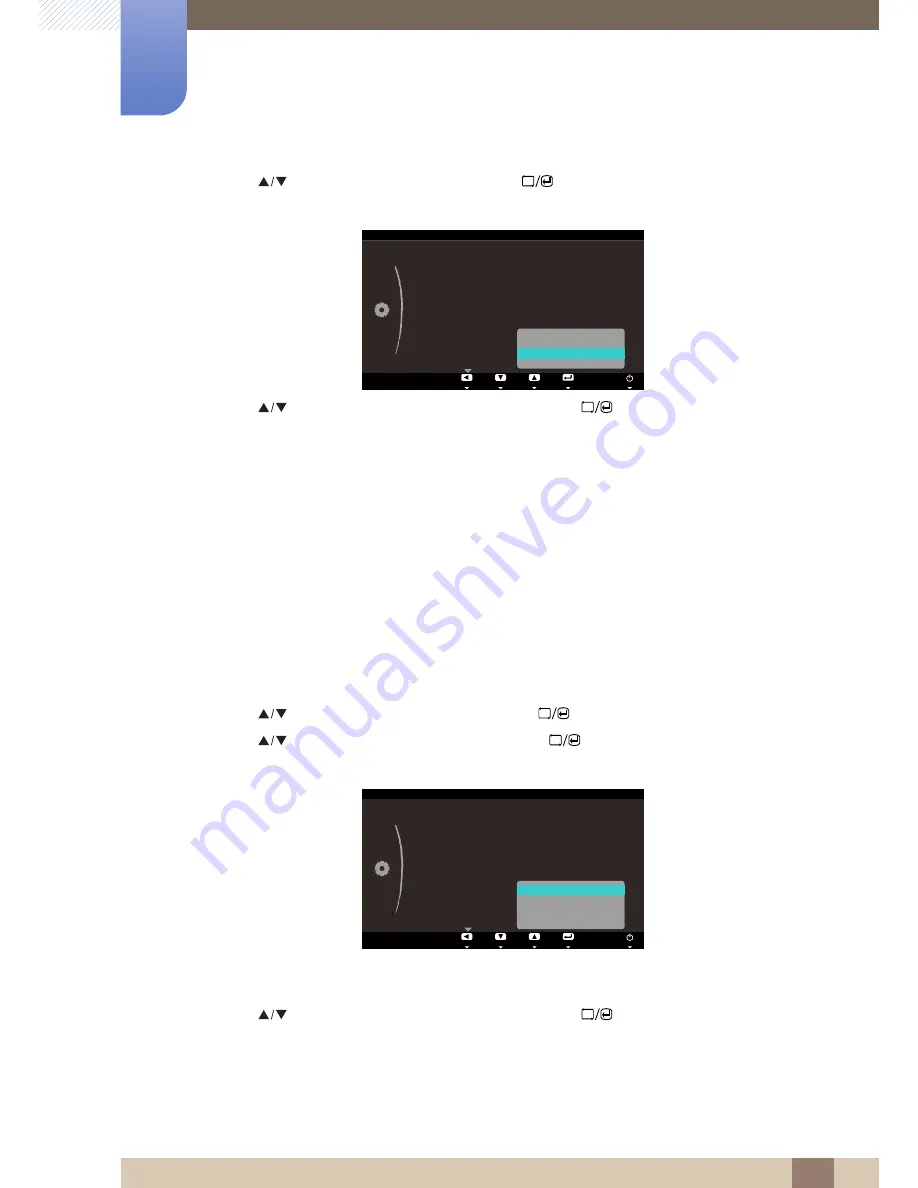
3
Press [
] to move to
Key Repeat Time
and press [
] on the product. The following screen
will appear.
Acceleration
,
1 sec
, or
2 sec
can be selected. If
No Repeat
is selected, a command responds
only once when a button is pressed.
4
Press [
] to move to the option you want and press the [
].
5
The selected option will be applied.
Return
Enter
Move
Off
English
PC
ECO Saving
Menu Transparency
Language
PC/AV Mode
Auto Source
Display Time
Key Repeat Time
5 sec
10 sec
20 sec
200 sec
SETUP&RESET
MENU
Return
Enter
Move
Off
English
PC
ECO Saving
Menu Transparency
Language
PC/AV Mode
Auto Source
Display Time
Key Repeat Time
▶
Acceleration
1 sec
2 sec
No Repeat
SETUP&RESET


