


63
Screen Setup
3
3 Screen Setup
3.10 Response Time (S24D300H / S24D340H)
Accelerate the panel response rate to make video appear more vivid and natural.
z
It is best to set
Response Time
to
Standard
or
Faster
when you are not viewing a movie.
z
The functions available on the monitor may vary depending on the model. Refer to the actual
product.
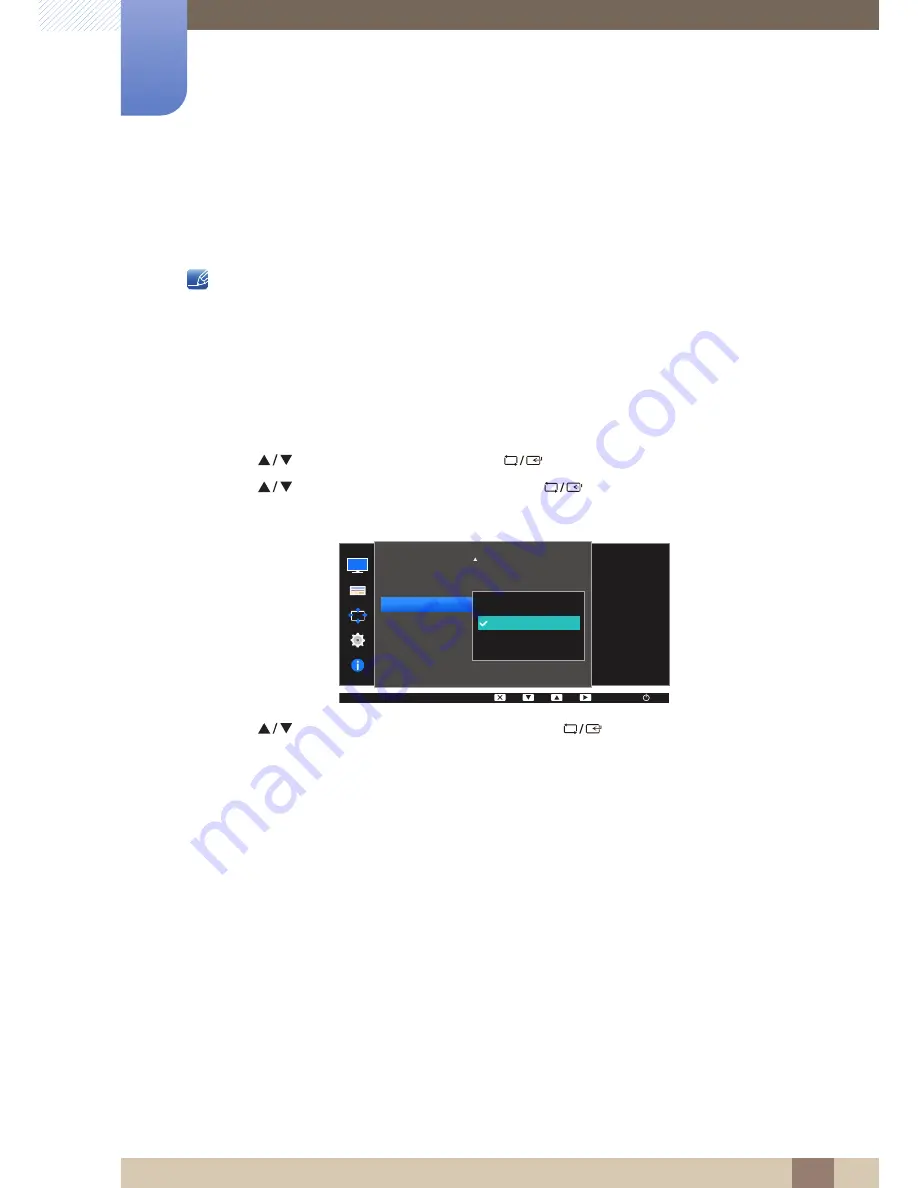
3.10.1
Configuring the Response Time
1
Press any button on the front of the product to display the Key guide. Next, press [
] to display
the corresponding menu screen.
2
Press [
] to move to
PICTURE
and press [
] on the product.
3
Press [
] to move to
Response Time
and press [
] on the product.
The following screen will appear.
4
Press [
] to move to the option you want and press [
].
5
The selected option will be applied.
MENU
PICTURE
Image Size
HDMI Black Level
Response Time
H-Position
V-Position
Coarse
Fine
Standard
Faster
Fastest
Wide
Accelerate the panel
response rate to make
video appear more
vivid and natural.
AUTO


