12_
Operating
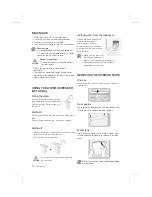
MAKING ICE
1. Fill the tray up to 80% with water level.
2. Place the ice tray in the top freezer drawer.
:DLWXQWLOWKHLFHFXEHVDUHIRUPHG
4. Twist the ice tray slightly to take out the ice cubes.
Freezing time
,WLVUHFRPPHQGHGWKDW\RXZDLWIRUDERXW
1~2 hour with the temperature set to Power
Freeze for the ice cubes to form.
Danger of explosion
Ř7KHFROGHVWSDUWVRIWKHUHIULJHUDWRULV
the rear panel.
This is the best place to store delicate
foodstuffs.
Ř *ODVVERWWOHVFRQWDLQLQJOLTXLGVVKRXOGQHYHU
be stored in the freezer as the glass can shatter
when the contents freeze.
USING THE WATER DISPENSER
(OPTIONAL)
Filling the water
You can fill the water with the water
tank sitting inside of the refrigerator or
you can remove the water tank to fill
the water.
Method 1
Fill the water through the hole on the top of the water
tank.
,I\RXSRXUWKHZDWHUWRRIDVWZDWHUPD\RYHUƃRZ
Method 2
1. Release the lock on the both side of the water tank
to remove the lid on the water tank.
2. Fill the water in the water tank.
Do not put anything other than water in
the water tank.
Getting water from the dispenser
Place a glass underneath the
water outlet and push it
gently against the water
dispenser lever with your glass.
%OXHOLJKWZLOOWXUQRQZKHQ\RX
push the lever.
Ř0DNHVXUHWKHJODVVLVLQ
line with the dispenser to
prevent the water from splashing out.
Ř:DWHUGLVSHQVHUPD\QRWEHDYDLODEOH
depending on the model.
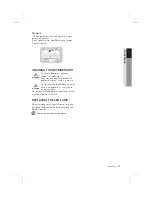
REMOVING THE INTERIOR PARTS
Shelves
Gently lift up the shelves with both hands and pull it
toward you.
Door guards
Firmly grab the door guards with both hands and
lift it up gently to remove the door guards.
Water tank
Firmly grab the water tank with both hands and
lift it up towards you gently to remove the water
tanks.
:DWHUWDQNPD\QRWEHDYDLODEOHGHSHQGLQJ
on the model.
CAUTION
CAUTION


