background image

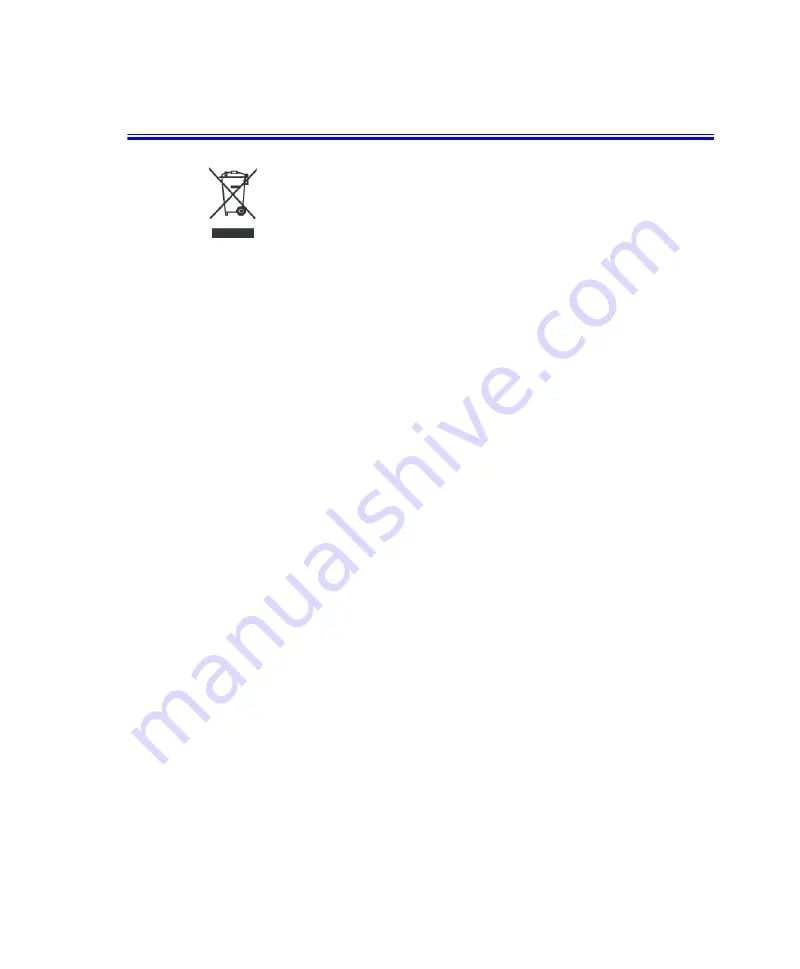
WEEE SYMBOL INFORMATION   xix 

WEEE SYMBOL INFORMATION

                  Correct Disposal of This Product  


 (Waste Electrical & Electronic Equipment)


(Applicable in the European Union and other European countries with separate 
collection systems)

This marking shown on the product or its literature, indicates that it should not be 
disposed with other household wastes at the end of its working life. To prevent possible 
harm to the environment or human health from uncontrolled waste disposal, please 
separate this from other types of wastes and recycle it responsibly to promote the 
sustainable reuse of material resources.

Household users should contact either the retailer where they purchased this product, 
or their local government office, for details of where and how they can take this item 
for environmentally safe recycling.

Business users should contact their supplier and check the terms and conditions of the 
purchase contract. This product should not be mixed with other commercial wastes for 
disposal.

Содержание RIMINI NP-Q40

Страница 1: ...osoft Corporation Product names mentioned herein are for identification purposes only and may be trademarks and or registered trademarks of their respective companies Macrovision Statement If your com...

Страница 2: ...be operated only with the type of power source indicated on the rating label Ensure that the electrical outlet you are using to power your equipment is easily accessible in case of fire or short circu...

Страница 3: ...modem cables from the wall outlets before cleaning the system Unplug the system from the wall outlet and refer servicing to qualified personnel if The power cord or plug is damaged Liquid has been spi...

Страница 4: ...All systems equipped with CD or DVD drives comply with the appropriate safety standards including IEC 825 The laser devices in these components are classified as Class 1 Laser Products under a US Dep...

Страница 5: ...he power cord set must be at least 6 00 feet 1 8m and a maximum of 9 75 feet 3 0m All power cord sets must be approved by an acceptable accredited agency responsible for evaluation in the country wher...

Страница 6: ...ecause the wireless devices which may be embedded into your notebook emit less energy than is allowed in radio frequency safety standards and recommendations manufacturer believes these devices are sa...

Страница 7: ...s Since your system is equipped with a wireless device when traveling between countries with your system check with the local Radio Approval authorities prior to any move or trip for any restrictions...

Страница 8: ...integrated antennas should be located at a minimum distance of 20 cm 8 inches or more from the body of all persons High gain wall mount or mast mount antennas are designed to be professionally install...

Страница 9: ...ot cause harmful interference and 2 this device must accept any interference received including interference that may cause undesired operation This equipment has been tested and found to comply with...

Страница 10: ...guideline of 20 cm 8 inches separation between the device and the body for use of a wireless device near the body this does not include extremities This device should be used more than 20 cm 8 inches...

Страница 11: ...service may be required But if advance notice is not practical the telephone company will notify the customer as soon as possible Also you will be advised of your right to file a complaint with the FC...

Страница 12: ...telephone number of the sending machine or such business other entity or individual The telephone number provided may not be any number for which charges exceed local or long distance transmission ch...

Страница 13: ...separation of 20 cm 8 inches between the wireless device and the body for use of a wireless device near the body this does not include extremities is typical This device should be used more than 20 cm...

Страница 14: ...uipment should be made by an authorized Canadian maintenance facility designated by the supplier Any repairs or alterations made by the user to this equipment or equipment malfunctions may give the te...

Страница 15: ...ss B EN 61000 3 2 EN 61000 3 3 EN 55024 Low Voltage Directive Safety 73 23 EEC as per EN 60950 A1 A2 A3 A4 A11 Radio and Telecom Terminal Equipment Directive 199 5 EC as per CTR21 if fitted with a mod...

Страница 16: ...reless 2200BG Network Connection product Due to the fact that the frequencies used by 802 11b 802 11g wireless LAN devices may not yet be harmonized in all countries 802 11b 802 11g products are desig...

Страница 17: ...4835 GHz for indoor and outdoor use For Reunion Guyane 2 400 2 4835 GHz for indoor use 2 420 2 4835 GHz for outdoor use channels 5 to 13 European Telecommunication Information for products fitted with...

Страница 18: ...for Pan European single terminal connection to the Public Switched Telephone Network PSTN However due to differences between the individual PSTNs provided in different countries the approval does not...

Страница 19: ...harm to the environment or human health from uncontrolled waste disposal please separate this from other types of wastes and recycle it responsibly to promote the sustainable reuse of material resour...

Страница 20: ...step information they apply to Warning Indicates the possibility of personal injury Caution Warns you of possible damage to equipment or data Note Informs you of special circumstances Technical Infor...

Страница 21: ...r shown in a small figure such as the Start Button shown on the right Table 1 Touchpad Click Conventions Windows Conventions Almost all Windows programs will display the name function of a button or i...

Страница 22: ...Getting Started 3 Getting Started Introducing Your Computer Front View Touchpad Touchpad Button p12 Keyboard p8 LCD Panel Multi Card Slot p30 Status Indicators p15...

Страница 23: ...4 Users Manual Right View Left View USB Port 2 0 Modem Port p59 Power Button LAN Port p60 CF Card Slot 1394 Port 6 Pin Monitor Port Microphone Jack Headphone Jack S PDIF Jack DC Jack USB Port 2 0...

Страница 24: ...disassembling the hard disk drive will void your warranty To re place the hard disk drive please contact your nearest Samsung Service Cen tre Center Security Lock Port p109 Battery Battery Latches X...

Страница 25: ...urn on the computer 1 Insert the battery and connect the AC adapter according to the Installation Guide 2 Lift the LCD 3 Press the power button To turn off the computer 1 Click the start button on the...

Страница 26: ...ears click Shut Down Turn Off to turn off the computer Your unsaved work may be lost damaged If Ctrl Alt Delete keys do not operate either press the power button for more than 4 seconds to turn off th...

Страница 27: ...corresponding country Refer to the keyboard figure for the corresponding country Although the layout of the keys on your computer s keyboard is different from that on a desktop computer s keyboard the...

Страница 28: ...when pressed together with the Fn key enable special func tions Cursor and Screen control keys move the cursor They may perform other func tions depending on your software To clean the computer keybo...

Страница 29: ...the embedded numeric keypad The numeric func tions of the keypad are enabled and the Num Lock LED turns on Reading the Status Indicators on page 15 for the location of the Num Lock LED While the nume...

Страница 30: ...e stereophonic sound You can select one of the following modes by pressing the button Note WOW XT Mode Select to listen to music TRUSURROUND Mode Select to watch a movie SRS OFF Mode Switches off the...

Страница 31: ...pe or I shape The touchpad on your computer allows you to move the pointer on the LCD screen just like a mouse that is used with a desktop computer The touchpad buttons allow you to take actions with...

Страница 32: ...pad button once Or place the pointer over an object then tap the touchpad once with your finger Double Click Launch a program or open a file Place the pointer over an object then quickly press left to...

Страница 33: ...touchpad button while starting your system may in crease the time required for starting Windows Scroll Display upper lower left right part of the content within a window Applicable to certain programs...

Страница 34: ...change in some applications Hard Disk Drive CD ROM Drive Blinks when the hard disk drive or CD ROM drive is in operation Wireless LAN Turns on when the wireless LAN function is enabled This light does...

Страница 35: ...Control option to User Control 3 Save the settings and exit Setup When using the Battery Manager only the screen brightness set in Custom ized Mode is maintained To save the battery charge When your c...

Страница 36: ...adjust using volume adjustment program Click the Volume icon on the taskbar and move the Volume slider to a desired level For advanced volume control options double click the Volume icon and adjust t...

Страница 37: ...and a taskbar at the bottom Start Button Opens the Start menu Taskbar Displays programs that are currently running Frequently used icons can be placed here Recycle Bin Deleted files or folders are se...

Страница 38: ...by clicking Search My Computer Displays the contents of the hard disk the CD ROM drive the network drive s and floppy disks It can also be used to search and open files and folders Control Panel Enabl...

Страница 39: ...ch files and folders are saved in and read from What is a folder A folder is used to group and manage files systematically and may include files in sub folders It is similar to a bookshelf What is a f...

Страница 40: ...se Click Start Help and Support Please refer to help and support centre center before calling the Samsung helpline Windows XP Tour You can tour elementary functions provided by Windows XP Click Start...

Страница 41: ...94 CD ROM drive is supplied op tionally For detailed specifications refer to the catalog Connecting the CD ROM drive Connect the CD ROM drive to the IEEE 1394 port on the computer RW Combo Drive Reads...

Страница 42: ...e 3 When the tray slides out remove the CD from the tray 4 Push the tray in gently until it clicks If you remove the CD when the CD access LED is on the disk and the data in it may be damaged Emergenc...

Страница 43: ...reen appears To view detailed information on how to use Windows Media Player Run Windows Media Player and right click over the Function Taskbar and se lect Help Windows Media Player Help To play a vid...

Страница 44: ...a blank CD or create an audio CD You cannot write to a CD that already has data in it 1 Insert a blank CD into the CD drive 2 On the CD Drive dialog select Open Writable CD Folder and click OK The CD...

Страница 45: ...d the CD drive win dow opens automatically For more information on writing CDs Click Start Help and Support Type CD copy in the search field and click the Search icon To Burn an Audio CD Run Windows M...

Страница 46: ...or DTS With a home theater system you can enjoy a vivid screen and sound in your home as if you are in a movie theater The following devices are required to enjoy a home theater system To use home th...

Страница 47: ...purchasing the computer additional settings are not required You can confirm the setting as fol lows 1 Double click the Volume Control icon in the notification area of the Taskbar and select Options...

Страница 48: ...uter then change the settings as per the following The CyberLink PowerDVD program is optional and may not be provided depending on the model 1 Run CyberLink Power DVD program and click the Configurati...

Страница 49: ...vided for some models Restrictions when Using Memory Cards You can use memory cards for storing data only Copyright protection function is not supported To insert and use a memory card Remove the Slot...

Страница 50: ...ry card If the memory card is not formatted yet format the memory card before use Since the memory card may be easily mislaid when moving your computer keep the memory card separately To remove a memo...

Страница 51: ...ection tab of the Memory Stick or SD memory card to the Lock position 1 Click Start My computer 2 Press the right touchpad button on the memory card drive and select Format from the pop up menu 3 Clic...

Страница 52: ...DA etc conveniently Before You Start This computer supports CF card types I Using the Card 1 Insert a card into the slot in the correct direction 2 The card drive appears If it does not appear click S...

Страница 53: ...the right touchpad button with the cursor over the removable disk and select Format from the pop up menu 3 Click the Start button to begin formatting the card To use a CF card on both a computer and a...

Страница 54: ...nd change the boot sequence Desktop Desktop management features include changing the font size execut ing a magnifier function the start menu settings and managing the quick launch icons on the taskba...

Страница 55: ...s unauthorized users from gaining access to your sys tem via the network or the Internet 1 Click Start All Programs Samsung EasyBox EasyBox 2 Click Security from the top menu bar 3 Select Windows Fire...

Отзывы: