


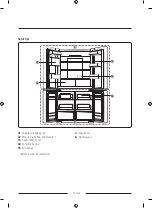


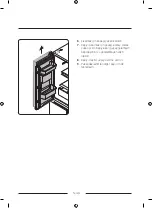

Dondurucu kapılarını çıkarma
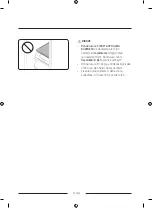
DİKKAT
Dondurucu kapılarını çıkarmadan önce soğutucu kapılarını çıkardığınızdan emin olun.
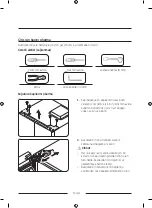
1.
Bir yıldız tornavida ile (+) sol ve sağ
orta menteşelere takılı vidayı sökün. Bir
allen anahtar (Ø 4 mm) ile sol ve sağ orta
menteşelere takılı 2 altıgen başlı cıvatayı
sökün.
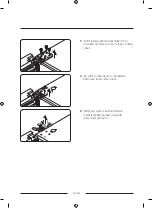
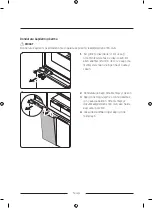
2.
Dondurucuya bağlı Orta Menteşeyi çıkarın.
3.
Kapıyı öne doğru eğin ve sonra çıkarmak
için yavaşça kaldırın. Orta menteşeye
dokunmadığınızdan emin olun, aksi halde
kapı zarar görebilir.
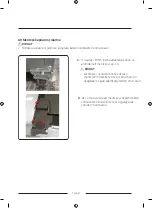
4.
Yukarıdaki adımları diğer kapı için de
tekrarlayın.
Türkçe