


English - 1
Positioning and Sizing the screen using Zoom
− Resizing the screen using the
Zoom
enables the positioning and sizing of the screen to up/down direction
using the ▲ or ▼ button as well as the screen size.
− Move the screen up/down using the ▲ or ▼ button after selecting the by pressing the ◄ or ► button.
− Resize the screen vertically using the ▲ or ▼ button after selecting the by pressing the ◄ or ► button.
Screen Mode: 1:/Wide Zoom/Zoom/4:
When setting the picture size to Auto Wide in a 16:9 wide TV,
you can determine the picture size you want to see the 4:3
WSS (Wide Screen Service) image or nothing. Each individual
European country requires different picture size so this function
is intended for users to select it.
−
1:
: Sets the picture to 16:9 wide mode.
−
Wide Zoom
: Magnify the size of the picture more than 4:3.
−
Zoom
: Magnify the size of the picture vertically on screen.
−
4:
: Sets the picture to 4:3 normal mode.
This function is available in
Auto Wide
mode.
This function is not available in PC,Component or HDMI mode.
Digital NR: Off/Low/Medium/High/Auto
If the signal received by the television is weak, you can activate this feature to reduce any static and
ghosting that may appear on the screen.
This function is not available in
PC
mode.
When the signal is weak, select one of the other options until the best picture is displayed.
DNIe: Off/Demo/On
This TV includes the DNIe function so as to provide a high visual quality. If you set DNIe to on, you
can view the screen with the DNIe feature activated. If you set the DNIe to Demo, you can view the
applied DNIe and normal pictures on the screen, for demonstration purposes. Using this function, you
can view the difference in the visual quality.
DNIe
TM
(Digital Natural Image engine)
This feature brings you more detailed image with 3D noise reduction, detail enhancement, contrast
enhancement and white enhancement. New image compensation Algorithm gives brighter, clearer, more
detailed image to you. DNIe
TM
technology will fit every signal into your eyes.
This function is not available in
PC
mode.
This function is available only in
Dynamic
mode.
HDMI Black Level: Normal/Low
Using this function, you can adjust the image quality when the screen burn (appearance of black
level, low contrast, low colour, etc.) is encountered by the HDMI input for RGB limited range (16 to
235).
This function is active only when the external input connects to HDMI(RGB signals).
Movie Plus: Off/Low/Medium/High/Demo
You can view more natural skin and clear text even in fast moving scenes.
Use this function when watching movies.
This function is not available in
Wide Zoom
and
Zoom
modes.
This function is not available when
PIP
is set to
On
.
It is not supported in HDMI 1080p/24Hz, 25Hz, 30Hz mode.
Blue Only Mode: Off/On
This function is for AV device measurement experts. This function displays the blue signal only by
removing the red and green signals from the video signal so as to provide a Blue Filter effect that is
used to adjust the Colour and Tint of video equipment such as DVD players, Home Theaters, etc.
Using this function, you can adjust the Colour and Tint to preferred values appropriate to the signal
level of each video device using the Red/Green/Blue/ Cyan/Magenta/ Yellow Colour Bar Patterns,
without using an additional Blue Filter.
Blue Only Mode
is available when the picture mode is set
to
Movie
or
Standard
.
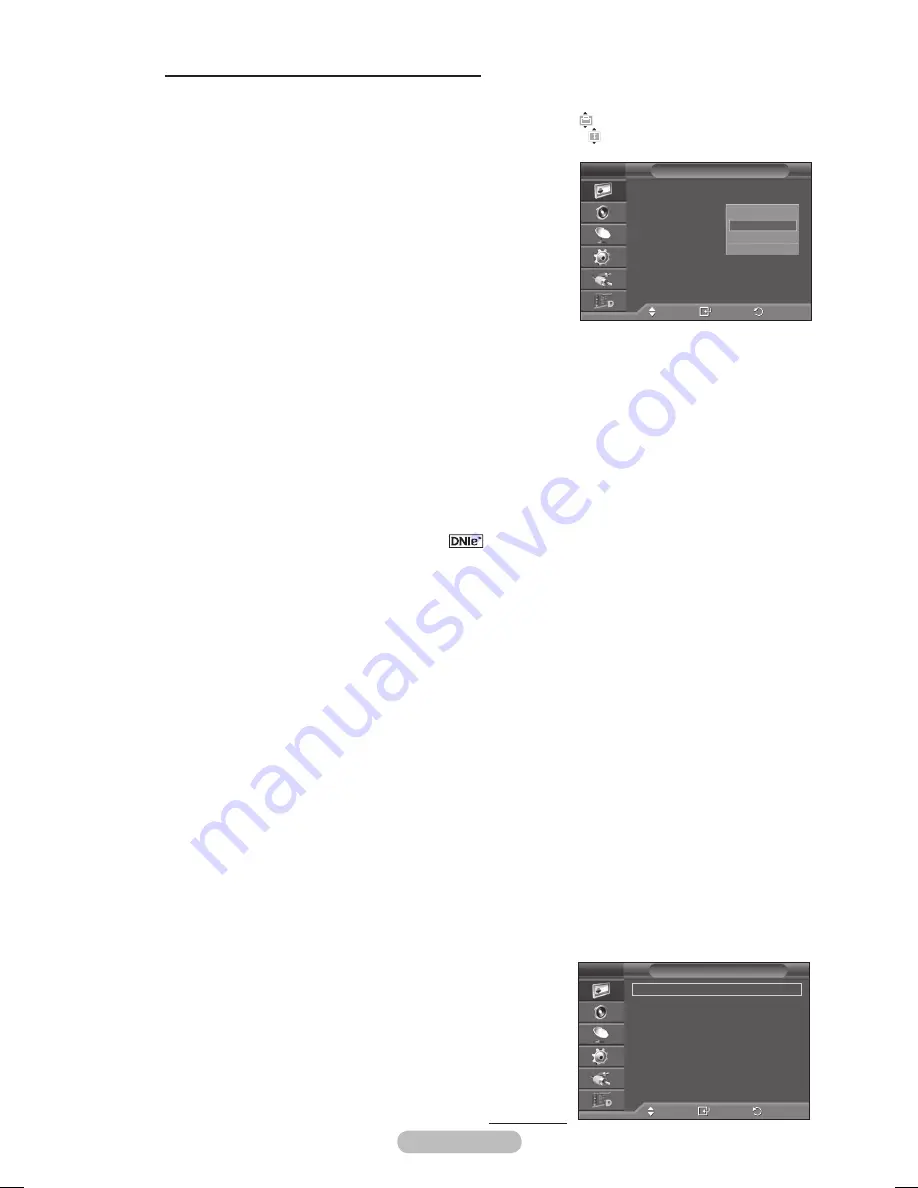
Screen Burn Protection
To reduce the possibility of screen burn, this unit is equipped
with screen burn prevention technology. This technology
enables you to set picture movement up/down (Vertical Line)
and side to side (Horizontal Dot). The Time setting allows
you to program the time between movement of the picture in
minutes.
Continued...
Move
Enter
Return
Colour Tone :
Normal
Size
:
Auto Wide
Screen Mode
:
1:
Digital NR :
DNle
:
HDMI Black Level :
Movie Plus
: Low
Blue only mode : Off
Screen Burn Protection
Picture Options
T V
1:
Wide Zoom
Zoom
4:
Move
Enter
Return
Pixel Shift
White
Scrolling
Side Gray
:
Dark
Screen Burn Protection
T V
BN68-01619A.indb 21
2008-06-03 오후 12:53:01
Содержание Plasma TV
Страница 63: ...This page is intentionally left blank ...
Страница 64: ...This page is intentionally left blank ...


