


《
75
》
Setup menu 4( )
- Sub menus
[No]
: The memory will not be formatted.
[Yes] : A confirmation window will be displayed.
Select the [Yes] menu by pressing the
smart button.
A [Processing!] message appears and the
memory will be formatted. If you run
FORMAT in Play mode, a [No Image!]
message will appear.
■
Be sure to run [Format] on the following types of memory card.
- A new memory card, or an unformatted memory card
- A memory card that has a file this camera can't recognise or one that has been
taken from another camera.
Formatting a memory
This is used for formatting the memory. If you run [Format] on the memory, all
images, including the protected images, will be deleted. Be sure to download
important images to your PC before formatting the memory.
Delete All
Of all the files stored in the memory card, the unprotected files in the DCIM
subfolder will be deleted.
●
Always format the memory card using this camera. If you insert a
memory card that has been formatted using other cameras, memory
card readers, or PCs, you will get a [Card Error!] message.
●
The protected images can’t be deleted.
●
If there aren’t any protected images, all images are deleted and a
[No Image!] message will display in the Play mode.
[No] : Cancel the "Delete All".
[Yes] : A confirmation window will display. Select
the [Yes] menu by pressing the smart
button. A [Processing!] message appears
and the unprotected files in the DCIM
subfolder will be deleted.
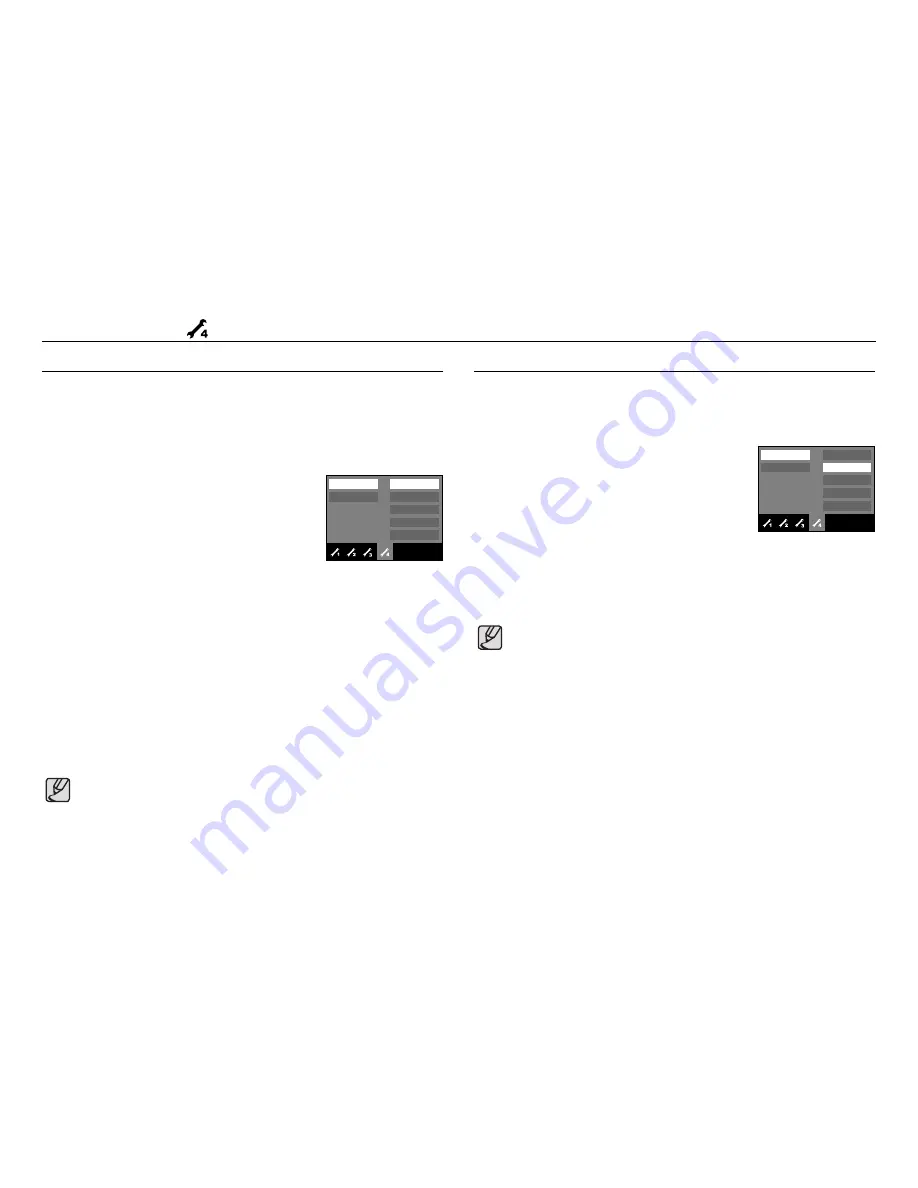
No
Yes
Format
Delete All
Copy to Card
Video Out
Reset
◀
Exit:BACK
No
Yes
Format
Delete All
Copy to Card
Video Out
Reset
◀
Exit:BACK
Содержание NV15
Страница 100: ... 99 MEMO ...
Страница 101: ... 100 MEMO ...


