


Basics
57
Number
Name
•
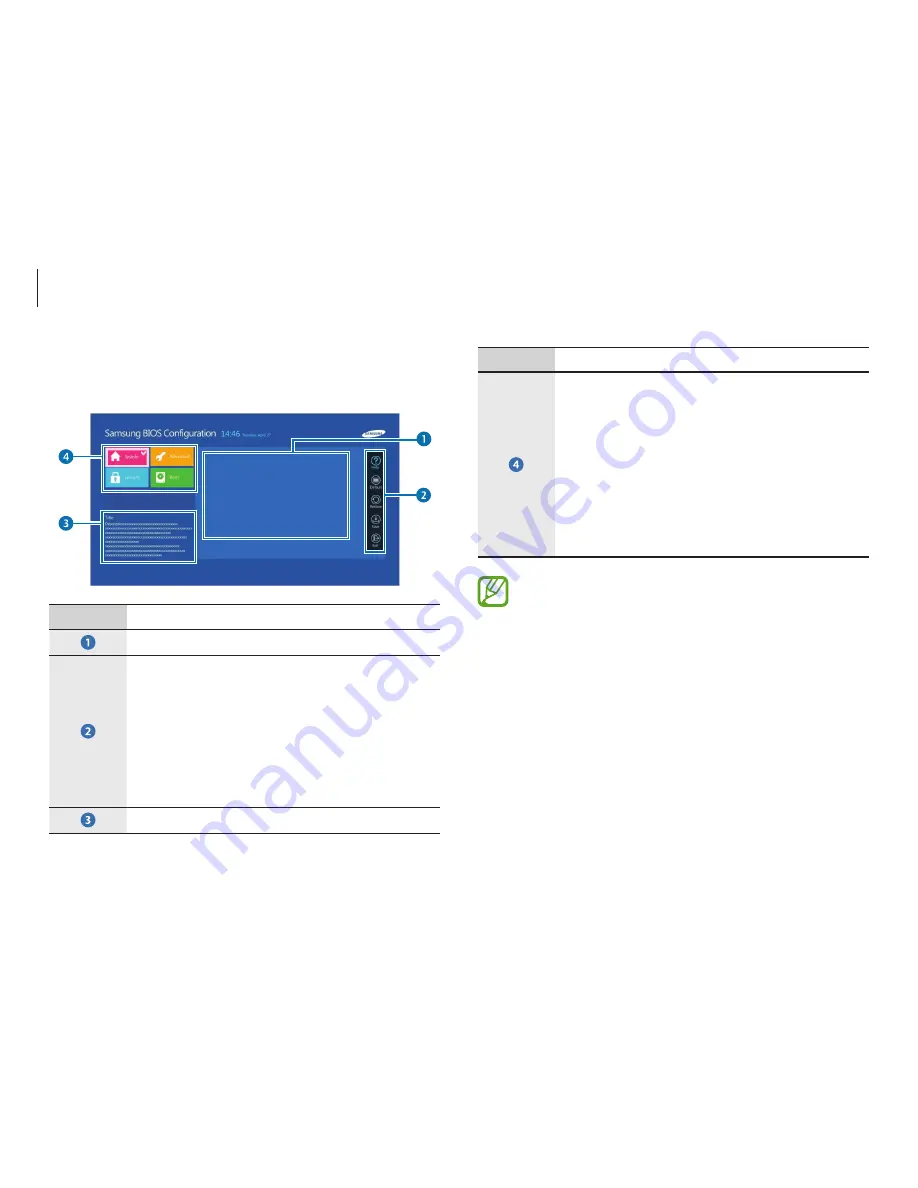
Setup menu
–
SysInfo
: View the basic specifications of
the computer.
–
Advanced
: Configure the chipsets and
additional functions.
–
Security
: Configure security functions.
–
Boot
: Configure peripherals and
boot-related settings.
•
The BIOS setup screen appears only in English.
•
When using a keyboard, only certain keys will control
the BIOS setup screen.
Learning the BIOS screen
The BIOS setup screen appears as shown below.
Aptio Setup Utility - Copy (C) 2012 American Megatrends, Inc.
System Date >
System Time >
SATA Port 1 SanDisk SSD U100 126GB
CPU Vender Intel(R)
CPU Type Core
Core(TM) i5-3317U CPU
CPU Speed 1.70 GHz
CPU VT (VT-x)
Supported
Total Memory 4096 MB
BIOS Version E00AAT.017.120804.dg
MICOM Version
E00AAT.017
Number
Name
•
Setup items
•
Setup tools
–
Help
: View the help for BIOS set up.
–
Default
: Return to default settings.
–
Restore
: Cancel changes.
–
Save
: Save settings.
–
Exit
: Exit BIOS setup.
•
Help
Содержание Notebook
Страница 1: ...www samsung com User Manual ...


