37
Recording MP3s
ENG
Recording Voice
36
1
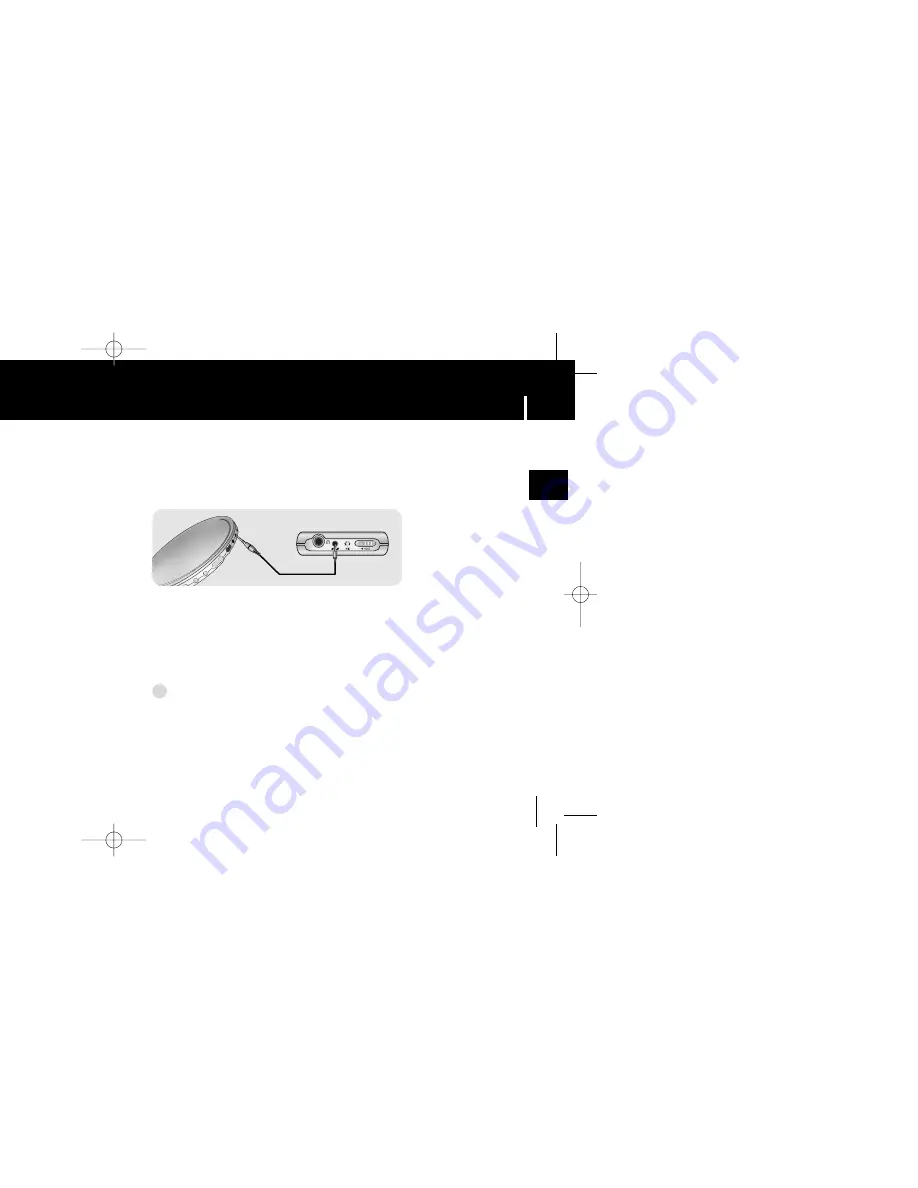
While in Music mode, use the Line-In cable to connect the main unit's line in
jack and the line out jack of your external audio device.
2
Slide the REC switch to start recording.
3
Slide the REC switch in the opposite direction to stop recording.
A new MP3 file will be created.
●
Files are recorded and renamed 0001.mp3, 0002.mp3, and so on.
●
A recorded MP3 file is automatically added to the current playlist.
N
N
N
N
o
o
o
o
tt
tt
e
e
e
e
- Before you begin recording, verify that the battery is fully charged, otherwise your recording
may not complete successfully.
- If there is no remaining capacity, recording stops automatically.
- Set the volume of the external audio device to an appropriate level before you start recording.
If the volume level is set too high, the sound quality of the recorded file may be poor.
✍
1
Slide the REC switch while to start voice recording.
2
Slide the REC switch in the opposite direction that you had pushed for recording.
●
Recording stops and the file is created.
●
Files are recorded and renamed 0001.mp3, 0002.mp3, and so on.
●
MP3 files are automatically added to your Library.
N
N
N
N
o
o
o
o
tt
tt
e
e
e
e
- Even if you set the sampling and bit rates higher, voice recording will default to 8khz 32 kbps
- You can adjust the actual recording volume (REC LEVEL) using the MENU and SELECT buttons
during recording. .
✍
Your player can be to used to record directly from any external audio source such as
a CD player, cassette player, home stereo or radio.
920 ELS ENG0.0 9/9/04 10:3812:0 Page 36


