background image

Your New Microwave oven

Guarantee and Service Information

To achieve a better service, complete the following form and send it by mail.
If the registration card is lost, you can call Samsung Electronics Latin 
America-Panama, or register on line (www.samsunglatin.com).

When you contact Samsung, give the model number you will find on the rear 
and the bottom of the product. Please keep this number for future 
clarifications. Keep this information in a safe place to identify the purchase in 
the event of robbery or loss and if you need to consult an assistance service.

MODEL NUMBER ________________________________

SERIAL NUMBER ________________________________

PURCHASE DATE ________________________________

PURCHASED IN ________________________________

This guarantee will only be valid in any Authorised Samsung Centre. If you 
require a service guarantee, complete the data required above and go to an 
authorised Samsung service centre.

Setting Up Your Microwave Oven

1

Place the oven on a flat, sturdy surface and plug the cord into a 
grounded outlet.

Make sure there is adequate ventilation for your oven by leaving at 
least four inches of space behind, above, and to the side of the 
oven.

2

Open the oven door by pressing the button below the control panel.

3

Wipe the inside of the oven with a damp cloth.

4

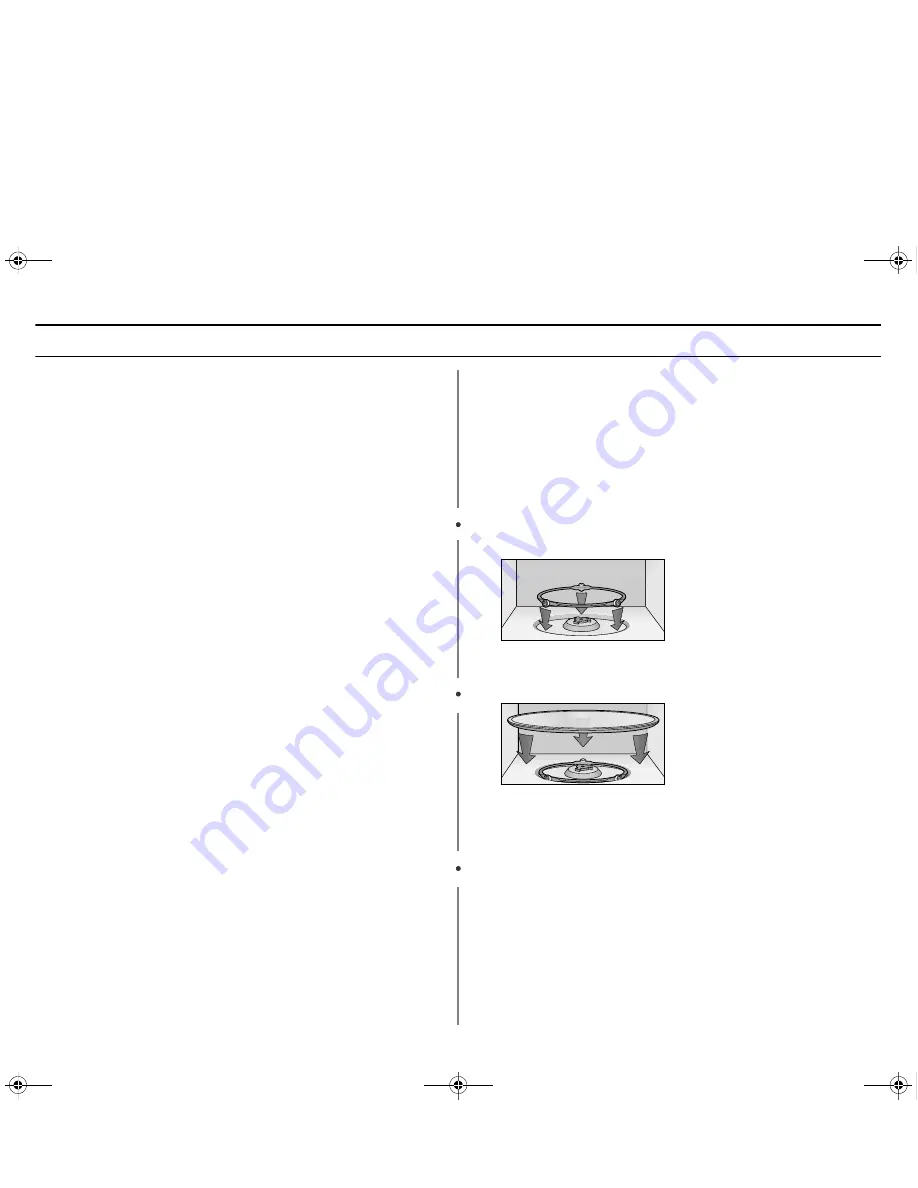
Place the pre-assembled ring in the indentation in the center of the 
oven.

5

Place the glass tray on top of the ring so that the three glass tabs in 
the center of the tray fit securely into the tabs on the floor of the 
oven.

t~XW\Wz{jGWY`^_iU”GGwˆŽŒG]GG{œ™š‹ˆ SGvŠ›–‰Œ™G]SGYWW\GGZaX]Gwt

Содержание MW1050STC

Страница 1: ...Code No DE68 02978B Microwave Oven Owner s Manual MW1050 t XW Wz jGWY _iU GGw GXGG SGv G SGYWW GGZaX Gwt...

Страница 2: ...electric shock fire personal injury or exposure to excessive microwave energy Read all safety instructions before using the appliance Read and follow the specific PRECAUTIONS TO AVOID POSSIBLE EXPOSU...

Страница 3: ...compartment for storage purposes Do not leave paper products cooking utensils or food in the oven when not in use Do not try to preheat oven or operate while empty Do not cook without the glass tray i...

Страница 4: ...use an extension cord the interior light may flicker and the blower may vary when the microwave oven is on Cooking times may be longer too WARNING Do not cut or remove the third ground prong from the...

Страница 5: ...e stage Cooking 11 Multi stage Cooking 11 Using the More Less Buttons 11 Switching the Beeper On Off 12 Using the Kitchen Timer 12 Demonstration Mode 12 Setting the Child Protection Lock 12 Cooking In...

Страница 6: ...________________ PURCHASED IN ________________________________ This guarantee will only be valid in any Authorised Samsung Centre If you require a service guarantee complete the data required above an...

Страница 7: ...ight of food to be defrosted 6 Auto Reheat p 10 Sets type and weight of food to be reheated 7 Number Buttons Sets cooking times or amounts and power levels other than high 8 More Less p 11 Increase or...

Страница 8: ...he screen will show the options repeatedly in the described order Having selected the measuring system you wish to use press the Pause Cancel button to finish the procedure Or press CLOCK to adjust th...

Страница 9: ...each potato several times with fork Place on turntable in spoke like fashion Remove from oven wrap in foil and let stand 3 5 min Beverage cup 1 cup 2 cups Use measuring cup or mug do not cover Place t...

Страница 10: ...n starts automatically Add minutes to a program in progress by pressing the One Minute button for each minute you want to add Reheating Automatically To reheat food select the type of dish and the num...

Страница 11: ...gin cooking If you want to change the power level press Pause Cancel before you press Start and re enter all of the instructions Multi stage Cooking Some recipes require different stages of cooking at...

Страница 12: ...begin Kitchen Timer 4 The display counts down and beeps when the time has elapsed Demonstration Mode You can use the Demonstration Mode to see how your microwave oven operates without the oven heatin...

Страница 13: ...oven so be careful Ceramic porcelain and stoneware Use these if they are labeled Microwave Safe If they are not labeled test them to make sure they can be used safely Never use dishes with metallic tr...

Страница 14: ...as soup or hot chocolate should be shaken or stirred when cooking is complete Let liquids stand a moment before serving When heating baby food stir well and test the temperature before serving Adding...

Страница 15: ...hops Fish 200 g 1300g After each stage rearrange the food If there are any warm or thawed portions of food shield them with narrow flat pieces of aluminum foil Remove any pieces of food that are nearl...

Страница 16: ...with wax paper Turn over when cooking time is half up Let stand 10 min Pork Boneless or bone in Up to 1 8 kg Cooking Time 11 14 min 454g for 71 2 C Well Done Power Level High 0 for first 5 min then M...

Страница 17: ...id or vented microwavable plastic wrap Whole unpeeled vegetables such as potatoes squash eggplant etc should have their skin pricked in several spots before cooking to prevent them from bursting For m...

Страница 18: ...for 10 minutes Remove bay leaf before serving Makes 6 servings Broccoli and Cheese Casserole cup butter or margarine cup chopped onion 1 Tbs flour tsp salt tsp dry mustard 1 8 tsp pepper 1 cups milk...

Страница 19: ...in sugar salt flour celery seed and pepper Cook at High until mixture boils 30 40 sec Stir in vinegar and cup water Cook at High until liquid boils and thickens slightly 1 2 min stir once Add bacon t...

Страница 20: ...or radio interference This is similar to the interference caused by other small appliances such as hair dryers Move your microwave further away from other appliances like your TV or radio Note If the...

Страница 21: ...uding defrost Timer 99 minutes 99 seconds Power Source 120 VAC 60 Hz Power Output 1000 Watts Power Consumption 1500 Watts Outside Dimensions 51 7 W x 29 7 H x 37 9 D cm Oven Cavity Dimensions 33 6 W x...

Страница 22: ...22 Note t XW Wz jGWY _iU GGw GYYGG SGv G SGYWW GGZaX Gwt...

Страница 23: ...23 Note t XW Wz jGWY _iU GGw GYZGG SGv G SGYWW GGZaX Gwt...

Страница 24: ...st 1 Press AUTO DEFROST 2 Enter weight of food by pressing AUTO DEFROST button repeatedly or using the number buttons 3 When the oven beeps press PAUSE CANCEL button and turn food over Press START to...

Отзывы: