background image

12


English

English


12

English


13

PS  

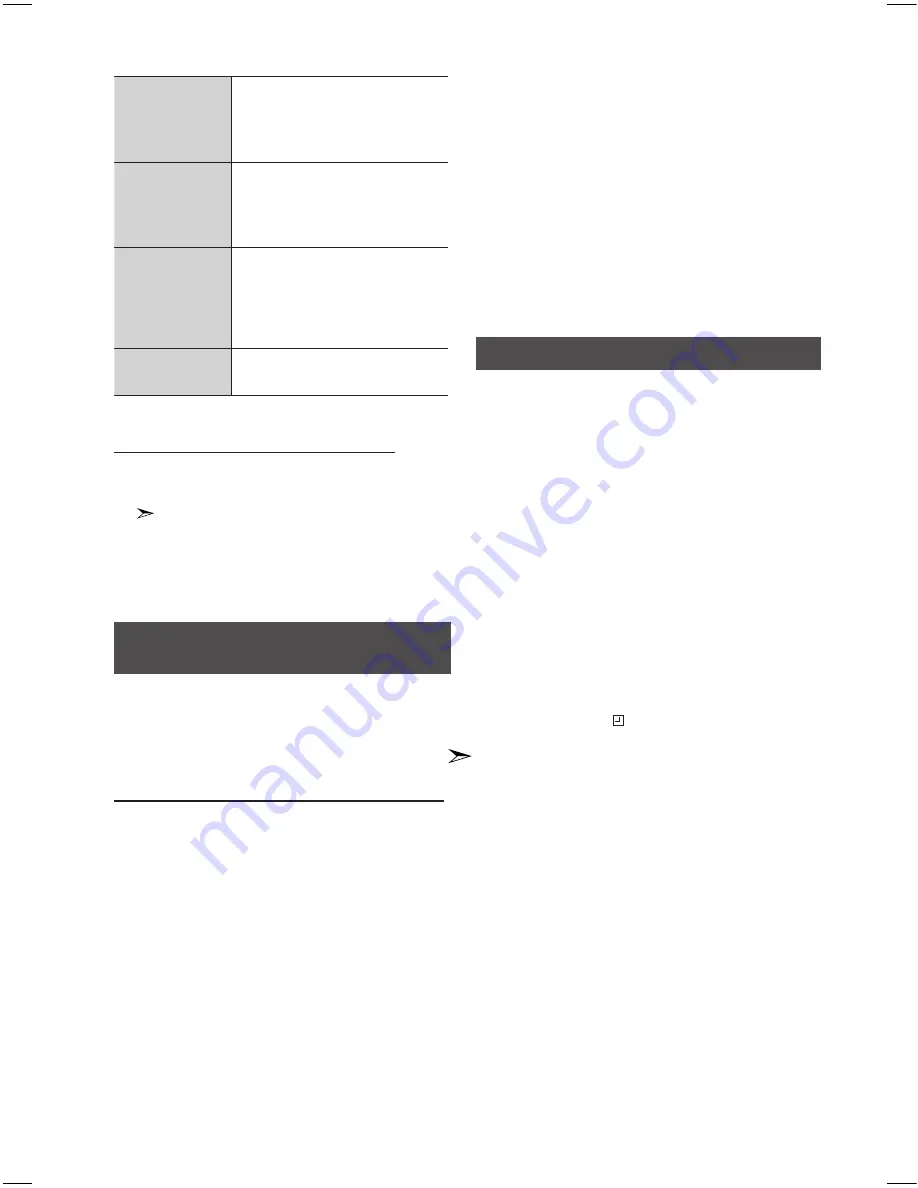
(Program Service)

While searching, <PS> appears and 
then the station names will be 
displayed. <NO PS> appears if no 
signal is sent.

RT(RadioText)

While searching, <RT> appears and 
then text messages the station sends 
will be displayed. <NO RT> appears if 
no signal is sent.

CT (Clock Time)

Decodes the real time clock from the 
FM frequency.
Some stations may not transmit PTY, 
RT or CT information therefore this 
may not be displayed in all cases.

Frequency

Station frequency (non-RDS 
service).

About characters shown in the display

When the display shows PS,or RT signals,the 
following characters are used.

• 

The display window cannot differentiate upper 

case and lower case letters and always uses upper 
case letters.

• 

The display window cannot show accented letters, 

<A,> for instance, may stands for accented <A’s> like 

<À, Â, Ä, Á, Å and Ã.>

PTY(Program Type) indication and 

PTY-SEARCH function(Optional)

One of the advantages of the RDS service is that you 
can locate a particular kind of program from the 
preset channels by specifying the PTY codes.

To search for a program using the PTY codes

Before you start!

• 

The PTY Search is only applicable to preset 
stations.

• 

To stop searching any time during the process, 
press the STOP button while searching.

• 

There is a time limit in doing the following steps.  
If the setting is cancelled before you finish, start 
from step 1 again.

• 

When pressing the buttons on the primary remote 
control, make sure that you have selected the FM 
station using the primary remote control.

1. 

Press the 

RDS PTY

 button while listening to an 

FM station.

2. 

Press the  

TUNING/ALBUM


or 

.

 buttons 

until the PTY code you want appears on the 
display.

•  The display gives you the PTY codes described 

to the right.

3. 

Press the 

RDS PTY

 button again, while the PTY 

code selected in the previous step is still on the 
display.

•  The centre unit searches 30 preset FM stations, 

stops when it finds the one you have selected, 
and tunes in that station.

Setting the Clock

For each step, you have a few seconds to set the 
required options. If you exceed this time, you must 
start again.

1. 

Switch the system on by pressing the 

POWER


button.

2. 

Press 

TIMER SET 

button and then press the 

ENTER

 button,

"CLOCK”

 is displayed.

3. 

Press 

ENTER 

button

.

The hour flashes.

•  Increase the hours:

,

.

•  Decrease the hours:

.

.

4. 

When the correct hour is displayed, press 

ENTER 

button. The minutes flashes.

•  Increase the minutes:

,

,

•  Decrease the minutes:

.

.

5. 

When the correct minute is displayed, press the 

ENTER  button. "  TIMER" appears in the display.

•  The current time is set now.

• 

You can display the time, even when you are 
using another  function, by pressing the 

TIMER 

SET

 button once. 

• 

You can also use the 

[

 or 

]

 on the top panel 

instead of the 

TUNING/ALBUM

  , 

or

 . 

buttons 

in steps 3 and 4.

Содержание MM-E430

Страница 1: ...stem MP3 CD WMA CD CD R RW Playback user manual Imagine the possibilities Thank you for purchasing this Samsung product To receive more complete service please register your product at www samsung com register MM E430 ...
Страница 2: ...readily operable Wiring the Main Power Supply Plug UK Only IMPORTANT NOTICE The main lead on this equipment is supplied with a moulded plug incorporating a fuse The value of the fuse is indicated on the pin face of the plug and if it requires replacing a fuse approved to BS1362 of the same rating must be used Never use the plug with the fuse cover removed If the cover is detachable and a replaceme...

Страница 3: ...650MB 74 minute CD R discs Do not use CD R discs over 700MB 80 minutes as they may not be played back Some CD RW Rewritable media may not be playable Only CD Rs that are properly closed can be fully played If the session is closed but the disc is left open you may not be able to fully play the disc CD R MP3 Discs Only CD R discs with MP3 files in ISO 9660 or Joliet format can be played MP3 file na...

Страница 4: ...t 10 tracks 9 Using an iPod iPhone 10 Listening to the Radio 11 Selecting a Stored Station 11 About RDS broadcasting Optional 11 About RDS Display function Optional 11 Setting the Clock 12 Timer Function 13 Cancelling the Timer 13 Recording Function 14 Recording Speed 14 SOUND Mode 14 Using Blutooh 15 Connecting Microphone optional 17 Troubleshooting 17 Specifications 18 Contents FM Antenna User s...

Страница 5: ...2 Press F to switch the input mode to AUX 19 FM Aerial Connector Terminal 1 Connect the FM antenna to the FM port on the rear panel 2 Extend the antenna as appropriate and find the best possible reception position Then fasten the antenna to a wall or other rigid If reception is poor you may need to install an outdoor aerial To do so connect an outdoor FM aerial to the FM socket on the rear of the ...

Страница 6: ...d the CD button above Depending on your region this product may not use the MY KARAOKE MIC VOL function Place batteries in the remote control so they match the polarity to and to Always replace both batteries at the same time Do not expose the batteries to heat or a flame The remote control can be used up to approximately 23 feet 7 meters in a straight line 1 2 3 4 5 6 7 8 9 10 11 12 13 14 15 16 1...

Страница 7: ...you are not using it to prevent dust from entering You can load or unload a compact disc when the radio USB or auxiliary source function is selected Also when you press the OPEN CLOSE button all of the other functions will be changed to MP3 CD mode If no buttons are pressed on the product or remote control for more than 3 minutes when the product is in Pause mode it will be changed to Stop mode If...

Страница 8: ...gramming the number 0 9 buttons and 10 10 button doesn t work You can check a list of programmed tracks and edit them as you want 1 If a programmed track is being played press the STOP button once 2 Press the ENTER button twice to display the message below C Check 01 program number If a total of 24 tracks are already pro grammed C will be displayed rather than P in the display 3 Press the ENTER bu...

Страница 9: ...ed R OFF Cancels Repeat Playback R TRK Repeatedly plays the selected track R DIR Repeatedly plays all tracks in the selected folder R ALL Repeatedly plays all tracks RANDOM Plays tracks in random order To delete a file You can delete a file on your USB device 1 Play a file you want to delete 2 Press the DELETE button 3 Press to select DEL Y 4 Press the ENTER button on the remote control The selecte...

Страница 10: ...ct iPhone 4S iPhone 4 iPhone 3GS iPod touch 4th generation iPod touch 3rd generation iPod touch 2nd generation iPod nano 6th generation iPod nano 5th generation iPod nano 4rd generation iPod classic NOTE iPod iPod classic iPod nano and iPod touch are trademarks of Apple Inc registered in the U S and other countries Made for iPod iPhone means that an electronic accessory has been designed to connec...

Страница 11: ...pressing the F button on the main unit You can also select FM by pressing the FUNC TION button on the remote control 2 To search for a station Press TUNING MODE button Preset One or more times until FM XX is displayed You can search the stored frequencies in the Preset mode Manually One or more times until MANUA is displayed You can search the frequen cies one by one in the Manual mode 3 Select th...

Страница 12: ...imit in doing the following steps If the setting is cancelled before you finish start from step 1 again When pressing the buttons on the primary remote control make sure that you have selected the FM station using the primary remote control 1 Press the RDS PTY button while listening to an FM station 2 Press the TUNING ALBUM or buttons until the PTY code you want appears on the display The display ...

Страница 13: ...e TUNING ALBUM or button to set the hours b Press the ENTER button Result The minutes flash c Press the TUNING ALBUM or button to set the minutes d Press the ENTER button Result VOL XX is displayed where XX corre sponds to the volume already set 6 Press the TUNING ALBUM or button to adjust the volume level and press the ENTER button Result The source to be selected is displayed 7 Press the TUNING ...

Страница 14: ...format the USB device Recording Speed When the USB memory has insufficient free space it will display NOT ENOUGH MEMORY The recording works if the USB device or the HDD is formatted in the FAT file system The NTFS file system is not supported When you use CD high speed search function the CD recording doesn t work Sometimes the recording time may be longer with some USB devices In the program mode...

Страница 15: ... the Product In Bluetooth mode some model s Repeat Stop Next Back functions are not available The Product only supports Middle Quality SBC data up to 237kbps 48kHz and does not support High Quality SBC data 328kbps 44 1kHz Only one Bluetooth device can be paired at a time Search or connection by product may not be performed properly in the following cases If there emits a strong electric wave arou...

Страница 16: ... and be connected automatically 2 If you replace the product which you have paired to your mobile device you should delete the remaining settings saved in your device before pairing to the new one Tap Tap Clear data The operation of the Samsung wireless audio with dock may be different depending on application s version Once you have started the application it will not be disturbed if you shift yo...

Страница 17: ... normally While NO DISC message appears on the display of the product press and hold the STOP button on the main unit for longer than 5 seconds with no disc reset function Using the RESET function will erase all stored settings Do not use this unless necessary Can t receive radio broadcast Is the antenna connected properly If the antenna s input signal is weak install an external FM antenna in an ...

Страница 18: ...el attached to the product Phone Category Model Name Phone Category Model Name Australia Japan SⅡ LTE GT I9210 Note SGH N054 Canada SⅡ SGH N033 Note SGH I717 SⅡ LTE SGH N034 SⅡ GT I9100 Korea Republic of SⅡ LTE SGH I727 China Note GT I9220 Note SHV E160 Note GT I9228 SⅡ SHW M250 Note SCH I889 SⅡ LTE SHV E110 SⅡ GT I9100 SⅡ GT I9108 SⅡ SCH I919 Galaxy Compatibility List The compatibility of followi...

Страница 19: ...IDE If you have any questions or comments relating to Samsung products please contact the SAMSUNG customer care centre 0 800 555 555 0 88 555 55 55 8 10 800 500 55 500 0 800 61440 Area Contact Center WebSite Area Contact Center WebSite ...

Страница 20: ...ese items for environmentally safe recycling Business users should contact their supplier and check the terms and conditions of the purchase contract This product and its electronic accessories should not be mixed with other commercial wastes for disposal Correct disposal of batteries in this product optional Applicable in the European Union and other European countries with separate battery retur...

Отзывы: