ENG
HDMI Function
CONNECTIONS
The audio signals transmitted over the HDMI Cable can be toggled ON/OFF.
1
In Stop mode, press the MENU button.
2
Press the Cursor
button to move to <Audio> and then press the ENTER button.
3
Press the Cursor
button to move to <HDMI AUDIO> and then press
the ENTER button.
4
Press the Cursor
,
button to select <ON> or <OFF> and then press
the ENTER button.
•
ON : Both video and audio signals are transmitted over the HDMI connection cable, and audio
is output through your TV speakers only.
•
OFF : Video is transmitted over the HDMI connection cable only, and audio is output through
the home theater speakers only.
Press the RETURN button to return to the previous level.
Press the EXIT button to exit the setup screen.
Setting the HDMI Audio
MOVE
SELECT
EXIT
RETURN
13
14
• The default setting of this function is HDMI AUDIO OFF.
• HDMI AUDIO is automatically down-mixed to 2ch for TV speakers.
• ECHO/P.SOUND/EQ/DSP function is not available when HDMI AUDIO is ON.
• MIC output is not available while HDMI AUDIO ON.
MOVE
ENTER
EXIT
RETURN
Connecting the Video Out to your TV
In Stop mode, press and hold the
SD/HD
(Standard Definition/High Definition)
button on the remote control.
■
Resolutions available for the HDMI output are 480p, 720p, 1080i.
■
SD(Standard Definition) resolution is 480p and HD(High Definition) resolution is 720p/1080i.
Resolution Selection
• If the TV does not support the configured resolution, you will not be able to see the
picture properly.
• When an HDMI cable is connected, composite and component video signals are
not output.
• See your TV owner's manual for more information on how to select the TV's Video
Input source.
This function allows the user to select the screen resolution for HDMI output.
AUDIO
EXIT
SUB
TITLE
SLEEP
INFO
REPEAT
SLOW
MO/ST
P.SOUND
DSP/EQ
TIMER/CLOCK
TUNER
MEMORY
SD/HD
P.BASS
ECHO
ZOOM
LOGO
REMAIN
TIMER
ON/OFF
MODE
EFFECT
Why use HDMI (High Definition
Multimedia Interface)?
This device transmits a DVD
video signal digitally without
the process of converting to
analog. You will get sharper
digital pictures when using an
HDMI connection.
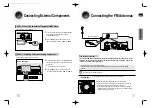
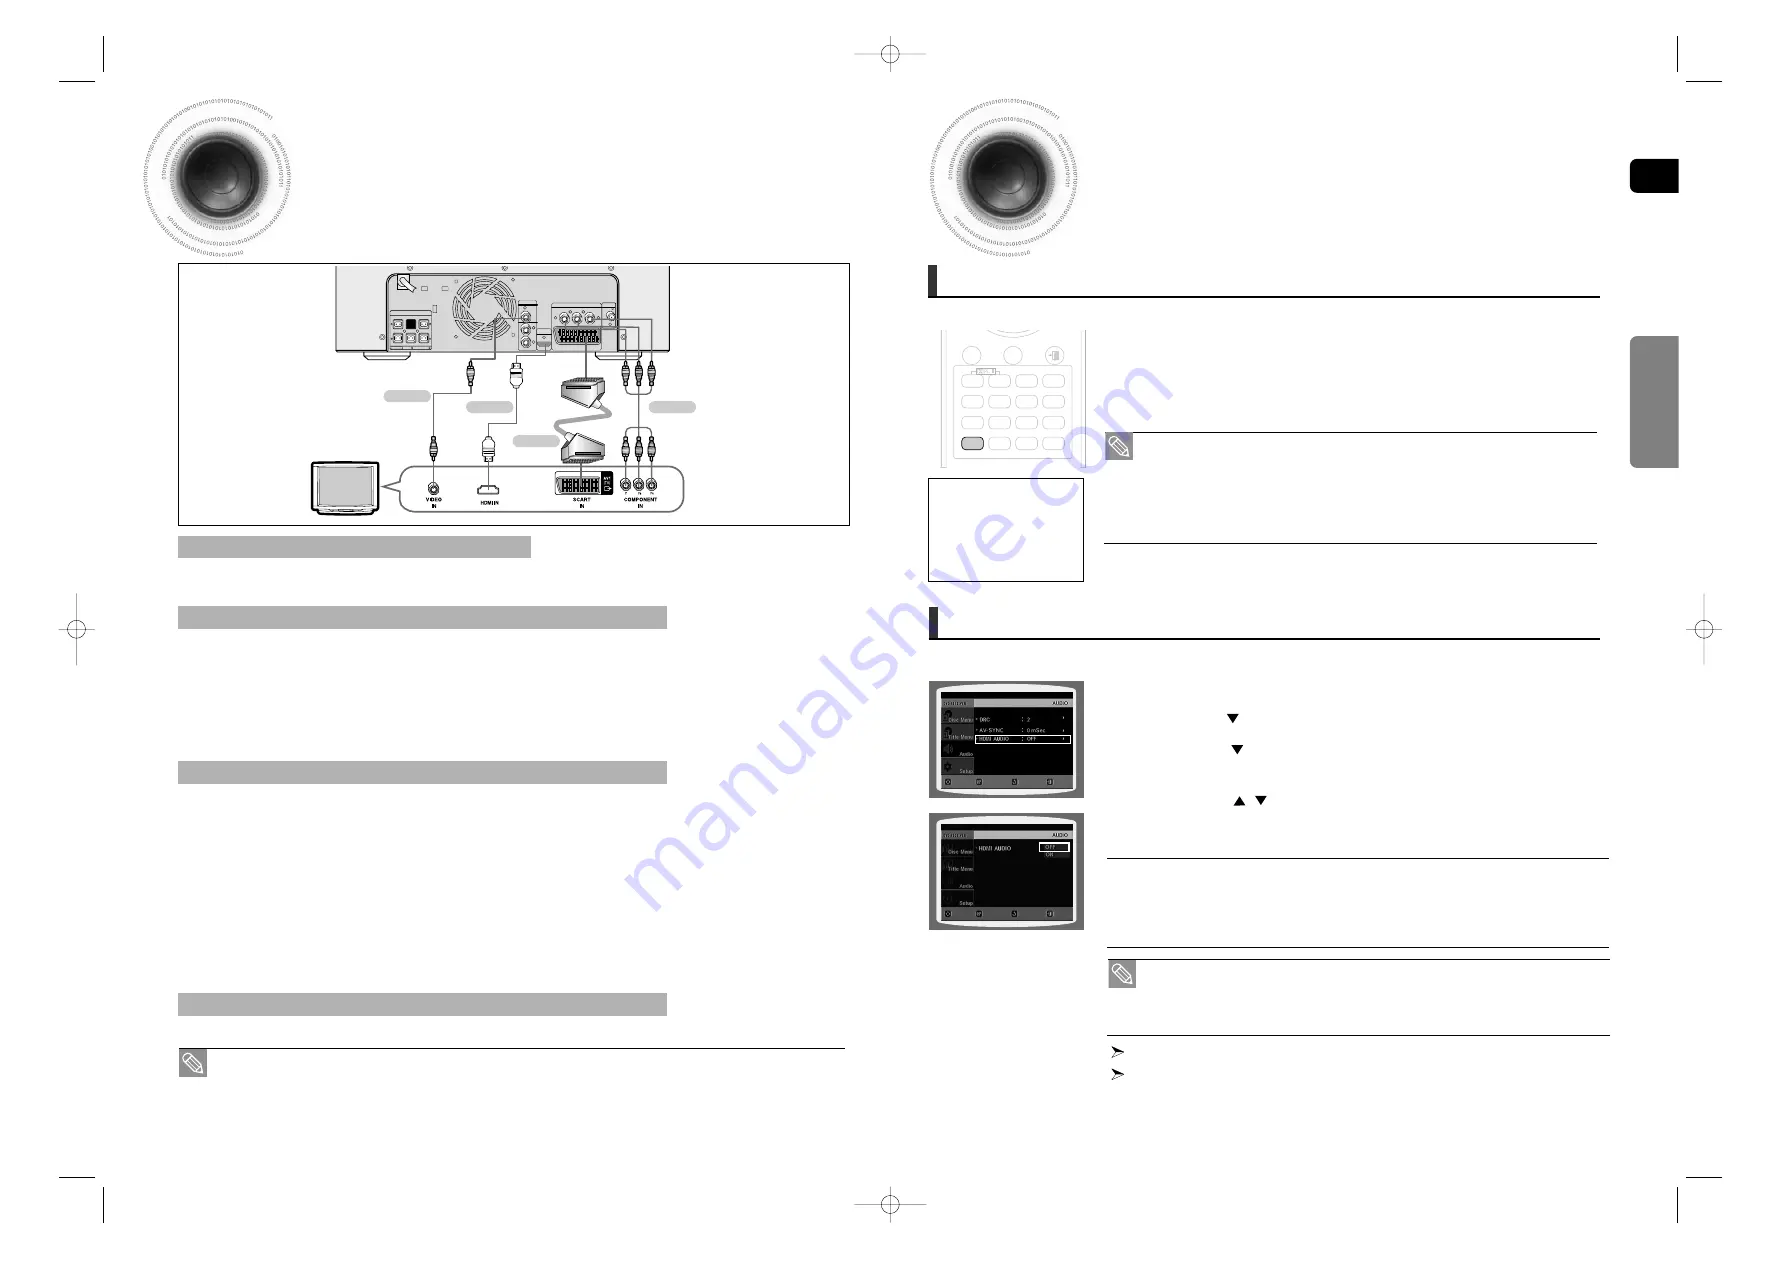
Choose one of the four methods for connecting to a TV.
Connect the supplied Video cable from the VIDEO OUT jack on the back of the DVD Player to the VIDEO IN jack on your TV.
METHOD 4 : Composite Video ....... (Good Quality)
If your television is equipped with an SCART input, connect an Scart Jack (not supplied) from the AV OUT jack on
the back panel of the main unit to the SCART IN jack on your television.
METHOD 3 : Scart ....... (Better Quality)
If your television is equipped with Component Video inputs, connect a Component video cable(not supplied) from
the Component Video Output (Pr, Pb and Y) jacks on the back of the DVD Player to the Component Video Input
jacks on your TV.
COMPONENT SELECT Function
1. With the main unit turned off, press and hold the 8 button on the remote control for over 5 seconds.
• <Y Pb Pr> and<RGB> will appear in the display.
2. Press the 8 button shortly to select <Y Pb Pr> to set the main unit to COMPONENT mode.
METHOD 2 : Component Video ....... (Better Quality)
FRONT -H
FRONT -H
FRONT -L
FRONT -L
SUBWOOFER
2.1CH SPEAKERS OUT
ANTENNA
IMPEDANCE
FRONT:4 SUBWOOFER:3
R
L
R
L
FM (75 )
L
AUX IN 2
VIDEO OUT
HDMI OUT
R
COMPONENT VIDEO OUT
EXT(AV)
Y
P
B
P
R
METHOD 4
(supplied)
METHOD 2
METHOD 3
METHOD 1
1. With the main unit turned off, press and hold the 8 button on the remote control for over 5 seconds.
• <Y Pb Pr> and<RGB> will appear in the display.
2. Press the 8 button shortly to select <RGB> to set SCART mode.
VIDEO SELECT Function
Press and hold the
0
button on the remote control for over 5 seconds.
• <COMPOSITE> or <RGB> will appear in the display. At this time, press the
0
button shortly to select between <COMPOSITE>
and <RGB>.
• If Scart (RGB Input) is equipped for your TV, press the
0
button to select RGB mode.
You can get a better picture quality by using Scart setting.
• If Scart (RGB Input) is not equipped for your TV, press the
0
button to select COMPOSITE mode.
Connect the HDMI cable (not supplied) from the HDMI OUT jack on the back of the DVD Player to the HDMI IN
jack on your TV.
METHOD 1 : HDMI ....... (Best Quality)
• This product operates in Interlace scan mode (576i, 480i) for component output.
1~38-DA66-RDS ENG 2008.5.22 2:48 PM Page 16

