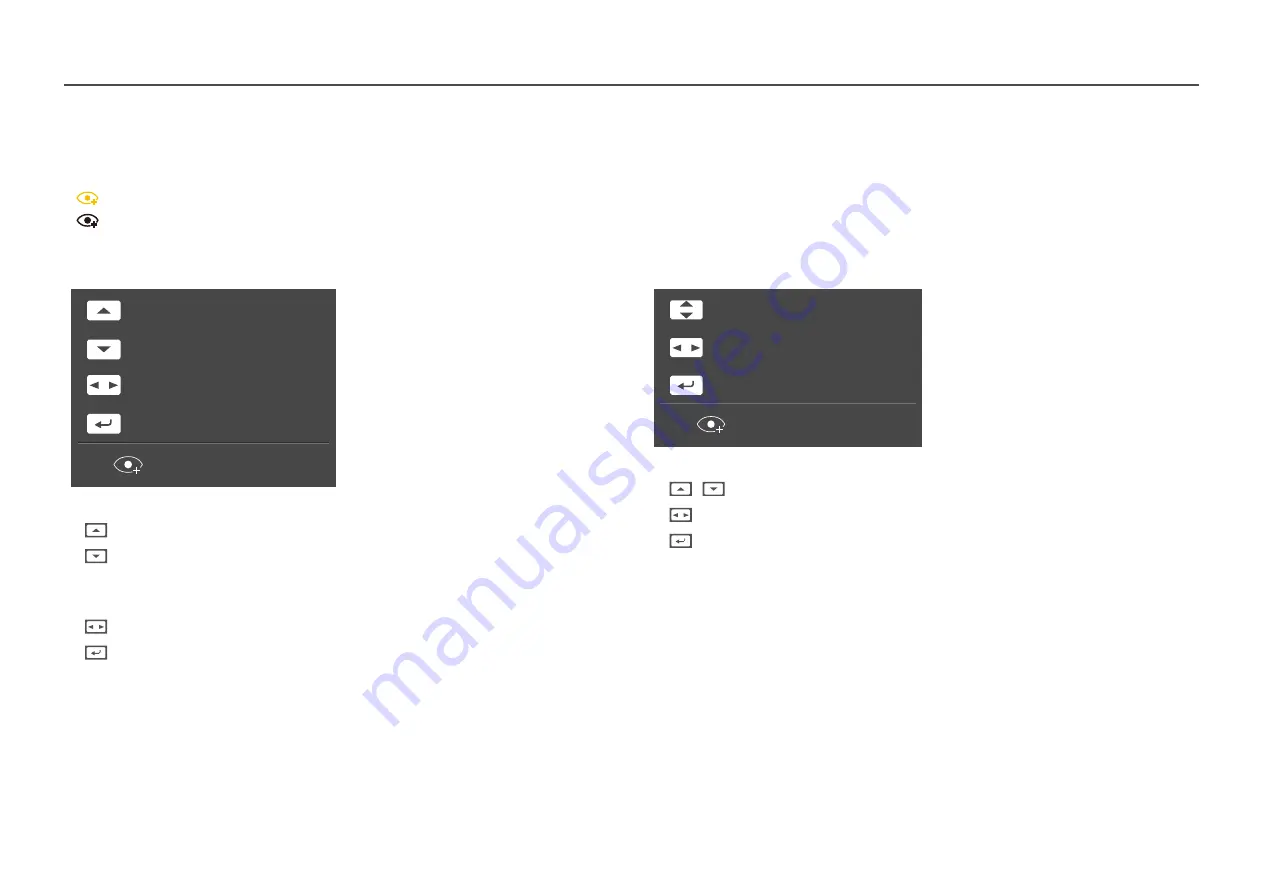
Samsung LS27R650FDUXXU Скачать руководство пользователя страница 10

10

Analog

 mode

Brightness

Auto Adjustment

Volume

Features

Eye Saver Mode Off


Analog

 mode option


 : Adjust 

Brightness

Contrast

Sharpness

.


 : 

Auto Adjustment


Changing the resolution in Display Properties will activate the 

Auto Adjustment

 function.


This function is only availabel in 

Analog

 mode.


 :

 Adj

ust 

Volume

,

 Mute

.


 : Display Function Key Guide.

HDMI

Displayport

 mode

Brightness

Volume

Features

Eye Saver Mode Off


HDMI

Displayport

 mode option


 / 

 : Adjust 

Brightness

Contrast

Sharpness

.


 :

 Adj

ust 

Volume

,

 Mute

.


 : Display Function Key Guide.

Direct Key guide


The shortcut button screen (OSD menu) shown below is displayed only when the monitor screen is turned on, the computer resolution changes, or the input source changes.


The function buttons page shows if 

Eye Saver Mode

 is enabled.

On

Off

Содержание LS27R650FDUXXU

Страница 1: ...entirety without the authorization of Samsung Electronics is prohibited Trademarks other than that of Samsung Electronics are owned by their respective owners S R65 An administration fee may be charge...

Страница 2: ...and Using a PC 20 Connection Using the D SUB Cable Analog Type 20 Connection Using the HDMI Cable 21 Connection Using the HDMI DVI Cable 21 Connection Using the DP Cable 21 Connecting to Headphones 2...

Страница 3: ...ments 37 Troubleshooting Guide Requirements Before Contacting Samsung Customer Service Center 38 Product diagnosis Screen issue 38 Checking the Resolution and Frequency 38 Check the following 38 Q A 4...

Страница 4: ...CK DO NOT OPEN Caution TO REDUCE THE RISK OF ELECTRIC SHOCK DO NOT REMOVE COVER OR BACK THERE ARE NO USER SERVICEABLE PARTS INSIDE REFER ALL SERVICING TO QUALIFIED PERSONNEL This symbol indicates that...

Страница 5: ...h to wipe the exterior of the product clean 5 Connect the power cord to the product when cleaning is finished 6 Power on the product and PC Electricity and Safety Warning Do not use a damaged power co...

Страница 6: ...en Edible oil such as soybean oil may damage or distort the product Keep the product away from oil pollution And do not install or use the product in the kitchen or near the kitchen stove Caution Do n...

Страница 7: ...m power off the product and remove the power cable Do not drop objects on the product or apply impact Do not move the product by pulling the power cord or any cable If a gas leakage is found do not to...

Страница 8: ...and become damaged or cause an injury Looking at the screen too close for an extended period of time can deteriorate your eyesight Do not use humidifiers or stoves around the product Rest your eyes fo...

Страница 9: ...ower button Off Power saving mode Blinking Power Off Power button On The powerIndicatoroperation can be swapped bychanging in the menu System Power LED On Actual models because of functional variation...

Страница 10: ...mode Adjust Volume Mute Display Function Key Guide HDMI Displayport mode Brightness Volume Features Eye Saver Mode Off HDMI Displayport mode option Adjust Brightness Contrast Sharpness Adjust Volume...

Страница 11: ...ng settings Enable Disable To enable or disable the on screen display menu lock display the Menu screen move the jog button to the right to go to the next stage and then press and hold the button to t...

Страница 12: ...signal mode UP Source Change Down PRESS ENTER for 2 seconds Power Off When the product displays the menu the JOG Button could be used as below JOG Button Action UP DOWN Move the option LEFT Exit the M...

Страница 13: ...ilable when Game Mode is enabled Changing the Volume setting You can adjust Volume by moving the JOG button left or right if no OSD menu is displayed Mute Volume 50 The displayed image may differ depe...

Страница 14: ...e back of the product Connects to a PC using a USB cable Compatible with a USB cable version 3 0 or lower This port can only connect to a PC Connect to a USB2 0 device Connect to a USB3 0 device Conne...

Страница 15: ...t malfunction Be careful not to injure your hands when rotating the monitor Be careful not to collide with around objects Be careful not to be injured when children and the elderly are operating the m...

Страница 16: ...sert the locking device into the anti theft lock slot at the back of the product 4 Lock the locking device An anti theft locking device can be purchased separately Refer to the user guide provided wit...

Страница 17: ...e product on a wall ensure you purchase a wall mount kit that can be installed 10 cm or farther away from the wall Be sure to use a wall mount kit that complies with the standards To install the monit...

Страница 18: ...d neck on the display as shown in the figure When you place the stand neck ensure that the two guides on the stand neck can be inserted into the groove of the display Then press the stand neck downwar...

Страница 19: ...nd then remove the stand neck from the stand base by pulling it in the arrow direction as shown in the figure Caution Do not press down on the monitor There is a risk of damaging the monitor Caution D...

Страница 20: ...t 3 After all signal cables have been properly connected connect the power cables back to the product and the external device 4 After installation is completed make sure you read the user guide to acq...

Страница 21: ...tion may not be available with an HDMI DVI cable The audio function is not supported if the source device is connected using the HDMI DVI cable Connection Using the DP Cable First make sure that the p...

Страница 22: ...sure the PC supports USB 3 0 Utilizing the Product as a USB HUB Using the product as a hub connect and use various source devices with the product at the same time A PC cannot connect to multiple sour...

Страница 23: ...elevant suppliers With the launch of various USB devices on the market we cannot guarantee that our products are matched with all USB devices For an external mass storage HDD requiring external power...

Страница 24: ...corresponding cables 4 5 6 Open the COVER STAND NECK RIGHT and rotate the open part at the bottom Place the corresponding cables into the stand neck holder Do not stretch the line Three cables in one...

Страница 25: ...r blink frequently then eye fatigue will be relieved Driver Installation You can set the optimum resolution and frequency for this product by installing the corresponding drivers To install the latest...

Страница 26: ...he contrast and brightness as required Standard Obtain a picture quality suitable for editing documents or using Internet Cinema Obtain the brightness and sharpness of TVs suitable for enjoying video...

Страница 27: ...the tint of the screen This menu is not available when SAMSUNG MAGICBright is set to Cinema or Dynamic Contrast mode This menu is not available when Game Mode is enabled This menu is not available wh...

Страница 28: ...V Rheinland Low Blue Light Content is a certification for products which meet requirements for lower blue light levels When Eye SaverMode is On the blue light that wavelength is around 400nm will dec...

Страница 29: ...ut device is connected using the HDMI DP cable The input signal is 480p 576p 720p or1080p and product can display normally Not every model can support all of these signals This can only be set when th...

Страница 30: ...ce to improve quality Transparency Set the transparency for the menu windows Position H Position Move the menu position to the left or right V Position Move the menu position up or down Language Set t...

Страница 31: ...mprove quality Self Diagnosis 1 Use the function key and go to System Self Diagnosis Self Diagnosis FreeSync Smart Eco Saving Off Timer Plus PC AV Mode Source Detection Key Repeat Time System Return O...

Страница 32: ...o OK Self Diagnosis Complete If the test screen is okay during Self Diagnosis your monitor may not have a problem If the problem persists follow the steps below Turn off your monitor and any other con...

Страница 33: ...game may fluctuate depending on the resolution A higher resolution generally decreases the response rate The sound quality of the product may be degraded If you encounter any issues when using the fun...

Страница 34: ...on This is done in accordance with power supply regulations If you do not want the timer to activate go to System Off TimerPlus and set Off Timer to Off Configuring Eco Timer Eco Timer Turn on Eco Ti...

Страница 35: ...le the power LED located at the lower part of the product Working The power LED is on when the product is turned on Stand by The power LED is on when the product is turned off Reset All Return all the...

Страница 36: ...The colour and shape of parts may differ from what is shown Specifications are subject to change without notice to improve quality Information View the current input source mode frequency and resolut...

Страница 37: ...ter the installation The Easy Setting Box icon may not appear depending on the PC system and the product specifications If the shortcut icon does not appear press the F5 key Restrictions and Problems...

Страница 38: ...s switching on and off Check the cable connection between the product and PC and ensure the connectors are locked Blank spaces are found on all foursides of the screen when an HDMI orHDMI DVI cable is...

Страница 39: ...r is inconsistent Change the Color settings The colors on the screen have a shadow and are distorted Change the Color settings White does not really look white Change the Color settings There is no im...

Страница 40: ...gs How can I change the resolution Windows 7 Go to Control Panel Appearance and Personalization Display Adjust Resolution and adjust the resolution Windows 8 Windows 8 1 Go to Settings Control Panel A...

Страница 41: ...2745 mm H x 0 2745 mm V 0 010807 Inches H x 0 010807 Inches V 0 3114 mm H x 0 3114 mm V 0 012260 Inches H x 0 012260 Inches V Maximum Pixel Clock 170 MHz D SUB 180 MHz HDMI DP Power Supply AC 100 240...

Страница 42: ...f the manufacturing of this product approximately1 pixel per million 1ppm may be brighter or darker on the LCD panel This does not affect product performance The above specifications are subject to ch...

Страница 43: ...r LED turns on In such a case change the settings according to the following table by referring to the graphics card user manual D SUB Resolution Horizontal Frequency kHz Vertical Frequency Hz Pixel C...

Страница 44: ...Sync Polarity H V IBM 720 x 400 31 469 70 087 28 322 VESA 640 x 480 31 469 59 940 25 175 MAC 640 x 480 35 000 66 667 30 240 MAC 832 x 624 49 726 74 551 57 284 MAC 1152 x 870 68 681 75 062 100 000 VESA...

Страница 45: ...horizontal cycle is called horizontal frequency Horizontal frequency is measured in kHz Vertical Frequency Repeating the same picture dozens of times per second allows you to view natural pictures The...

Страница 46: ...m If customer requests software installation and setup for the product If a service technician removes cleans dusts or foreign materials inside of the product If customer requests an installation addi...

Страница 47: ...ranty Samsung guarantee that replacement parts will be available for 5 years after the end of production After 5 years in the event that the Samsung s service center has run out of replacement parts a...

Отзывы: