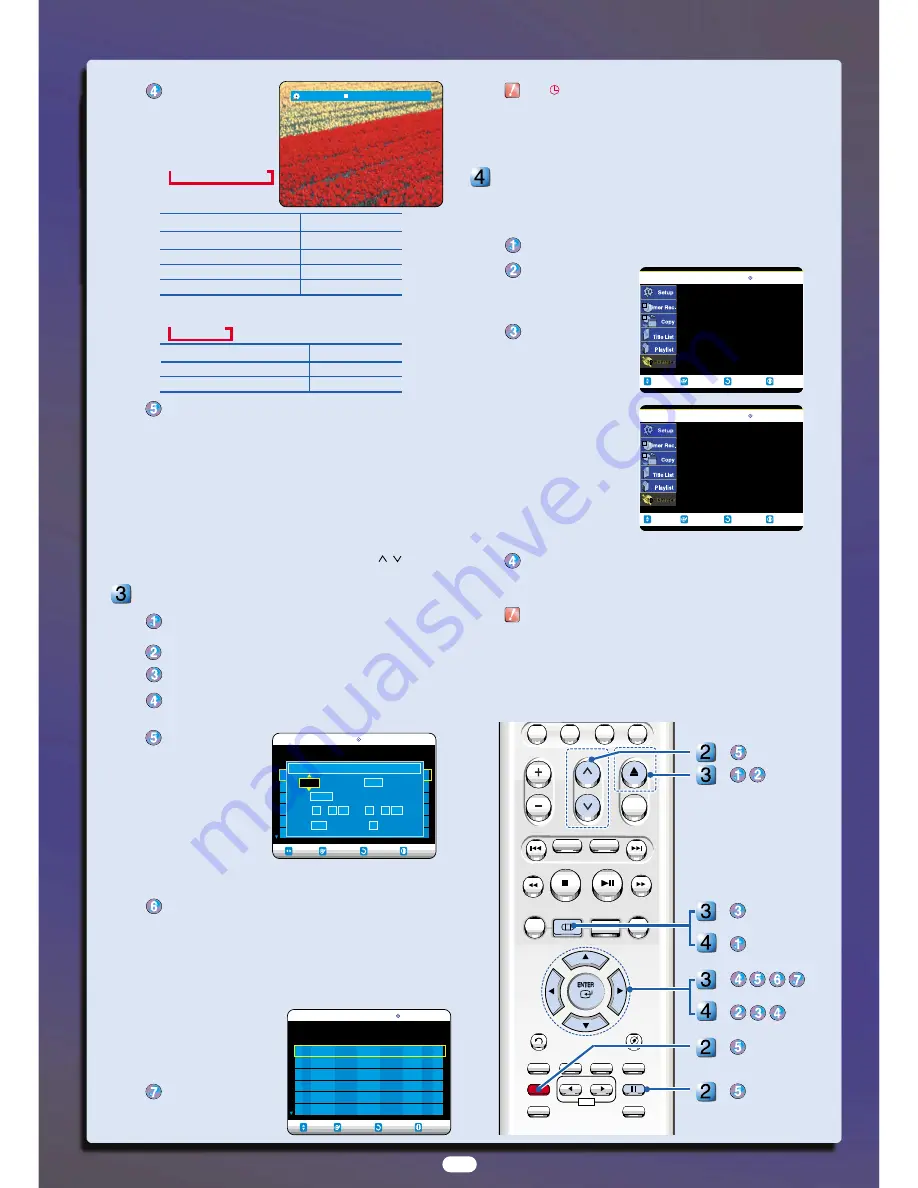
Press the
REC SPEED
button repeatedly, to
select the recording
speed (quality).
DVD
➜
SP
➜
LP
➜
EP
➜
XP
Mode Recording
Times
XP (high quality mode)
Approx. 1 hour
SP (standard quality mode)
Approx. 2 hours
LP (long recording mode)
Approx. 4 hours
EP (extended mode)
Approx. 6 hours
VCR
➜
SP
➜
SLP
Mode Recording
Time
SP (standard quality mode)
(T120) Approx. 2 hours
SLP (Super Long recording mode) Approx. 6 hours
Press the
REC
button.
Information concerning the channel being recorded is
displayed on the screen and recording begins.
To stop recording
Press the
STOP
(
■
) button to stop or finish a recording in
progress.
To pause recording
Press the
REC PAUSE
button to pause a recording in progress.
●
Press the
REC PAUSE
button again to resume recording.
●
You can switch channels by pressing the
CH
(
/
) buttons
while recording is paused.
Making a Timer Recording
Press the
OPEN/CLOSE
button, and place a recordable disc
on the disc tray or insert a VCR tape.
Press the
OPEN/CLOSE
button, to close the disc tray.
Press the
MENU
button in Stop mode.
Press the
…
/
†
buttons to select Timer Rec., and then press
the
ENTER
or
√
button.
Press the
…
/
†
but-
tons to select Timer
Record, and then
press the
ENTER
button.
You can also set a
timer recording via
the TIMER REC
button. The Timer
Record Input items
(Date/Time etc.) are
displayed.
Fill in the items using the
…
/
†
/
œ
/
√
buttons.
●
TO : Select the media to record DVD or VCR
●
SOURCE : The video input source (L1 or L2), or the broadcast-
ing channel you want to make a timer recording for.
●
Date : Set the recording day.
●
Start/End Time : Start and end time of the timer recording.
●
Type (Recording cycle)
Once : Records once
Weekly : Records at a
set time once a week.
Daily : Record at a set
time every day.
●
Mode (Recording mode)
Press the
ENTER
but-
ton.
The (
) icon and Timer Set will appear on the front panel display,
indicating a timer recording is set.
Recording automatically begins when the set time is reached.
■
Auto mode is selected, the video quality is adjusted automatically so
that scheduled recordings fit onto the free disc or tape space.
Finalizing a Disc
After you record programs onto a DVD-RW/DVD-R disc with
your DVD Recorder-VCR, it needs to be finalized before it can
be played back on external devices.
Press the
MENU
button with the disc stopped.
Press the
…
/
†
buttons
to select Disc Manager,
and then press the
ENTER
or
√
button.
Press the
…
/
†
button to
select Disc Finalize, and
then press the
ENTER
or
√
button.
You will be prompted
with the message
'Do
you want to finalize
disc?'
. If you select Yes,
you will be prompted
again with the message
'Disc will be finalized.
Do you want to contin-
ue?'
.
Press the
œ
/
√
buttons to select Yes, and then press the
ENTER
button.
The disc is finalized.
Once a disc is finalized, you cannot delete entries from the
record list.
■
After being finalized, the DVD-R/DVD-RW(Video mode)
operates in the same manner as a regular DVD-Video disc.
■
Depending on the disc type, the screen display may
appear different.
■
During finalizing, Don’t turn off the power.
RETURN
SELECT
MOVE
EXIT
Scheduled Record List
DVD-RAM(VR)
01 ---
--/--
--:-- -- --:-- -- --
--
√
√
No. Source Date Start End Type Mode Edit
No. 01
TO DVD Source CH 06
Date 01 / 01
Start
12 : 01 AM End 02 : 01 AM
Type Once Mode SP
RETURN
SELECT
MOVE
EXIT
Timer Record
DVD-RAM(VR)
01 DVD CH 09
11/22
09:22AM 10:30A
Once SP
√
√
02 --
---
--/--
--:-- -- --:-- --
-- --
√
√
No. To Source Date Start End Type Mode Edit
DVD
VOL
F.ADV
MARKER
TITLE LIST
DISC MENU
TITLE MENU
RETURN
INFO.
TV/VCR
SUBTITLE
REC SPEED
REC
DVD
VCR
REC PAUSE
TIME SLIP
PIP
CLEAR
MENU
ANYKEY
PLAY LIST
SKIP
CH/TRK
OPEN/CLOSE
VCR
TV
TIMER
REC
COPY
-
-
-
-
-
-
-
-
6
RETURN
SELECT
MOVE
EXIT
Disc Manager
DVD-RW(VR)
Disc Name
:
√
√
Disc Protection
: Not protected
√
√
Disc Format : DVD-VR
√
√
Disc Finalize
√
√
Delete All Title Lists
√
√
RETURN
SELECT
MOVE
EXIT
Disc Manager
DVD-R(V)
Disc Name
: SAMSUNG_R
√
√
Disc Protection
: Not protected
√
√
Disc Finalize
√
√
Delete All Title Lists
√
√
-RAM VR XP
CH11
AK68-00497A-00


