background image

2

3

Precautions

Precautions

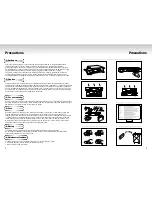
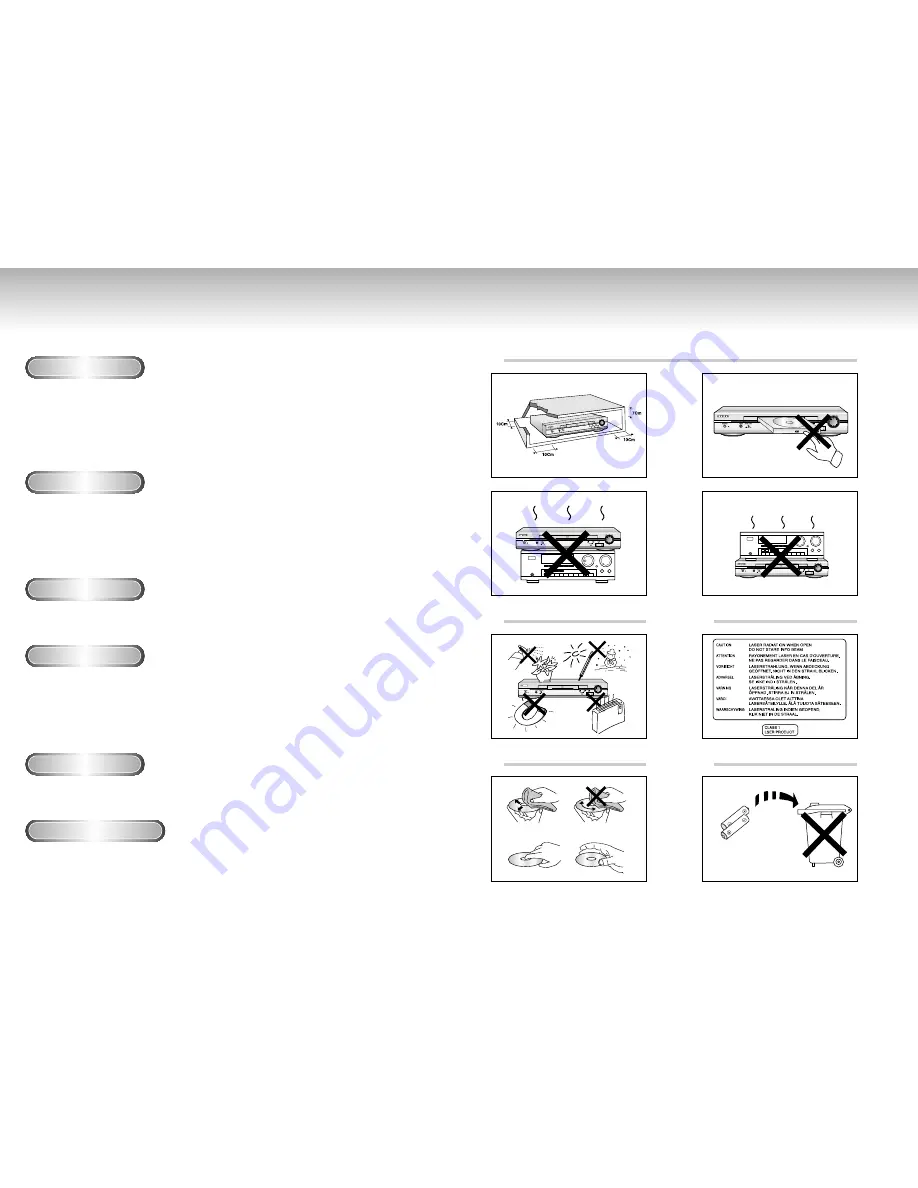
Ensure that the mains supply in your house complies with that indicated on the identification sticker

located at the back of your play. Install  your player horizontally, on a suitable base (furniture), 

with enough space around it for ventilation (7~10cm). Make sure the ventilation slots are not covered. 

Do not stack other, or heavy devices on top of the player. Do not place the player on amplifiers or other

equipment which may become hot. Before moving the player ensure the disc tray is empty.    

This player is designed for continuous use. Switching off the DVD player to the stand-by mode does 

not disconnect the electricity supply In order to separate the player completely from the mains,it has 

to be disconnected by unplugging the main plug, especially when left   unused for a long period of time.   

1. Setting up  

Protect the player from moisture (dripping or splashing and objects filled with liquids), and excess heat

(e.g.fireplace) or equipment creating strong magnetic or electric fields (i.e.speakers...). Disconnect the power

cable from the mains electricity supply if the player malfunctions. Your player is not intended for industrial

use but  for domestic purposes only. Use of this product is for personal use only. If your player or disc has

been stored in a cold atmosphere for example during transportation in the winter, wait for approximately 2

hours until they have reached room temperature, before use.

2. Caution 

Never open the player or any of its components. It can be dangerous for you or certain fragile components.

You could receive an electric shock or touch the laser beam. Do not place your eyes close to the opening of

the disc tray or any other opening to look inside the player.

3. For your safety

Be careful handle your discs with care. Hold a disc with finger on the border or hole. Always place disc

with the label facing upward (in case of a single side disc ). Always use a soft cloth to clean disc if

necessary, wipe from the centre to the border. Always put disc back into their cases after playing and store

in vertical position. Always place the disc properly into the tray using the proper guide area. Never use

record cleaning sprays, benzine, static electricity liquids or any other solvent, if the disc surface is dirty.

Wipe gently with a soft damp (water only) cloth, never wipe the disc in a circular motion, since circular

scratches are likely to occur and could cause noise during playback.

4. Disc   

The battery used in this product contains chemicals that are harmful to the environment.   

Do not dispose of batteries in the general household waster. It is recommended that the replacement 

of the battery should be done by a technician. 

5. Battery   

For safety reasons, be sure to disconnect the AC power cord from the AC outlet.

• Do not use benzene, thinner, or other solvents for cleaning.

• Wipe the cabinet with a soft cloth.

6. Maintenance of cabinet 

JO

G/SH

UTTLE

JOG

/SHUTTLE

1

2

3

4

5

JOG

/SHUTTL

E

JOG

/SHUTTL

E

JOG

/SHUTTLE

Содержание DVD-P728

Страница 1: ...ENG ENG D DVD PLA VD PLAYER YER DVD P728 AK68 00049R ...

Страница 2: ...urs until they have reached room temperature before use 2 Caution Never open the player or any of its components It can be dangerous for you or certain fragile components You could receive an electric shock or touch the laser beam Do not place your eyes close to the opening of the disc tray or any other opening to look inside the player 3 For your safety Be careful handle your discs with care Hold...

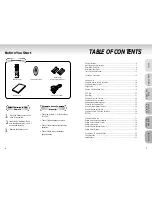
Страница 3: ...ol 10 Choosing a Connection 12 Playing a Disc 14 Using the Search Skip Functions 16 Using the Display Function 17 Repeat Play 18 Program Play Random Play 19 S FIT Play 20 Digest Play 21 Using the Disc View Function 22 Selecting the Audio Language 23 Selecting the Subtitle Language 24 Changing the Camera Angle 25 Using the Instant Replay Function 26 Using the Bookmark Function 27 Using the Zoom 3D ...

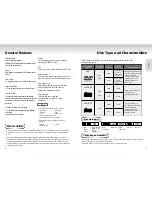
Страница 4: ...ntellectual property rights owned by Macrovision Corporation and other rights owners Use of this copyright protection technology must be authorized by Macrovision Corporation and is intended for home and other limited viewing uses only unless otherwise authorized by Macrovision Corporation Reverse engineering or disassembly is prohibited This DVD player is capable of playing the following types of...

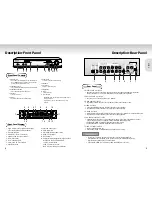
Страница 5: ...sion for a higher quality picture The VIDEO OUT SELECT switch must be set to the 525I 480I position 6 COMPONENT VIDEO OUT JACKS Use these jacks if you have a TV with Component Video in jacks These jacks provide Pr Pb and Y video Along with S Video Component Video provides the best picture quality If 525P 480P VIDEO is selected progressive scan mode will work If 525I 480I VIDEO is selected interlac...

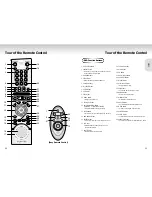
Страница 6: ...us audio functions on a disc 32 REPEAT A B Button Use to mark a segment to repeat between A and B 1 DVD POWER Button 2 I REPLAY Button This function is used to replay the previous 10 seconds of the movie from the current position 3 NUMBER Buttons 4 SETUP Button Brings up the DVD player s Setup menu 5 VOLUME Buttons 6 TV VIDEO Button 7 ZOOM Button 8 S FIT Button 9 STOP Button 10 MENU Button Brings ...

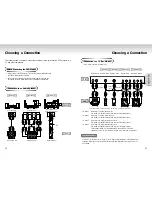
Страница 7: ... set to the 525I 480I position Method 2 DVD Player TV with S Video Input Jack The VIDEO OUT SELECT switch must be set to the 525I 480I position Method 3 DVD Player TV with Component Video Jacks The VIDEO OUT SELECT switch must be set to the 525I 480I position Method 4 DVD Player TV with Progressive Scan Jacks The VIDEO OUT SELECT switch must be set to the 525P 480P position If 525P 480P VIDEO OUT ...

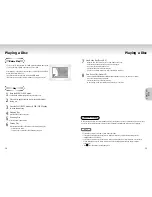
Страница 8: ...n it will pick up where you left off unless the disc is removed the STOP button is pressed twice or the player is unplugged If the player is left for 5 minutes in pause mode it will stop If the player is left in the stop mode for more than 30 minutes the power will automatically shut off Automatic Power Off Function If the player is left in the stop mode for more than one minute without any user i...

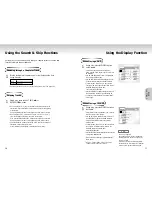
Страница 9: ...s the ENTER button To enter the time from which you want to start use the UP DOWN buttons to select then use the NUMBER buttons to enter the time Then press the ENTER button Use the LEFT RIGHT buttons to change the values of the current audio subtitle Angle Repeat and 3D To make the screen disappear press the DISPLAY button again 1 1 During play press the DISPLAY button on the remote Current track...

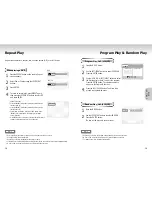
Страница 10: ...page 29 to MP3 disc repeat Play Depending on the disc the Repeat function may not work If the title or track is completed before marking the end B the end of title or track becomes B automatically When in VCD 2 0 mode MENU ON mode this function does not work NOTE Depending on the disc the Program and Random Play function may not work When in VCD 2 0 mode MENU ON mode these functions do not work To...

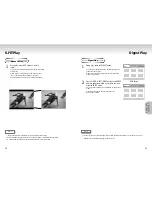
Страница 11: ...e eliminated due to their aspect ratio ADV ADVANCED ANCED FUNCTIONS FUNCTIONS Digest Play 1 1 During play press the DIGEST button You ll see the 6 individual windows representing each of the chapters on the TV screen When each window is displayed the first 3 seconds of the chapter will be played 2 2 Press UP DOWN LEFT RIGHT buttons or NUMBER button to select the window you d like to see and press ...

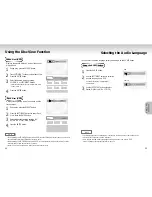
Страница 12: ... the track number 1 1 During play press the DIGEST button 2 2 Press the LEFT RIGHT buttons to select Track View Press the ENTER button 3 3 Select the desired view by pressing the UP DOWN or LEFT RIGHT buttons 4 4 Press the ENTER button View Index Track View Index Track NOTE When pressing the TOP MENU button with a DVD the disc s TITLE MENU function comes up A disc must have at least two titles for...

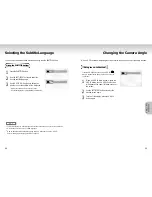
Страница 13: ...ain up to 32 subtitle languages How to have the same subtitle language come up whenever you play a DVD Refer to Setting Up the Language Features on page 33 ENG Off Subtitle A ENG On Subtitle A Changing the Camera Angle When a DVD contains multiple angles of a particular scene you can select the Angle function Using the ANGLE button Press the ANGLE button to see if an ANGLE mark is present at the u...

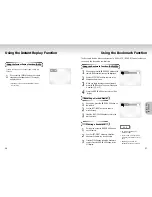
Страница 14: ...IGHT buttons to move to the desired bookmark icon 3 3 When you reach the scene you want to mark press the ENTER button The icon will change to a number 1 2 or 3 4 4 Press the BOOKMARK button to turn off the display Recalling a Marked Scene 1 1 During play press the BOOKMARK button on the remote 2 2 Use the LEFT RIGHT buttons to select a marked scene 3 3 Press the PLAY PAUSE buttons to skip to the ...

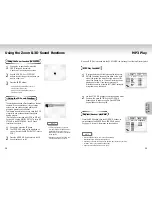
Страница 15: ...epending on the disc the Zoom and 3D Sound function may not work 28 29 When an MP3 Disc is inserted into the DVD PLAYER the first song file of the first Directory plays 1 1 To returned playback of the first song file then press RETURN to display the music files menu on the right side of the screen the music Directory menu on Ieft side of the Screen Up to 10 music Directories can be displayed at a ...

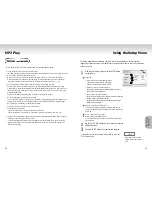
Страница 16: ... cannot be taken as a guarantee that the DVD player will play MP3 recordings or as an assurance of sound quality You should note that certain technologies and methods for MP3 file recording on CD Rs prevent optimal playback of these files on your DVD player degraded sound quality and in some cases inability of the player to read the files The Setup menu lets you customize your DVD player by allowi...

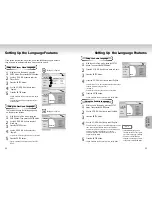
Страница 17: ...tton English is selected and the screen returns to SETUP MENU Using the Audio Language Using the Subtitle Language 1 1 With the unit in Stop mode press the SETUP button Then press the ENTER button 2 2 Press the UP DOWN buttons to move to Audio 3 3 Press the ENTER button 4 4 Press the UP DOWN buttons to select English Select Original if you want the default soundtrack language to be the original la...

Страница 18: ...to make the SETUP MENU disappear or return to menu screen during set up Press RETURN button If you have forgotten your password see Forgot Password in the Troubleshooting Guide Digital Output 1 PCM Converts to PCM 2CH audio Select PCM when using the Analog Audio Outputs 2 Bitstream Converts to Dolby DigitalBitstream 5 1CH Select Bitstream when using the Digital Audio Output N N N NO O O OT T T TE ...

Страница 19: ...ss the LEFT RIGHT buttons TV Aspect Depending on the type of television you have you may want to adjust the screen setting aspect ratio 1 Letter Box Select when you want to see the total 16 9 ratio screen DVD supplies even though you have a TV with a 4 3 ratio screen Black bars will appear at the top and bottom of the screen 2 Pan Scan Select this for conventional size TVs when you want to see the...

Страница 20: ... in the remote May need replacing Operate the remote control at a distance of no more than 20 feet Remove batteries and hold down one or more buttons for several minutes to drain the microprocessor inside the remote to reset it Reinstall batteries and try remote again Ensure that the disc is installed with the label side facing up Check the region number of the DVD 5 1 channel sound is reproduced ...

Страница 21: ...ge Total Harmonic Distortion AC 110 240V 50 60 Hz 13 W 2 8 Kg 430mm 240mm 79mm 5 C to 35 C 10 to 75 Reading Speed 3 49 m sec Approx Play Time Single Sided Single Layer Disc 135 min Reading Speed 1 2 to 1 4 m sec Maximum Play Time 74 min Reading Speed 1 2 to 1 4 m sec Maximum Play Time 20 min Reading Speed 1 2 to 1 4 m sec Maximum Play Time 74 min Video Audio 1 channel 1 0 Vp p 75 Ω load Y 1 0 Vp p...

Отзывы: