


28
Setting Up the Rating Level
1. With the unit in Stop mode, press the
MENU
button.
2. Press the
/
buttons to select
Setup
, then press the
or
ENTER
button.
3. Press the
/
buttons to select
Parental Setup
, then
press the
or
ENTER
button.
Menu
Return
Enter
Rating level : Kids Safe
Change Password
Menu
Return
Enter
Language Setup
Audio Setup
Display Setup
Parental Setup :
Menu
Return
Enter
Language Setup
Audio Setup
Display Setup
Parental Setup :
• Consult your TV User’s Manual to find
out if your TV supports Progressive Scan. If
Progressive Scan is supported, follow the TV
User’s Manual regarding Progressive Scan
settings in the TV’s menu system.
• If Video Output is set incorrectly, the screen
may be blocked.
Setting Up the Parental
Control
The Parental Control function works in conjunction
with DVDs that have been assigned a rating, which
helps you control the types of DVDs that your family
watches. There are up to 8 rating levels on a disc.
Menu
Return
Enter
TV Aspect
: Wide
Still Mode
: Auto
Screen Messages
: On
Black Level
: Off
TV System
: PAL
Video Output
: COMPOSIT/SVID
P-SCAN
I -SCAN
√
Video Output
➏
Video Output
Select Video Output.
- Component (I-SCAN) : Select when you want to use
Component Interlace (525i) Out.
- Component (P-SCAN) : Select when you want to use
Component Progressive (525p) Out.
• If the Yes/No selection in the Display Setup sub Menu
is not made within 10 seconds, the screen returns to
the previous menu.
DISPLAY SETUP
PARENTAL SETUP
5. Enter your password.
- By default, password is set to 0000.
4. Press the
/
buttons to select
Rating Level
, then press
the
or
ENTER
button.
Menu
Return
Enter
Rating Level
: Kids Safe
Change Password
Enter Password
PARENTAL SETUP
Note:
- For example, if you select up to Level 6, discs
that contain Level 7,8 will not play.
•
To make the setup menu disappear, press the
MENU button.
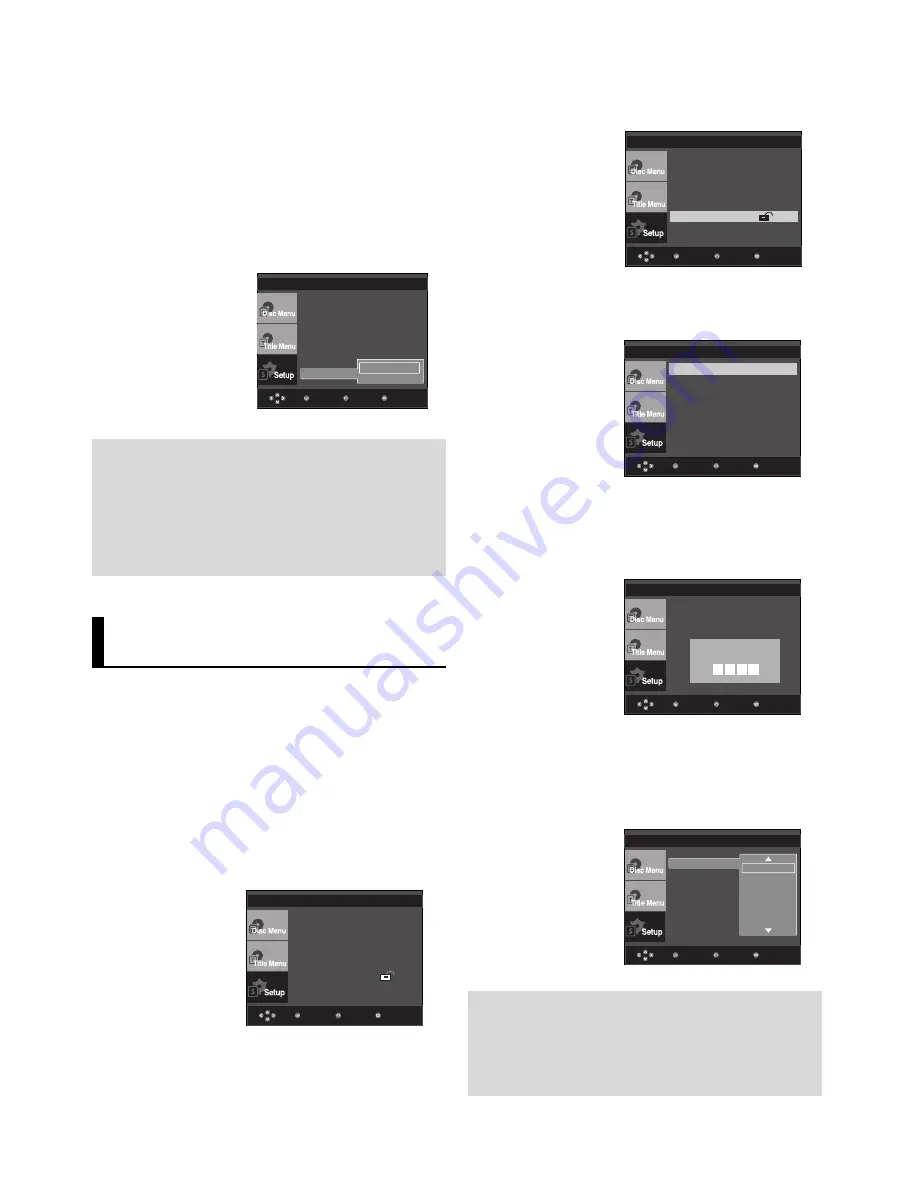
6. Press the
/
buttons to select the Rating Level you want,
then press the
or
ENTER
button.
e.g) Setting up in
Kids Safe
.
Rating Level
: Kids Safe
Change Password
Menu
Return
Enter
Level 3
Level 4
Level 5
Level 6
Level 2
Kids Safe
√
Rating Level
PARENTAL SETUP
Содержание DVD-P280K
Страница 1: ...DVD Player DVD P280K www samsung com ph AK68 01506L ...
Страница 34: ...Memo Memo ...
Страница 35: ...Memo Memo ...
Страница 36: ...Memo Memo ...
Страница 37: ...Memo Memo ...


