background image

CHANGING

SETUP

MENU

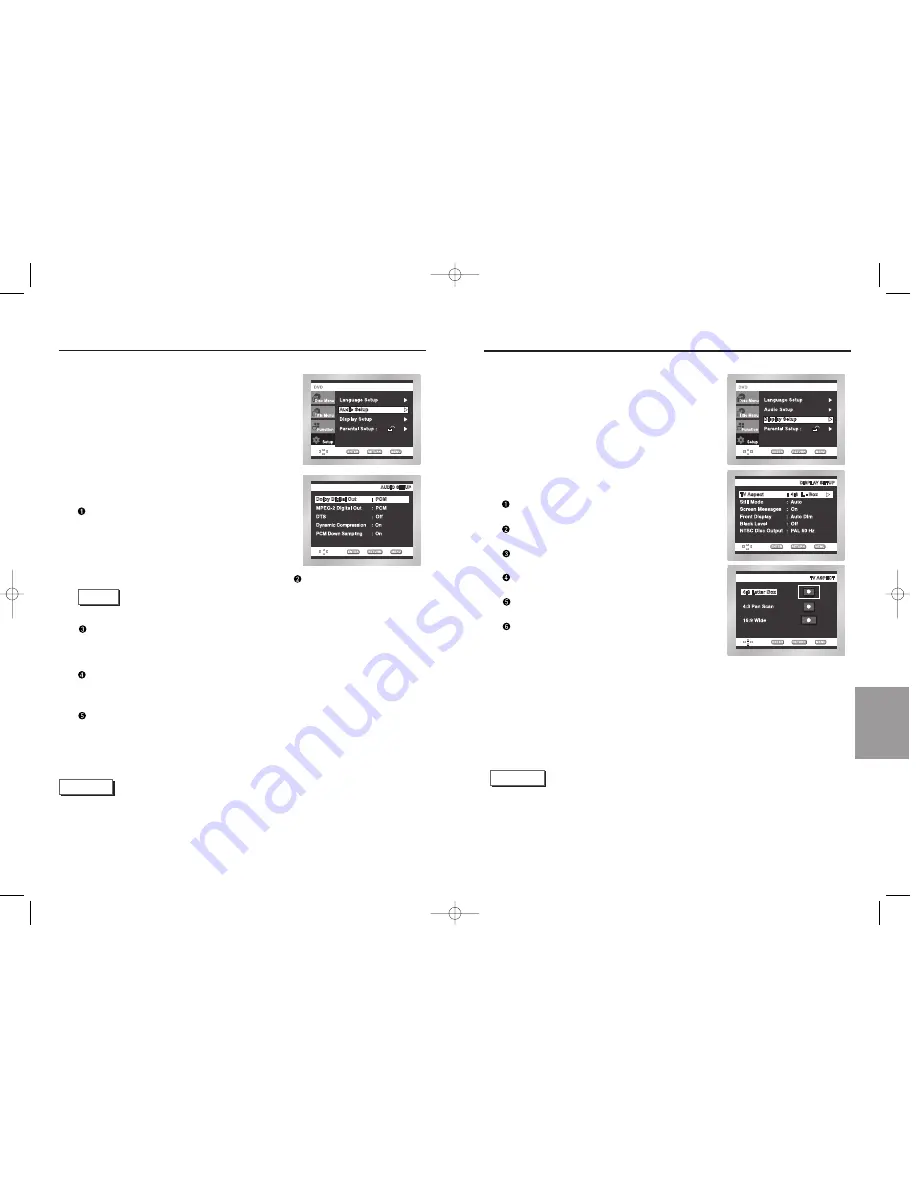
Setting Up the Display Options

With the unit in Stop mode, press the MENU button.

Select 

Setup

using UP/DOWN buttons, then RIGHT

or ENTER button.

Select 

Display Setup

using UP/DOWN buttons, 

then press the RIGHT or ENTER button.

Use the UP/DOWN buttons to select the desired
item. Then press the RIGHT or ENTER button.

1
2

3

4

TV Aspect 

Still Mode 

Screen Messages 

Front Display

Black Level

NTSC Disc Output

NOTE

• 

How to make the SETUP menu disappear or return to menu screen during set up;

Press the RETURN or LEFT button.

Setting Up the Audio Options

With the unit in Stop mode, press the MENU button.

Select 

Setup

using UP/DOWN buttons, then RIGHT

or ENTER button.

Select 

Audio Setup

using UP/DOWN buttons, then

press the RIGHT or ENTER button.

Use the UP/DOWN buttons to select the desired
item. Then press the RIGHT or ENTER button.

NOTE

• 

How to make the SETUP menu disappear or return to menu screen during set up; 

Press RETURN or LEFT button.

• Manufactured under license from Dolby Laboratories.

“Dolby” and the double-D symbol are trademarks of Dolby Laboratories.

• “DTS” and “DTS Digital Out” are trademarks of Digital Theater Systems, Inc.

1
2

3

4

MPEG-2 Digital Out

1. PCM

Converts to PCM(2CH) audio. 
Select PCM when using the
Analog 
Audio Outputs.

2. Bitstream

Converts to MPEG-2 Digital
Bitstream
(5.1CH or 7.1CH).
Select Bitstream when using the 
Digital Audio Output.

Dolby Digital Out

1. PCM :

Converts to PCM(2CH) audio. 
Select PCM when using the Analog Audio Outputs.

2. Bitstream : 

Converts to Dolby Digital Bitstream (5.1CH). 
Select Bitstream when using the Digital Audio Output.

Be sure to select the correct Digital Output 
or no audio will be heard.

DTS

1. Off : Doesn’t output digital signal.
2. On : Outputs DTS Bitstream via digital output only. 

Select DTS when connecting to a DTS Decoder.

Dynamic Compression

1

. On : To select dynamic compression.

2

. Off : To select the standard range.

PCM Down Sampling

1. On : Select this when the amplifier connected to the player is not 96KHz compatible. 

In this case, the 96KHz signals will be down converted to 48KHZ.

2. Off : Select this when the amplifier connected to the player is 96KHz compatible. 

In this case, all signals will be output without any changes.

NOTE

38

39

 00228K/DVD-E218-2-XSS  9/2/03 5:22 PM  Page 38

Содержание DVD-2020

Страница 1: ...ENG DVD Player DVD E218 DVD E318 DVD 2020 AK68 00228K 00228K E218 COVER XSS 9 2 03 5 20 PM Page 2 ...

Страница 2: ...e components You could receive an electric shock or touch the laser beam Do not place your eyes close to the opening of the disc tray or any other opening to look inside the player Be careful handle your discs with care Hold a disc with finger on the border or hole Always place disc with the label facing upward in case of a single side disc Always use a soft cloth to clean disc if necessary wipe f...

Страница 3: ...on 12 Basic Functions Playing a Disc 14 Using the Search Skip Functions 16 Using the Display Function 17 Using the Disc and Title Menu 18 Using the Function Menu 19 Repeat Play 20 Advanced Functions Adjusting the Aspect Ratio EZ View 21 Slow Repeat play 23 Selecting the Audio Language 24 Selecting the Subtitle Language 25 Changing the Camera Angle 26 Using the Instant Replay Skip Function 27 Using...

Страница 4: ...wners Use of this copyright protection technology must be authorized by Macrovision Corporation and is intended for home and other limited viewing uses only unless otherwise authorized by Macrovision Corporation Reverse engineering or disassembly is prohibited Discs which cannot be played with this player DVD ROM DVD RAM CD ROM CDV CDI HD layer of super Audio CD CDGs play audio only not graphics A...

Страница 5: ...o connect to a compatible Dolby Digital receiver Use to connect to an A V Amplifier that contains a Dolby Digital or DTS decoder 2 ANALOG AUDIO OUT JACKS Connect to the Audio input jacks of your television audio video receiver 3 VIDEO OUT JACK Use a video cable to connect to the Video input jack on your television 4 S VIDEO OUT JACK Use the S Video cable to connect this jack to the S Video jack on...

Страница 6: ... function is used to replay the previous 10 seconds of the movie from the current position 14 I SKIP Button This function skips playback ahead 10 seconds 15 PLAY PAUSE Button Begin Pause disc play 16 INFO Button Displays the current disc mode 17 DISC MENU Button Brings up the Disc menu 18 ENTER DIRECTION Button UP DOWN or LEFT RIGHT Buttons This button functions as a toggle switch 19 EZ VIEW Butto...

Страница 7: ...ack S Video Jack Component Video Jacks NOTE If COMPONENT is selected S Video will not work If S Video is selected COMPONENT will not work 12 13 Choosing a Connection Before Connecting the DVD Player Connection to an Audio System Method 1 Method 2 AUDIO SYSTEM DVD PLAYER The following show examples of connections commonly used to connect the DVD player with a TV and other components Always turn off...

Страница 8: ...ton to choose the play speed between 1 8 1 4 and 1 2 of normal during PAUSE or STEP mode No sound is heard during slow mode Press PLAY PAUSE to resume normal play When playing a DVD VCD reverse slow motion play will not work 7 8 Playing a Disc Before Play Play Turn on your TV and press the TV VIDEO button to select the video mode Turn on your Audio System and select AUX CD or DVD After plugging in...

Страница 9: ...round sound effect is generated using only two front speakers When in VCD 2 0 mode MENU ON mode this function does not work Using DISC MENU button in VCD 2 0 select Menu On Off NOTE 1 2 3 4 ENTER DVD CD VCD Title Chapter Time Audio 3DSound Using the Search Skip Functions During play you can search quickly through a chapter or track or use the skip function to jump to the next selection Searching t...

Страница 10: ... Function Menu ENTER RETURN MENU Using the Disc and Title Menu Using the Title Menu During the playback of a DVD disc press the MENU button on the remote Select Title Menu using the UP DOWN buttons then press the RIGHT or ENTER button 1 2 Using the Disc Menu During the playback of a DVD disc press the MENU button on the remote Select Disc Menu using the UP DOWN buttons then press the RIGHT or ENTE...

Страница 11: ...etched Zoom Fit The top bottom left and right of the screen are cut off and the central portion of the screen is enlarged Vertical Fit When a 4 3 DVD is viewed on a 16 9 TV black bars will appear at the left and right of the screen in order to prevent the picture from looking horizontally stretched Repeat the current track chapter title a chosen section A B or all of the disc When playing a DVD Pr...

Страница 12: ...iew For 16 9 aspect ratio discs 4 3 Letter Box Displays the content of the DVD title in 16 9 aspect ratio The black bars will appear at the top and bottom of the screen 4 3 Pan Scan The left and right of the screen are cut off and displays the central portion of the 16 9 screen Screen Fit The top and bottom of the screen are cut off and the full screen appears The picture will look vertically stre...

Страница 13: ... have the same subtitle language come up whenever you play a DVD Refer to Setting Up the Language Features on page 37 1 2 3 24 25 Selecting the Audio Language You can select a desired language quickly and easily with the AUDIO button Using the AUDIO button Press the AUDIO button Use the LEFT RIGHT buttons to select the desired language on a DVD The audio languages are represented by abbreviations ...

Страница 14: ...icular scene you can select the Angle function Using the ANGLE button 1 2 3 26 27 Using the Instant Replay Skip Function If you miss a scene you can see it again using this function If you press the I REPLAY button the current scene moves backward about 10 seconds and plays back Depending on the disc the Instant Replay function may not work Using the Instant Replay function DVD Use this function t...

Страница 15: ... signals Depending on the disc the Zoom and 3D Sound function may not work 1 2 3 4 5 1 2 Using the Bookmark Function DVD 1 2 3 4 5 6 1 2 1 2 3 3 This feature lets you bookmark sections of a DVD or VCD MENU OFF mode so you can quickly find them at a later time Using the Bookmark Function DVD VCD During play press the MENU button on the remote Use the UP DOWN buttons to highlight Function then press...

Страница 16: ...k of The SDMI Foundation You cannot copy such files Important The above recommendations cannot be taken as a guarantee that the DVD player will play MP3 recordings or as an assurance of sound quality You should note that certain technologies and methods for MP3 file recording on CD Rs prevent optimal playback of these files on your DVD player degraded sound quality and in some cases inability of t...

Страница 17: ...matically with about an 12 second interval The pictures change automatically with about an 18 second interval Depending on the file size each interval between images may take longer or shorter than the manual suggests Open the disc tray Load the disc on the tray Load the disc with the labeled side up Close the tray The tray closes and you should get a screen that looks like the one to the right 1 ...

Страница 18: ...e sub features NOTE Depending on the disc some Setup Menu selections may not work 1 2 3 34 35 Picture CD Playback Only files with the jpg and JPG extensions can be played If the disc is not closed it will take longer to start playing and not all of the recorded files may be played Only CD R discs with JPEG files in ISO 9660 or Joliet format can be played The name of the JPEG file may not be longer...

Страница 19: ...the disc the original pre recorded language is selected Howto make the SETUP menu disappear or return to menu screen during set up Press RETURN or LEFT button Using the Audio Language Using the Subtitle Language 1 2 3 5 4 6 1 2 3 4 5 6 Setting Up the Language Features Using the Player Menu Language Using the Disc Menu Language If you set the player menu disc menu audio and subtitle language in adv...

Страница 20: ...he double D symbol are trademarks of Dolby Laboratories DTS and DTS Digital Out are trademarks of Digital Theater Systems Inc 1 2 3 4 MPEG 2 Digital Out 1 PCM Converts to PCM 2CH audio Select PCM when using the Analog Audio Outputs 2 Bitstream Converts to MPEG 2 Digital Bitstream 5 1CH or 7 1CH Select Bitstream when using the Digital Audio Output Dolby Digital Out 1 PCM Converts to PCM 2CH audio S...

Страница 21: ...EFT button If you have forgotten your password see Forget Password in the Troubleshooting Guide 1 2 3 4 5 Setting Up the Display Options TV Aspect Depending on the type of television you have you may want to adjust the screen setting aspect ratio 1 4 3 Letter Box Select when you want to see the total 16 9 ratio screen DVD supplies even though you have a TV with a 4 3 ratio screen Black bars will a...

Страница 22: ...install batteries and try remote again Ensure that the disc is installed with the label side facing up Check the region number of the DVD 5 1 channel sound is reproduced only when the following conditions are met 1 The DVD player is connected with the proper amplifier 2 The disc is recorded with 5 1 channel sound Check whether the disc being played has the Dolby 5 1 ch mark on the outside Check if...

Отзывы: